How Can We Help?
General Scene Editing Operations
Shortcuts
FactVerse Designer supports several shortcuts for quick operations.
Operation | Windows | macOS |
Copy | Ctrl + C | Command + C |
Delete | Delete | Delete |
Undo | Ctrl + Z | Command + Z |
Redo | Ctrl + R | Command + R |
Incremental Selection | Ctrl + Left-Click | Command + Left-Click |
Multi-Select | Shift + Left-Click | Shift + Left-Click |
Multi-Select and Copy
Multi-Select
You can select multiple models, tools, or twins in the scene to perform unified operations.
Steps
- Click any object in the scene to select it.
- Hold Shift and click other objects to add or deselect them.
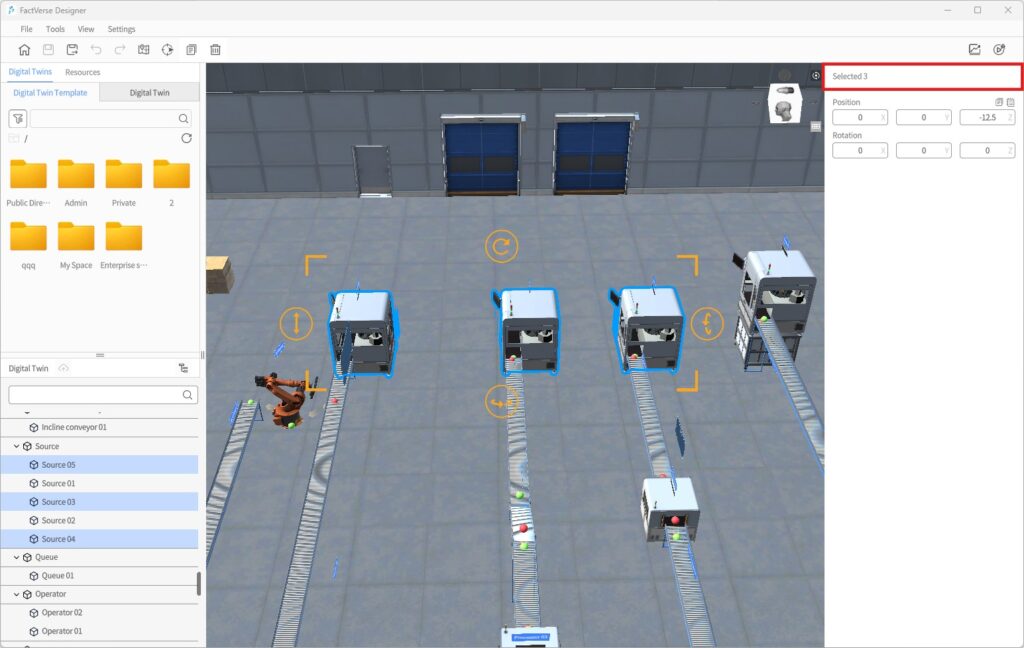
- Once multiple items are selected, the Attribute Panel displays:
- The total number of selected objects
- The center position and rotation angle of the selection group
- Input fields to batch-edit pose parameters for the selection group
Notes
- Multi-select is not supported while the scene is in Debug Playback
Copy
You can quickly copy models, tools, or twins to speed up scene building.
Steps
- Select an object, then click the Copy button in the toolbar or press Ctrl + C.
- The copied model appears at the mouse pointer in placement mode.
- Use placement mode shortcuts to adjust the pose.
- Left-click to place; supports continuous placement.
- Right-click to exit placement mode.
Multi-Select Copy Notes:
- Copy Scope: Only the selected objects themselves are copied; logical connections (e.g., Input / Output) are not included. You must reconnect them manually after pasting.
- Paste Center Point: By default, the center of the selection group aligns with the mouse position.
- Shortcut Limitations: Supports rotating multiple objects as a group but does not support group scaling.
Placement Mode
Placement Mode is a key interaction method in FactVerse Designer for adding resources (models, tools, twins, etc.) to a scene. It supports operations such as rotation, scaling, and batch placement to help efficiently build scenes.
Placement Mode Shortcuts
Action Type | Shortcut | Description |
Reset | R | Reset to the object’s initial state (before this placement operation). |
Rotate | Q | Rotate 90° counterclockwise horizontally. |
W | Rotate 90° clockwise horizontally. | |
Scale | A | Shrink by 0.1x (not applicable to twins). |
S | Enlarge by 0.1x (not applicable to twins). | |
Free Rotate | Shift + Q | Continuous counterclockwise rotation; release to stop. Press Q again to snap 90° from the current angle. |
Shift + W | Continuous clockwise rotation; release to stop. Press W again to snap 90° from the current angle. | |
Free Scale | Shift + A | Continuous enlargement; release to stop. Press A again to enlarge by 0.1x relative to current size. |
Shift + S | Continuous shrink; release to stop. Press S again to shrink by 0.1x relative to current size. |
Place Resources (Models/Tools)
Steps
- In the Resources library, click a model or tool to enter placement mode.
- Move the mouse into the scene area; the model/tool with a green outline follows the pointer. Use shortcuts to adjust rotation and scale.
- Left-click to place the object.
- Continuous placement is supported; right-click to exit placement mode.
💡 Tip: Each template typically only requires one equipment role. To avoid logic conflicts, twin-type resources (e.g., storage, AGVs, conveyors, elevators, warehouses, palletizers) can only be placed once within the same template.
Place Cloud Digital Twins
From the Digital Twins Library, you can place one or multiple cloud digital twins into the scene.
Single Placement:
- In Digital Twins Library > Twins tab, click the twin’s icon area (not the checkbox) to enter placement mode.
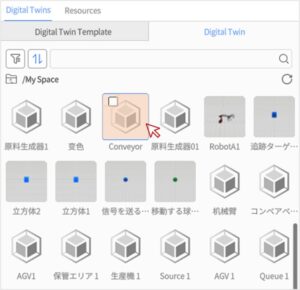
- Use shortcuts to adjust rotation (see Placement Mode Shortcuts).
- Left-click to place; the system automatically exits placement mode.
⚠️ Cloud digital twins cannot be placed multiple times. Each cloud digital twin can only be placed once.
Batch Placement:
- Select multiple digital twins using checkboxes in the Digital Twin Library.
- Click Add to the scene to place them.
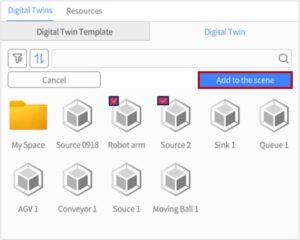
Placement strategy:
- If a digital twin has position data, it will be placed accordingly.
- If not, it will be placed at the origin (0,0,0).
Modify Scene Rendering Environment
The rendering environment of a scene refers to the lighting effects set in the virtual scene, simulating the propagation, reflection, and refraction of light in the scene. It can affect the appearance, lighting, and shadow effects of objects, enhancing the realism and authenticity of the scene.
In FactVerse Designer, newly created scenes do not have specific rendering effects by default. You can choose from the system’s preset rendering environments or customize the rendering environment for your scene to make the virtual environment more realistic and immersive.
To change the rendering environment of a scene, you can follow these steps:
- Click on the Settings menu and select Change rendering environment from the dropdown menu. You can open the Change rendering environment
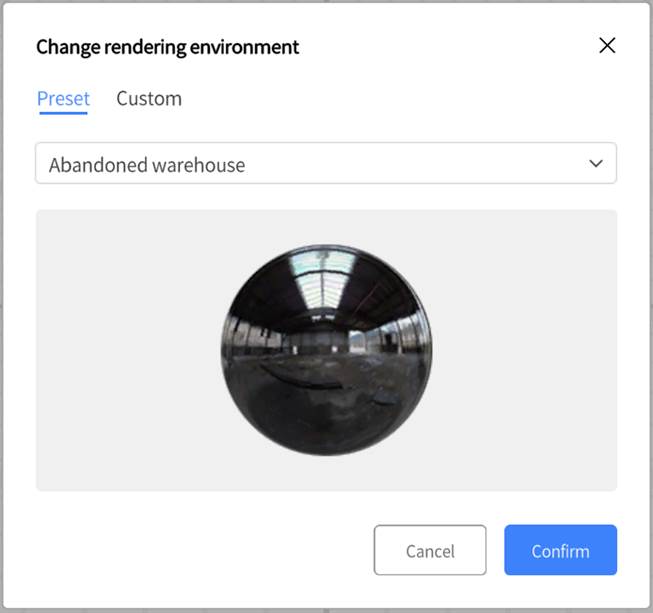
- You can choose a preset rendering environment. When choosing “None”, the scene will have no specific environmental reflection effects.
You can also create a custom rendering environment to suit the scene’s background and sky effects for different scene requirements and creative purposes.
Steps for custom reflection environment:
- Prepare six images: These images should correspond to the front, back, left, right, top, and bottom directions of the skybox. The images should be in PNG format and follow English naming conventions (Front, Back, Left, Right, Top, Bottom).
- Compress these images into a zip file and change its extension to .dmcm.
- Upload this .dmcm file to the resource library on the DataMesh FactVerse platform.
- In FactVerse Designer, click on the Settings menu and select Change rendering environment from the dropdown menu to open the Change rendering environment
- In the Change rendering environment window, select the Custom tab and click to Select rendering environment.
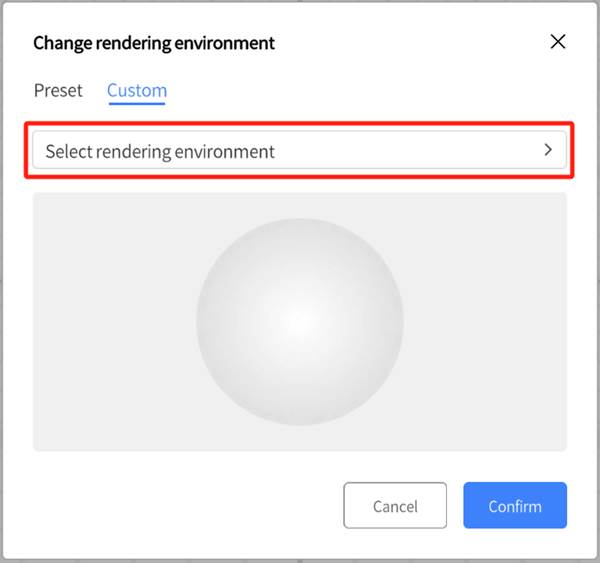
- In the Select rendering environment window, find the uploaded .dmcm file.
- After selecting the file, click the Confirm button to complete the customization of the scene’s rendering environment.
Adjust Scene View
In FactVerse Designer, you can adjust the scene view in multiple ways for better observation and editing.
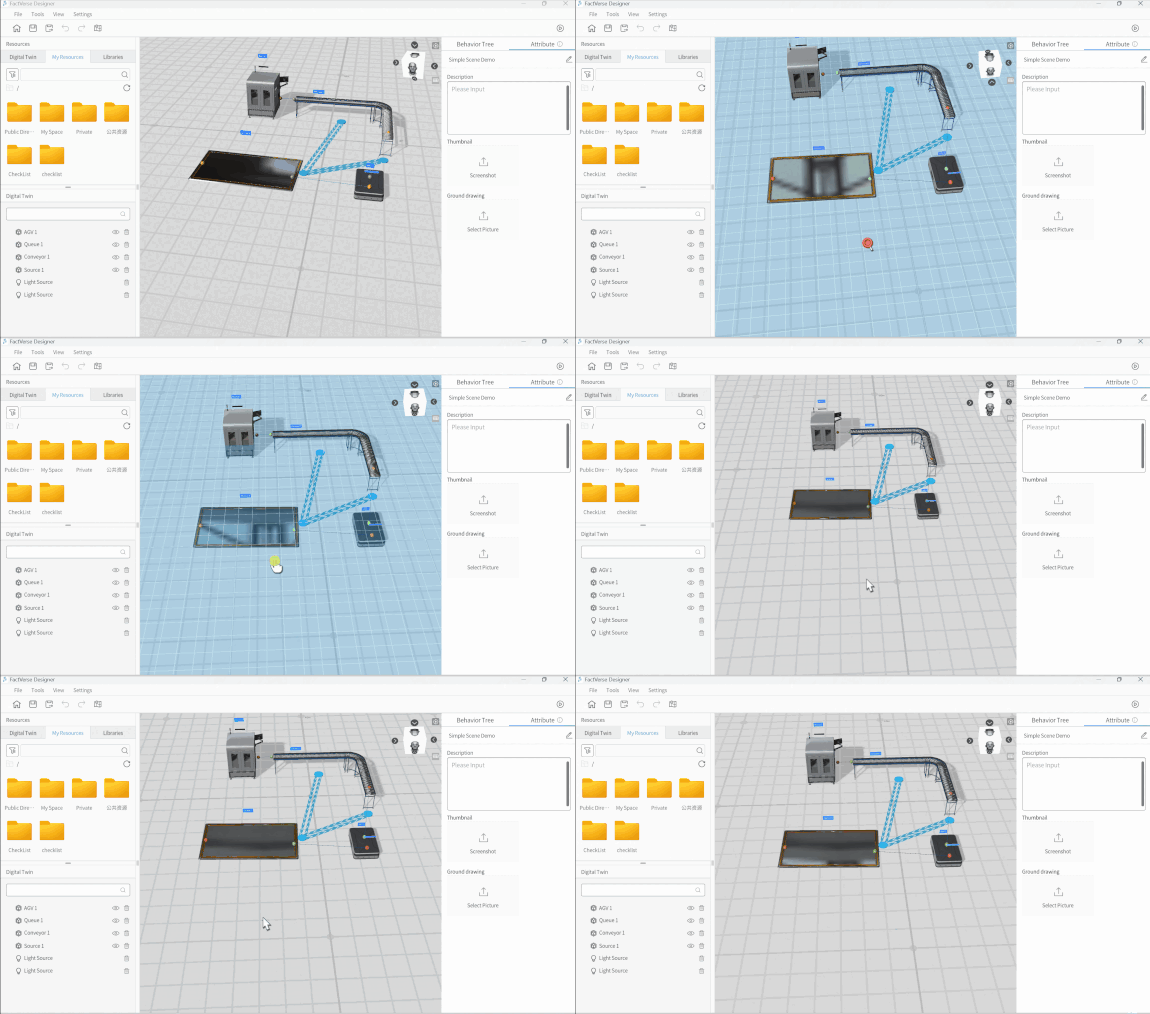
- Rotate View: Hold the right mouse button to rotate the entire view. The mouse cursor will change to a magnifying glass, allowing the user to observe the model from all angles.
- Adjust Baseline Height: Use Shift + Left mouse button to quickly adjust the baseline height.
- Zoom space: You can zoom in and out by scrolling the mouse wheel. Scrolling up will zoom in, and scrolling down will zoom out.
- Drag Scene: You can drag the scene by holding down the mouse wheel or clicking the scene area and hold the left mouse button to drag the entire scene. This allows you to move the scene horizontally or vertically for better viewing.
Import/Export Scene
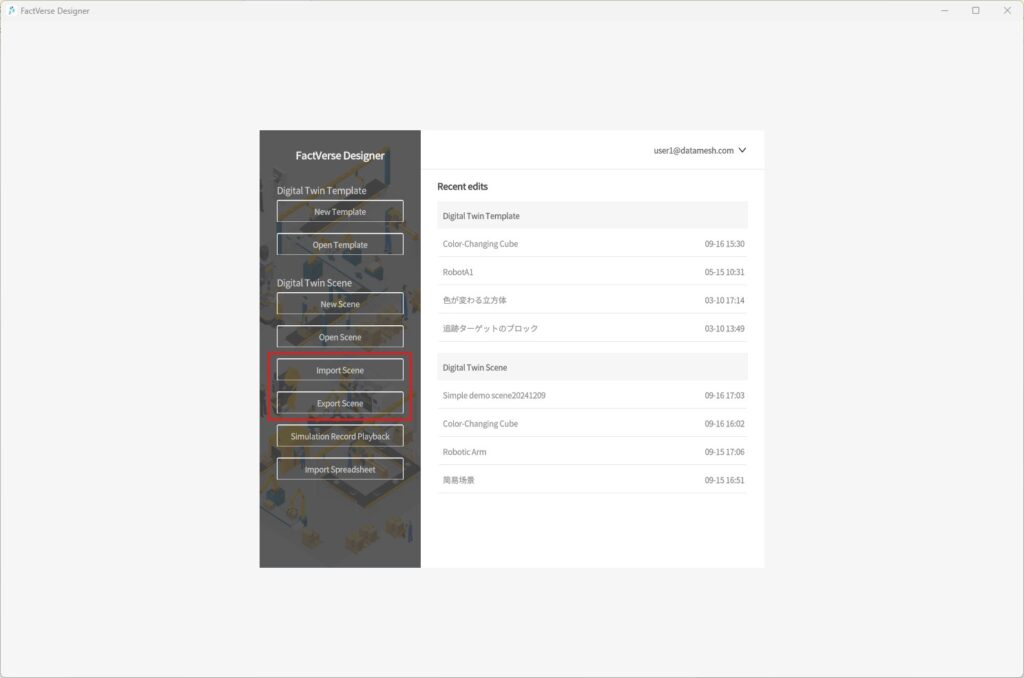
The digital twin scene file (.digpkg file) contains digital twins and other digital twin content in the scene, such as metadata, behavior trees, resources, scene paths, etc. of digital twin templates. Users can choose to import and export digital twin scenes on the homepage.
