How Can We Help?
DataMesh One 7.0 Vision Pro Quick Start Guide
Use hand gestures
|
Action |
Function |
Instruction |
|
Tap your fingers together (or simply “tap”) |
Select options, open apps |
Look at content (like an app icon or button), then tap your index finger and thumb together to select it. |
|
Touch |
Type, interact in interactive experiences |
Interact with certain elements directly with your fingers. For example, you can touch keys on the virtual keyboard, similar to typing on a physical keyboard. |
|
Pinch and hold |
Show additional options, zoom in and out |
Pinch and hold your thumb and index finger together. For example, pinch and hold You can also pinch and hold with both hands and pull apart to zoom in, or move them closer to zoom out. |
|
Pinch and drag |
Move windows, scroll |
Pinch and hold to grab a window bar, photos, content or an object, then drag it wherever you like. For example, you can pinch and drag the window bar of an app or a shape in a Freeform board. You can also pinch and drag to scroll. For example, in Photos, you can scroll up or down through your albums. Swipe to scroll quickly; tap to stop scrolling. |
|
Swipe |
Scroll quickly |
Pinch and quickly flick your wrist. |
|
Previous page of the scenario |
Page navigation |
Left palm facing up, pinch with index finger and thumb. |
|
Next page of the scenario |
Page navigation |
Right palm facing up, pinch with index finger and thumb. |
For a detailed explanation of basic gestures and operations on Apple Vision Pro, please refer to Learn basic gestures and controls on Apple Vision Pro.
Commonly used features
Move, resize and close app windows
-
- Move an app: Pinch and drag the window bar side to side, towards you or away from you.
- Close an app: Tap the Close button
 below the app (next to the window bar).
Tip: You can pinch and hold the Close button  , then tap “Close [app]” to close the current app, or tap “Hide others” to close all other apps.
Note: DataMesh One does not support window resizing functionality on Vision Pro.
For more information, please refer to Move, resize and close app windows on Apple Vision Pro.
Force-quit an app
Simultaneously press and hold the top button and Digital Crown until you see Force Quit Applications, tap the name of the app you want to close, then tap Force Quit.
Take a capture
Simultaneously press the Digital Crown and the top button.
Redo eye and hand setup
-
- Quickly redo eye and hand setup: Quadruple-click the top button, then follow the instructions.
- Redo eye setup only: Go to Settings
 > Eyes & Hands > Redo Eye Setup, then follow the instructions.
 - Redo hand setup only: Go to Settings
 > Eyes & Hands > Redo Hand Setup, then follow the instructions.
Share your view
1. Open Control Centre, then tap ![]() .
.
2. Tap ![]() , then choose a compatible device from the list of available devices.
, then choose a compatible device from the list of available devices.
For more detailed information, please refer to Let others see your view on Apple Vision Pro.
Take a recording
Record: Open Control Center, tap the Control Center button  , then tap the View Recording button
  .
.
Stop recording: To stop recording, tap the record button or the red status bar at the top of your view, then tap Stop.
View your photos and videos
-
- View the spatial photos or videos you just took: Tap lightly on the thumbnail in the bottom left corner.
- View all spatial photos and videos: Open the “Photos” app, then tap on “Spatial” in the tab bar.
Please refer to View photos and videos in Photos on Apple Vision Pro.
Share your photos and videos
Open Photos, find the spatial photo or video you want to share, tap the More button, lightly tap the Share button, then choose an option such as “AirDrop,” “Mail,” or “Messages.”
Standard mode
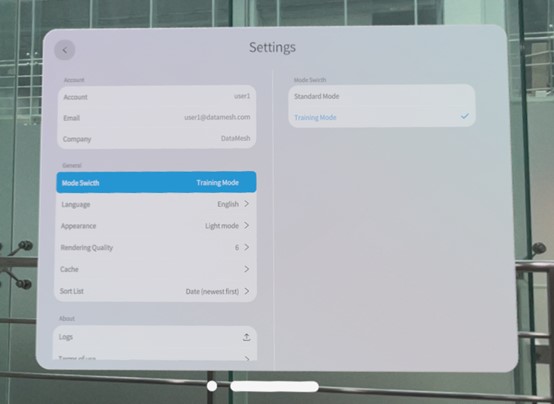
DataMesh One has two browsing modes: Standard Mode and Training Mode. In Standard Mode, users can freely browse various resources and scene contents while also participating in multi-user collaboration events. You can switch browsing modes on the settings page.
Navigation menu
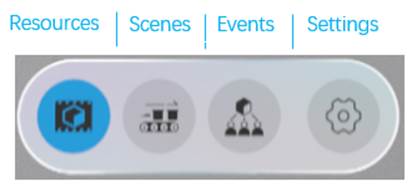
Resources
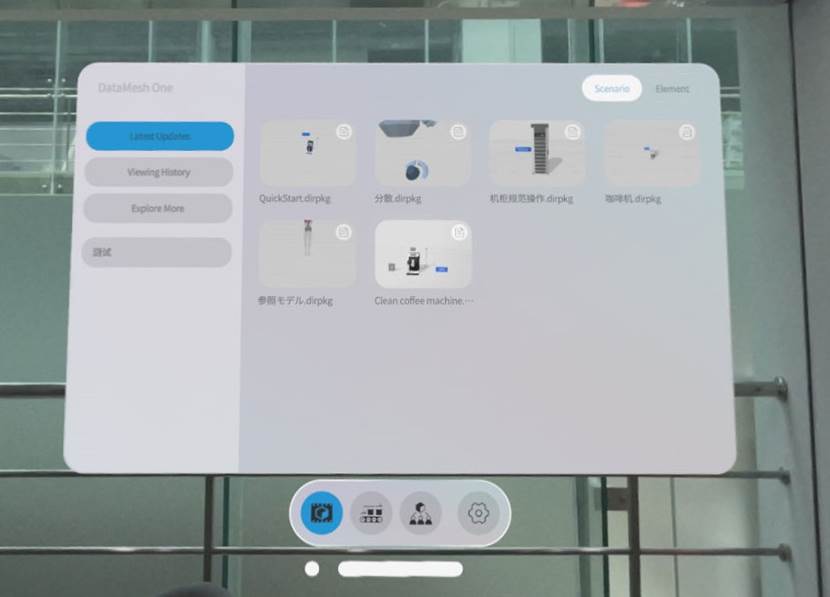
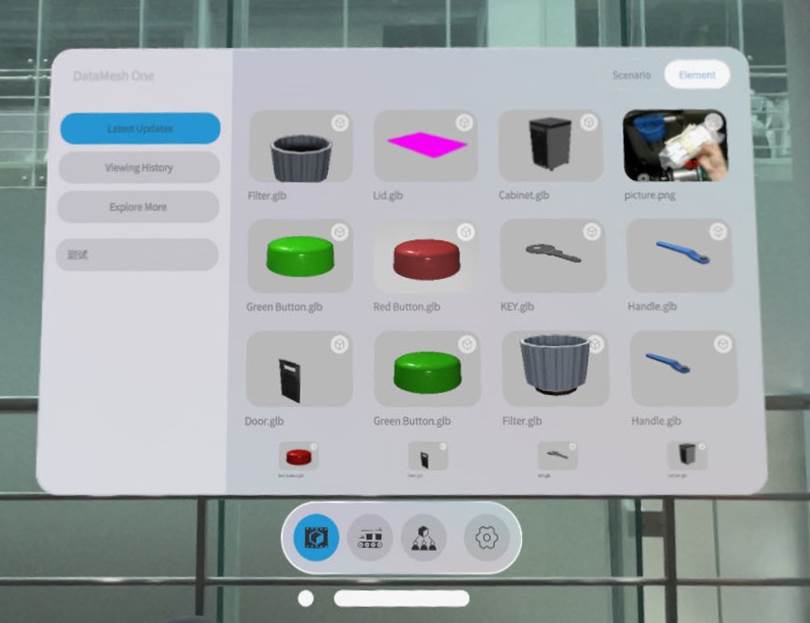
You can switch between browsing scenario-type resources or other types of files, such as 3D models, images, and PDF files, by clicking on the Scenario or Element tab in the top right corner of the page.
Scenes
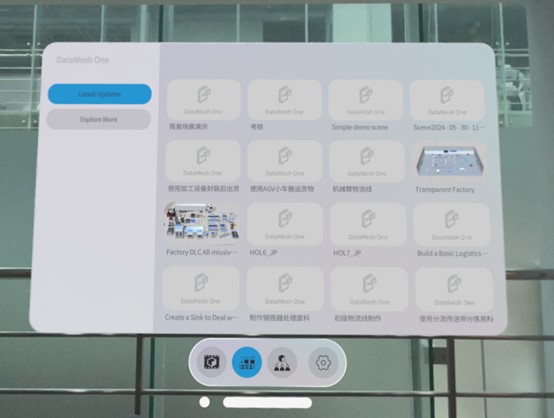
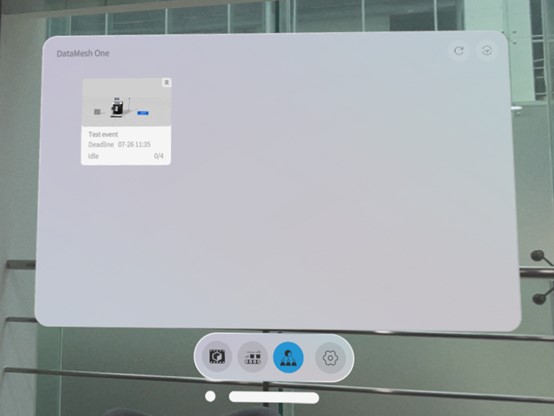
Events
Training mode
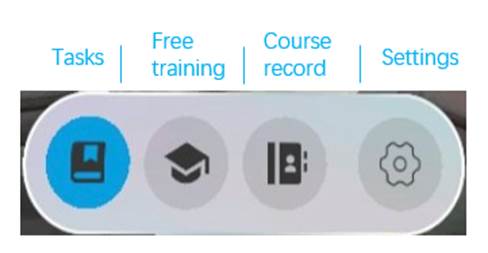
In Training Mode, you can complete learning tasks and exam tasks, experiencing a more immersive learning environment through XR-based technology.
Navigation bar
Group list
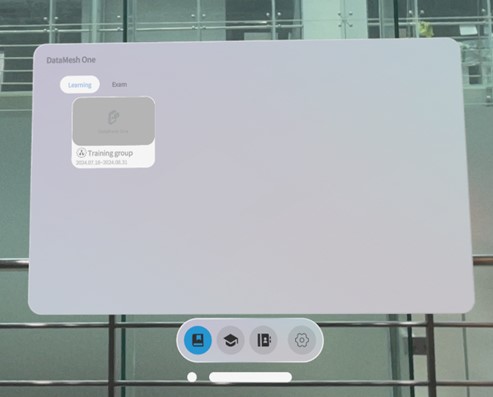
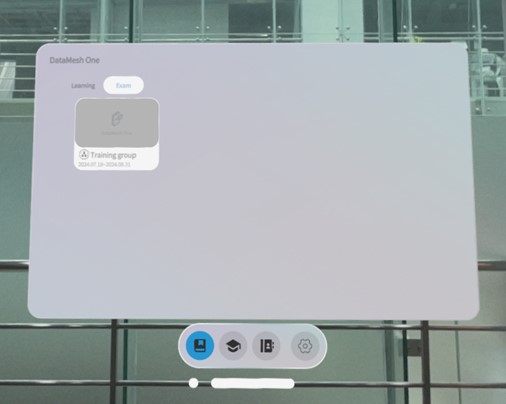
Courseware list
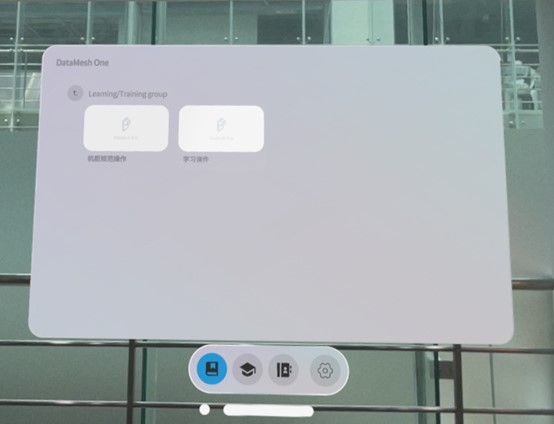
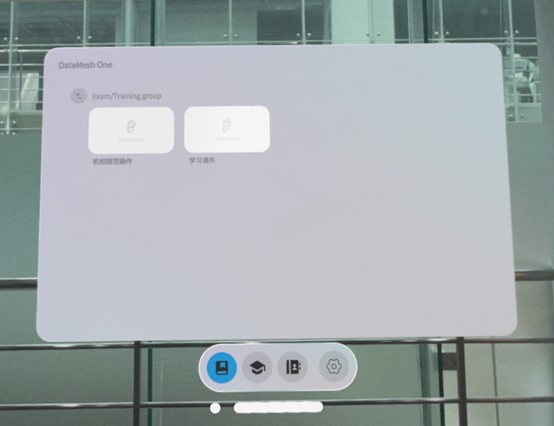
Learning task interface

Exam interaction interface
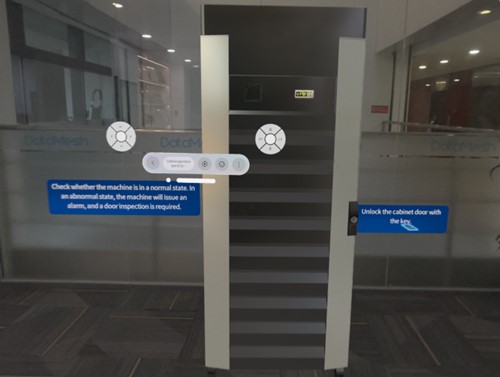
Course record
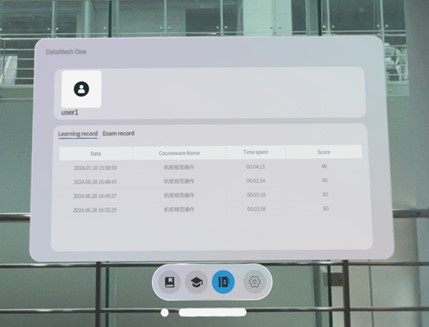
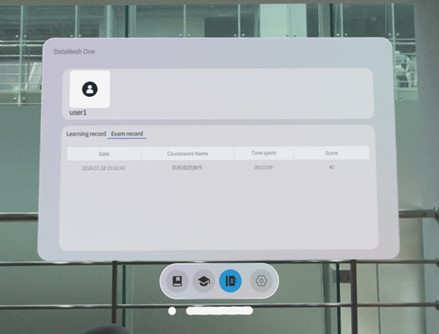
Quick start
Preparation
1. Make sure the Apple Vision Pro device is connected to the internet.
a) Go to Settings  > Wi-Fi, then turn on Wi-Fi.
b) Tap a network, then enter the password (if required).
2. Complete eye and hand setup.
3. Set up your space, ensure your space is clear of any obstacles that you could bump into, trip over, or hit with your hands.
4. Install DataMesh One:
a) Directly open the App Store  to browse and install DataMesh One.
b) Download and install DataMesh One through the browser from the following address: https://apps.apple.com/app/datamesh-one/id1514070248.
Login
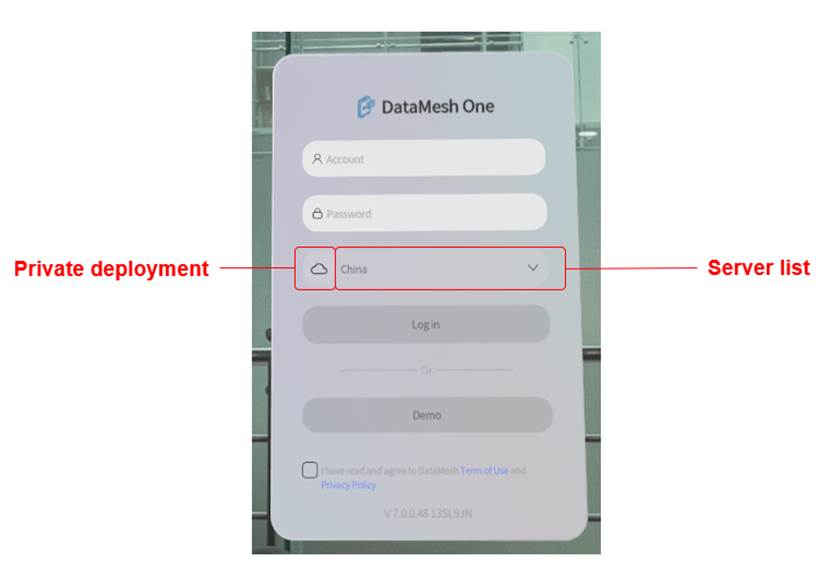
- Private Deployment
 : When logging in to an enterprise using a private deployment server, you need to set a private deployment service code. Users can click on this icon to set the private deployment service code.
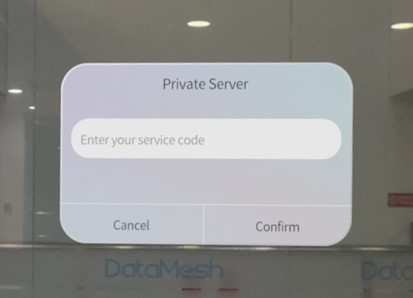
-
- Server List: Clicking on the server list allows you to switch server regions.
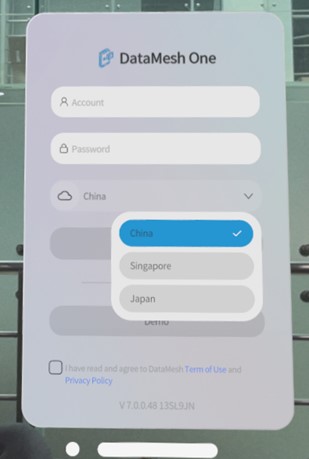
Login Steps:
1. Configure server:
a) Select public server: If your enterprise is deployed on a public server, choose the server belonging to the enterprise account from the server list.
b) Set up private deployment server: If your enterprise uses a private deployment server, you need to click on the private deployment icon ![]() to set the exclusive service code.
to set the exclusive service code.
2. Enter your FactVerse account and password.
3. Check the box “I have read and agree to the DataMesh ‘Terms of Use’ and ‘Privacy Policy’”, then click the Sign in button.
4. Select your enterprise account: If you have multiple accounts, select the correct one from a list.
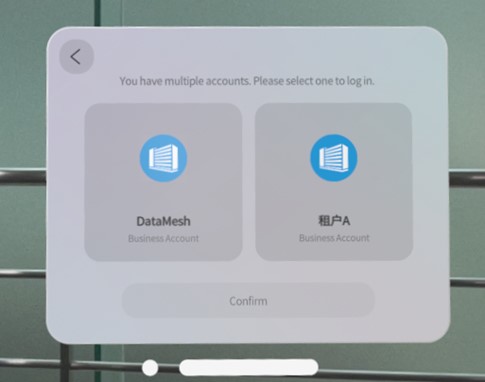
5. Select the browsing mode: If your account has licenses for two different browsing modes simultaneously, the mode selection interface will appear. Select the mode and click Enter to complete the login.
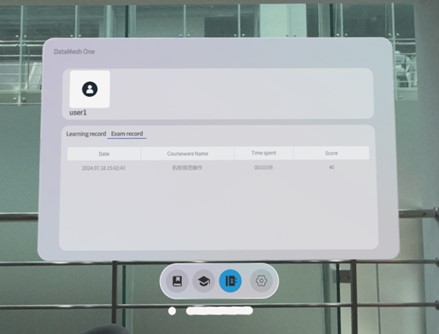
Scenario playback
To browse scenario resources on the resources page, look at the scenario file, and pinch with your index finger to open the scenario and enter the scenario playback interface.
Note: There is an issue in the current version (DataMesh One 7.0 VisionOS version) where scenarios cannot be opened if they contain PDF files, advanced resources, models without source files (only .ab), or models from versions earlier than 4.0.

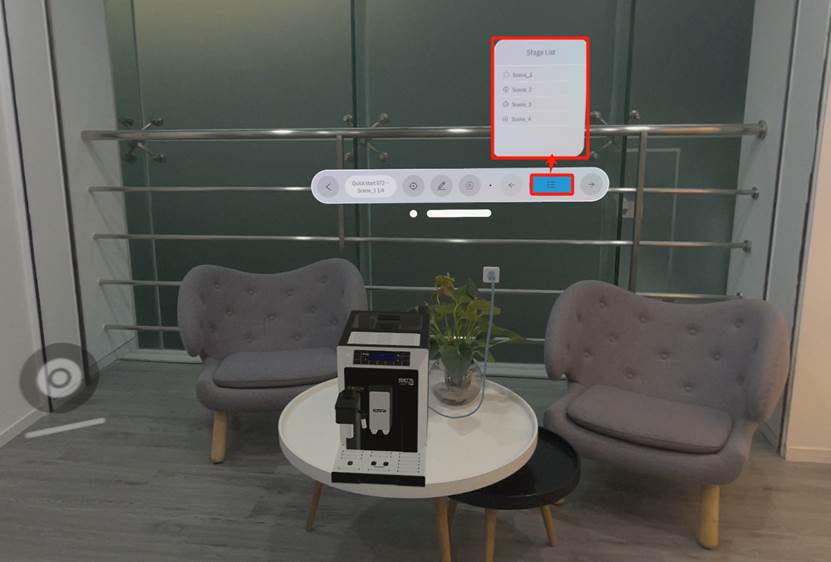
In the scenario playback interface, you can use the scenario operation menu to position and edit the scenario. The scenario operation menu is as follows:

-
- Position: Click to enter positioning mode.

-
- Edit: Drag, move, rotate, etc., the model as a whole or in parts through gestures;

-
- Stage List: Click to display a list of scenario scene playback steps, and click on the scene name to jump to the specified scene.
-
- Exit: Click to exit scenario playback.
- Back/Next: Page-turning keys.
Scan hexagonal grid to position
Unlike other platforms, the Vision Pro version of DataMesh One uses hexagonal grids for scenario scanning and positioning.
The steps for using hexagonal grids for scanning and positioning are as follows:
1. On the Resources page of Digital Assets module of the FactVerse platform, find the scenario you intend to use.
2. Open the Resources details page of the scenario and download the hexagonal grid positioning code.
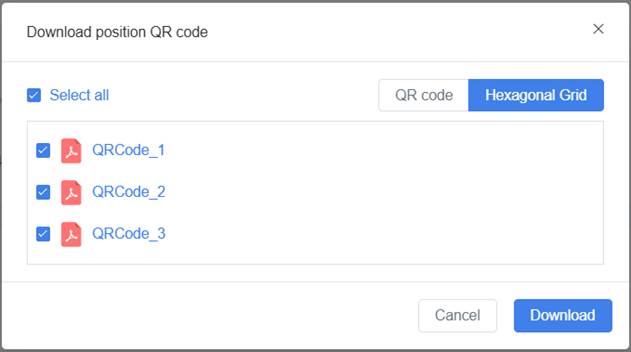
3. Place the downloaded hexagonal grid positioning code at the target location.
4. On the standard mode interface of DataMesh One, open the scenario in the resource list.
5. Click the positioning button  to enter the resource positioning mode.
6. Click the scan button to enter the scan positioning mode.

7. Scan the positioning code placed at the target location to complete the scenario positioning.
Collaboration

1. Click on the Events tab in the navigation menu to switch to the event list.
2. Click on the “+” button in the top right corner of the events page to enter the event creation interface.

3. Click on the Add button to open the scenario list, select a scenario for the event, and save.
4. Click on the Play button to start the event.
The collaboration features on Vision Pro are the same as those on the iOS end. For more details, please refer to the Events section in the DataMesh One user manual.
Example
Example 1: Presentation of Large Equipment Content
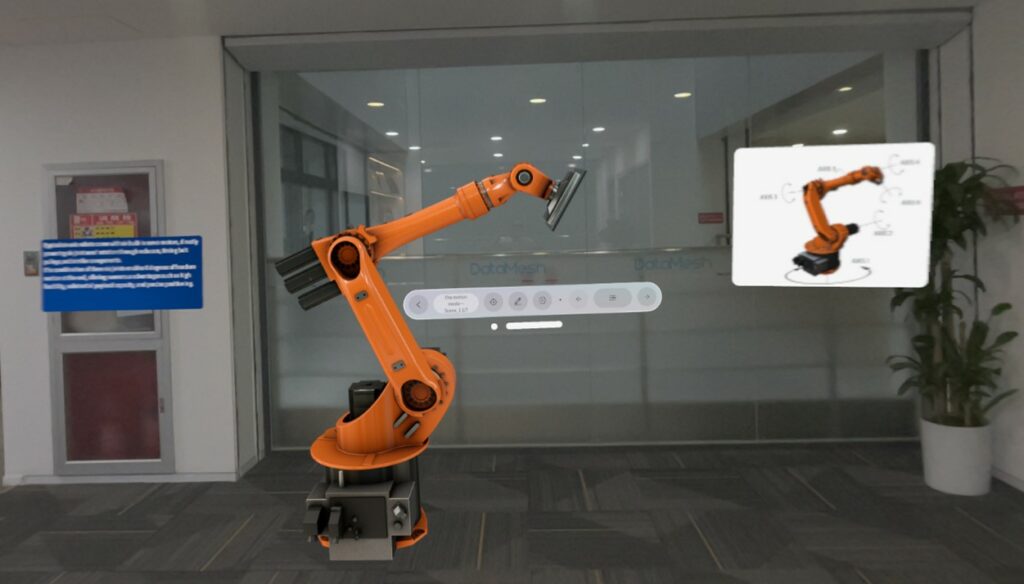
If you need to showcase large equipment in a hybrid online-offline meeting, you can use DataMesh One on Vision Pro to present the content in mixed reality (MR), allowing participants to clearly understand the equipment’s functions and structure. Here are the specific steps:
1. Equipment preparation: Prepare a Vision Pro, a display screen, and a MAC laptop (iPhone or iPad can also be used).
2. Network connection: Ensure Vision Pro and MAC are connected to the same Wi-Fi network.
3. Log into meeting software: Log into remote meeting software on the MAC.
4. Screen sharing:
a) Mirror the Vision Pro screen to the MAC: Refer to the Share your view section for specific instructions.
b) Present MAC content to both online and offline participants:
-
- Use an HDMI cable to project MAC content onto the display screen for offline attendees to view Vision Pro content.
- Utilize the screen sharing feature of the remote meeting software to share the MAC screen with online participants, enabling them to see Vision Pro content.
5. DataMesh One login: Log into DataMesh One standard mode on Vision Pro.
6. Open scenario: Locate and open the scenario under the Resources tab.
7. Scenario positioning: Adjust the scenario to the appropriate position using hexagonal grid positioning or gaze mode.
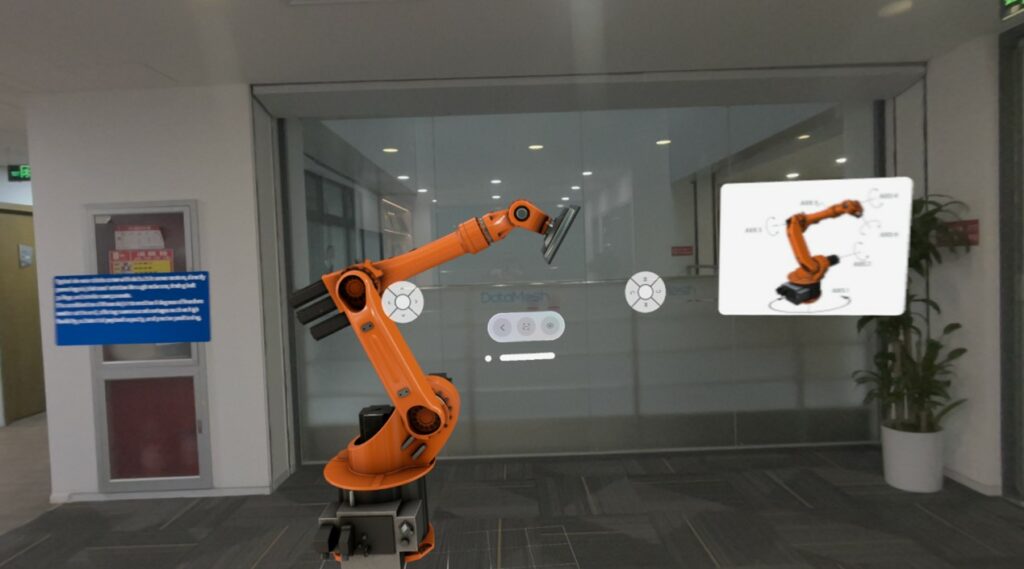
8. Play scenario: Click on buttons to flip pages or interact, initiating playback of the scenario while explaining relevant information and content about the equipment.
Example 2: Complete exam tasks
1. Log in to training mode
Members of the “Cabinet operation training” training group log in to DataMesh One training mode.
2. View exam tasks
Under the My Tasks tab, find “Cabinet operation training” in the Exam tab.
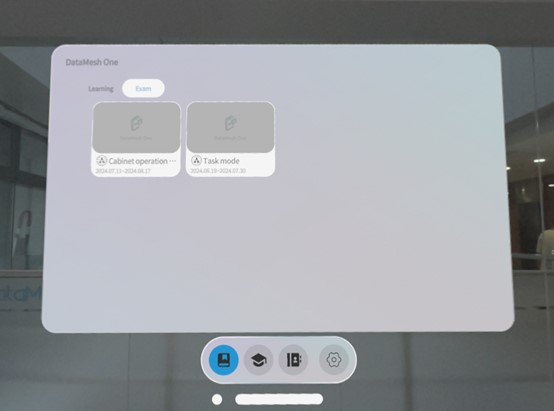
3. Open courseware list
Click on “Cabinet operation training” to open the courseware list for this training group.
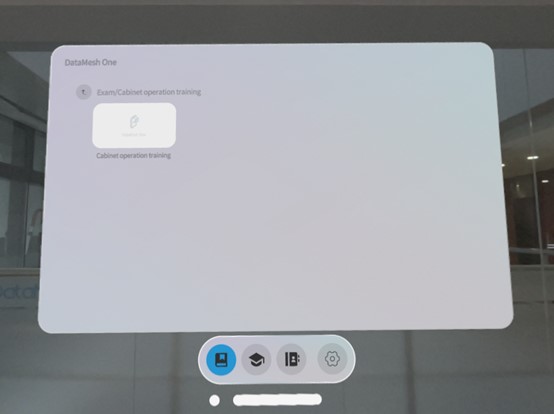
4. Open courseware and complete scenario positioning
Click on “Cabinet operation training” courseware to open it and complete the scenario positioning.
5. Play and complete interactive operations
Play: In the courseware playback interface, watch the scene content. After watching:
-
- Click the right arrow to play the next page
- Click the left arrow to return to the previous page
- If the scene includes page navigation, click the corresponding buttons, models, or sub-elements as required to complete the navigation operation.
- Click more button
 to view real-time score and remaining time or position scenario again.
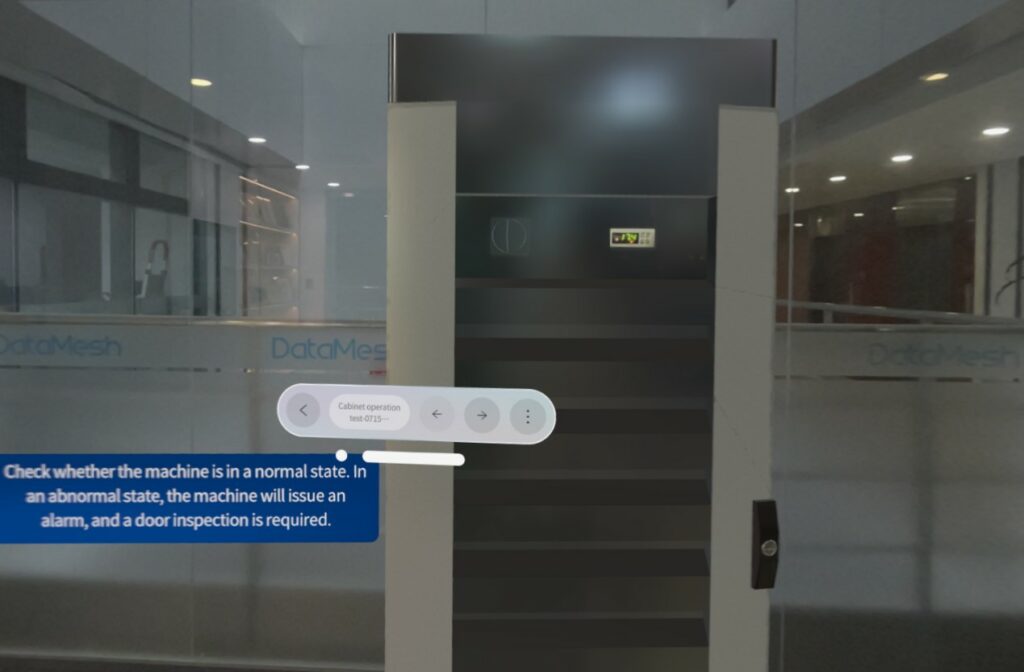
Complete interaction position operations: When the scene includes interaction position tasks, the interface switches to the interaction position operation interface.
a) Select the interaction element, and a blue highlight box will appear around the element model.
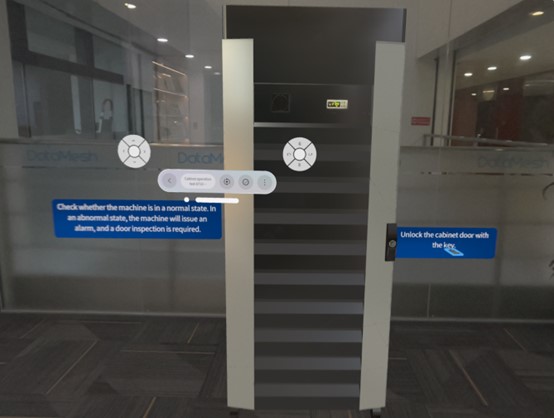
b) Based on the demo effect, move or rotate the interaction element. If the operation effect is not ideal, click the Reset button  to restore the model to its pre-movement state and repeat the operation until the interaction element reaches the target position (both position and angle).
c) After completing all interaction position operations in the scene, click Confirm button  to finish.
6. View current score
Click the scoreboard button  to view the current score.
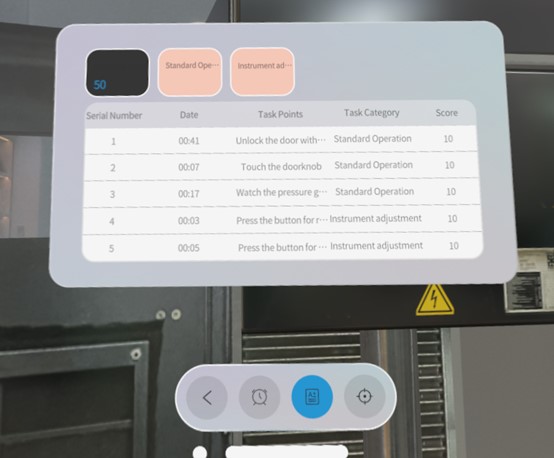
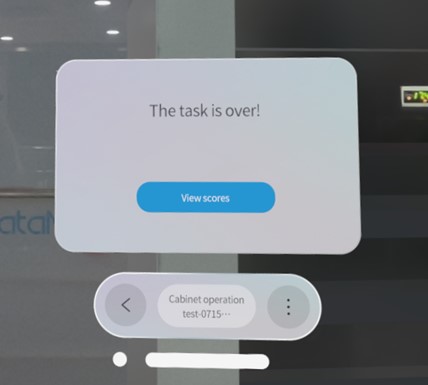
7. Complete task
After completing the exam tasks, it will show that the task has ended. Click the Next button to view the results of this exam.
8. Complete exam
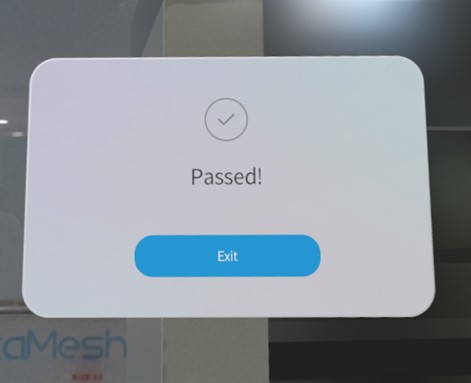
Click the Exit button on the score page to complete the exam.

9. Exit exam
On the exam results page, click the Exit button to leave the exam.
