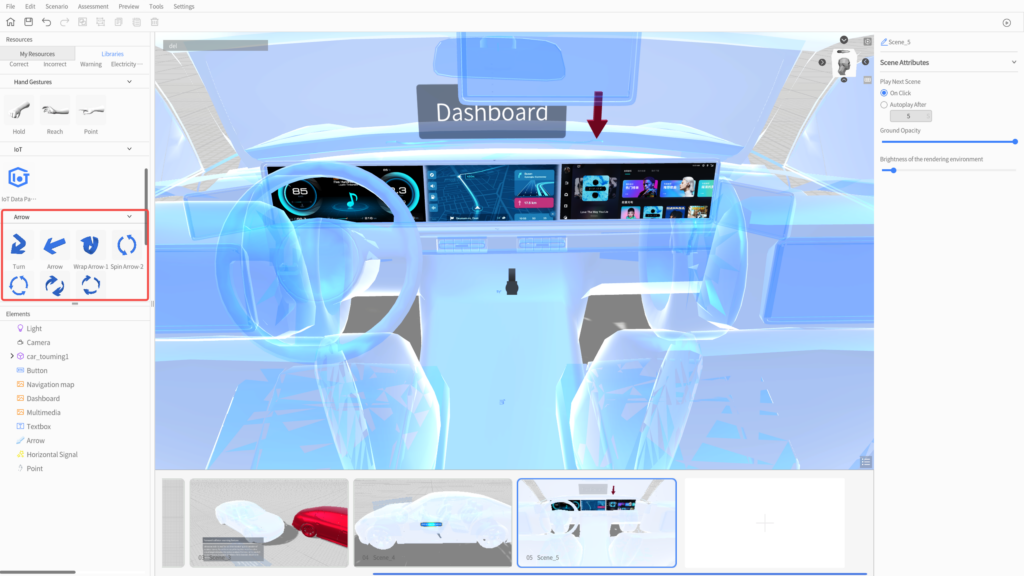
- Add text tools and directional arrows
- Create scene transitions
- Add multimedia (audio, images, videos)
Sandbox/Exhibition
Create a 3D Experience Scenario for Your New Car
Creating simple digital twin designs using 3D modeling in the DataMesh Director offers effective solutions for brand marketing.
Director
Beginner
Steps
1
Create a new 3D scene
- Open DataMesh Studio, click the Create button after login.
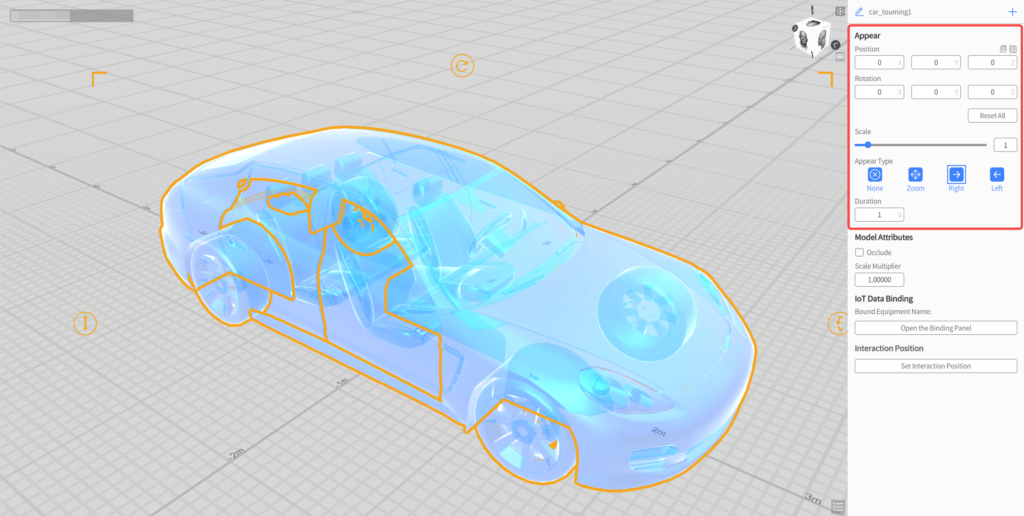
- Locate the model “car_1” in My Resources and drag it into the workspace. For easier positioning, adjust the model’s coordinates to (0, 0, 0). You can also set the appearance style and duration of the element in the attribute panel on the right, based on your display requirements.
2
Add text tools
- Use the "Text" tool to add slogans or introductory text to the displayed content. Find Textbox in Libraries, drag it into the workspace, and rotate it to face the camera.
- Enter the text: “Appearance Design,” then resize the text box and adjust the text and background colors as needed.
To provide a detailed explanation of the design concept, you can add a second text: “Streamlined design, focusing on youthfulness and sportiness.” 
3
4
Add “Change Color” action
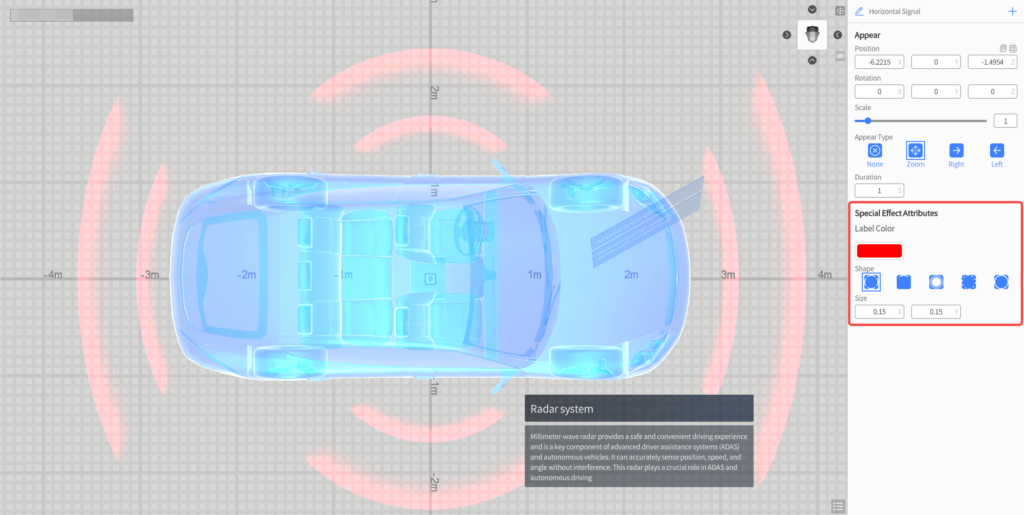
- Use color changes on objects to convey specific effects such as warnings or danger.
- Select the object, and in the attribute panel on the right, click the “+” icon to add the Change Color action.
- Click Enable, set the color to red, and choose the transform type as Flash. Preview the scenario and adjust details like duration and frequency as needed.

5
Add Disappear action
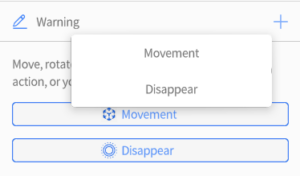
Select elements that should not appear in the next scene and click the “+” icon in the attribute panel to add the Disappear action.
Note: After adding a disappearance action, the element will no longer appear after this action concludes. You cannot add any further actions after adding the “Disappear” action (the “+” icon in the top right will be inactive), but you can remove the “Disappear” action by clicking the “–” icon.
6
Add scene transitions
- To switch the displaycontent from outside the car to inside, use the Button tool for scene transitions.
- Create a new scene named 04_Enter the Vehicle. From Libraries> Components, locate Button and drag it into the scene, adjusting its position and size.
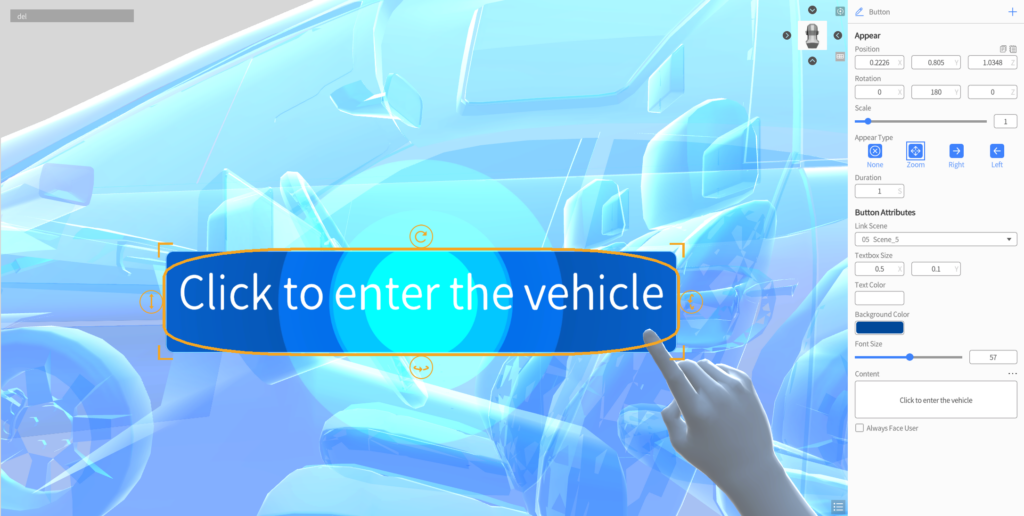
- Select the LinkScene, and choose the scene to jump to (e.g., 05 Vehicle Interior). During playback, users can interact with the button to transition between scenes, enhancing the overall interactivity.
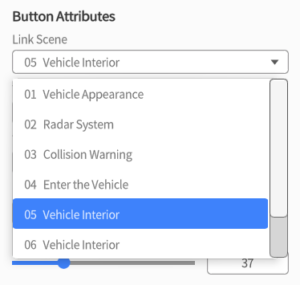
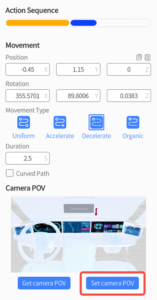
Note: If the link scene is deleted, the link will become inactive. - After adjusting the point of view to the inside of the car, click the camera in the left element list and select Set camera POV in the attribute panel. This ensures the camera takes you directly into the car when transitioning to scene 05.
7
8
9
Build a complete digital twin scene
After completing all the steps, click the play button in the top right corner to preview the scenario. You can also leverage your creativity through simple drag-and-drop operations, easily crafting your own car launch event presentation. Feel free to express your imagination and incorporate your insights about cars into the project.
