- Use DataMesh FactVerse and DataMesh Importer to import the resources needed for a scenario
- Create a scenario and add imported models in DataMesh Studio
- Demonstrate and play the scenario using DataMesh One
Sandbox/Exhibition
Quickly Create Your First 3D Demo Scenario
DataMesh Director XR product helps users quickly create the basic elements of digital twin scenes. This allows you to easily visualize how digital twin business applications look and function, inspiring new ideas and insights.
Director
Beginner
Steps
1
Install products
- First, you need to download and install DataMesh DirectorXR products;
- Open and log in to the DataMesh FactVerse platform (your trial account can be used across DataMesh products once permissions are activated).
2
Create a resource folder
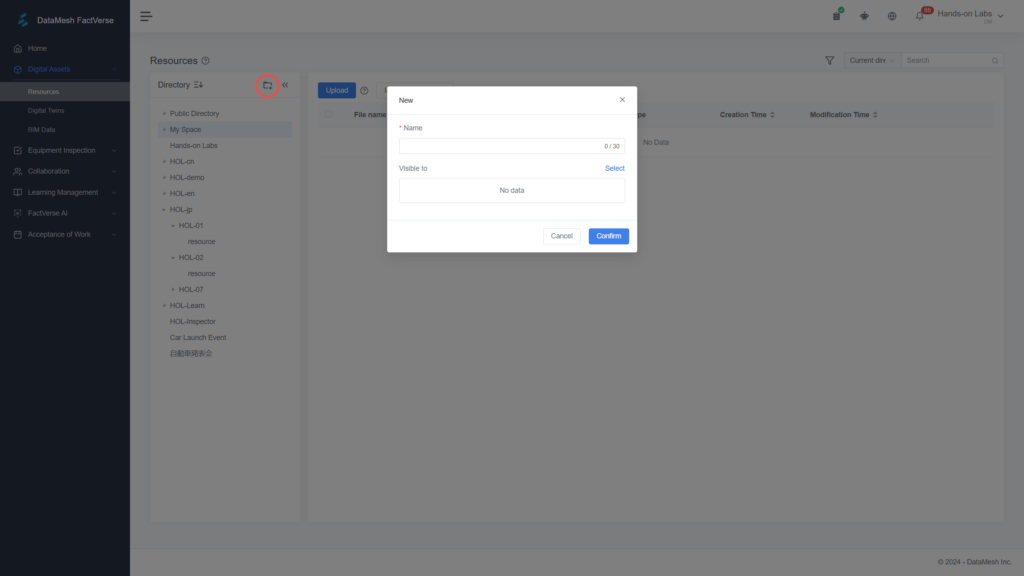
In the DataMesh FactVerse cloud platform, navigate to Digital Assets > Resources on the left sidebar. Click the “Add” button to create a new resource folder for storing models, multimedia resources (images, audio, video), and scenario files necessary for your scenes. You can load and use these resources in future scenario creation.
3
Import model files
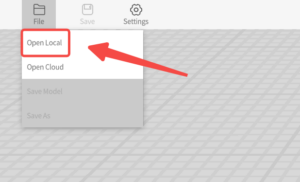
- Open DataMesh Importer. From the top menu, select File> Open Local to choose the model you want to upload (you can download trial models from Demo Resources).
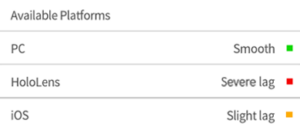
- Check the model’s performance across platforms in the attribute panel: green indicates smooth operation, red indicates issues, and yellow signals slight lag. Optimize the model as needed based on actual conditions.
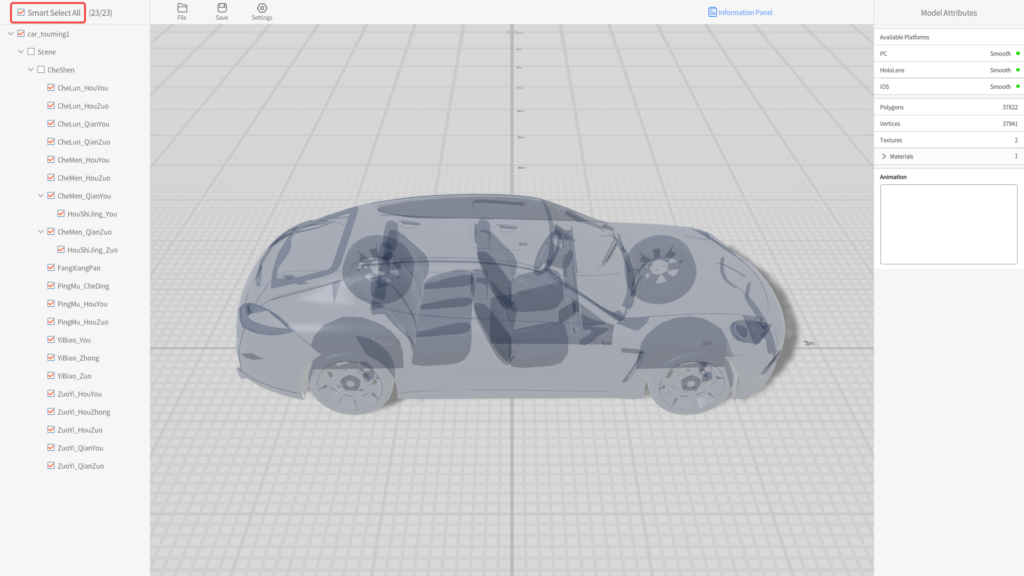
- The left panel displays the model’s hierarchical structure. Select the layers you wish to retain for upload. For most scenario production needs, it's advisable to choose “Smart Select All” unless in special circumstances.
- Click Save in the top menu, select the folder you created in the DataMesh FactVerse Resources page, and confirm.
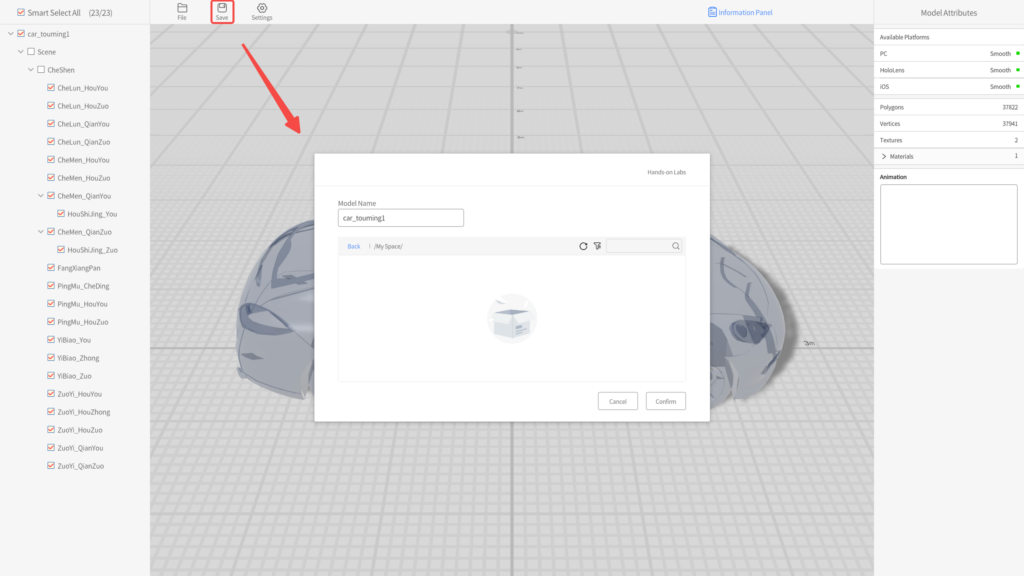
4
Create a scenario
- Open DataMesh Studio and click Create to start scenario creation.
- In the left resource library My Resources, locate the resource folder and model you created in Step 1. Click on the model (car_1), and once loaded, drag it into the workspace.
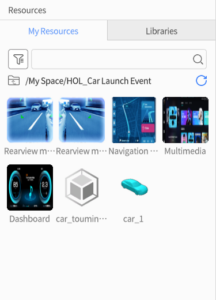
- To simplify future coordinate positioning, adjust the model's position coordinates to (0, 0, 0)in the right attribute
- After completing your scenario creation, remember to save it by clicking the “Save” button in the menu or using the shortcut “CTRL+S” for quick access.

5
Demonstratethe scenario in DataMesh One
- Open the DataMesh One app on your mobile device, select Standard Mode, and choose the scenario you just created from Resources. It supports both 3D and MR viewing modes (note that MR mode is not available on PC).
- Before playing the scenario, you need to position the scene. Place the model in the scene or enter Manual Positioning Mode to adjust the model’s position accurately using the joystick.
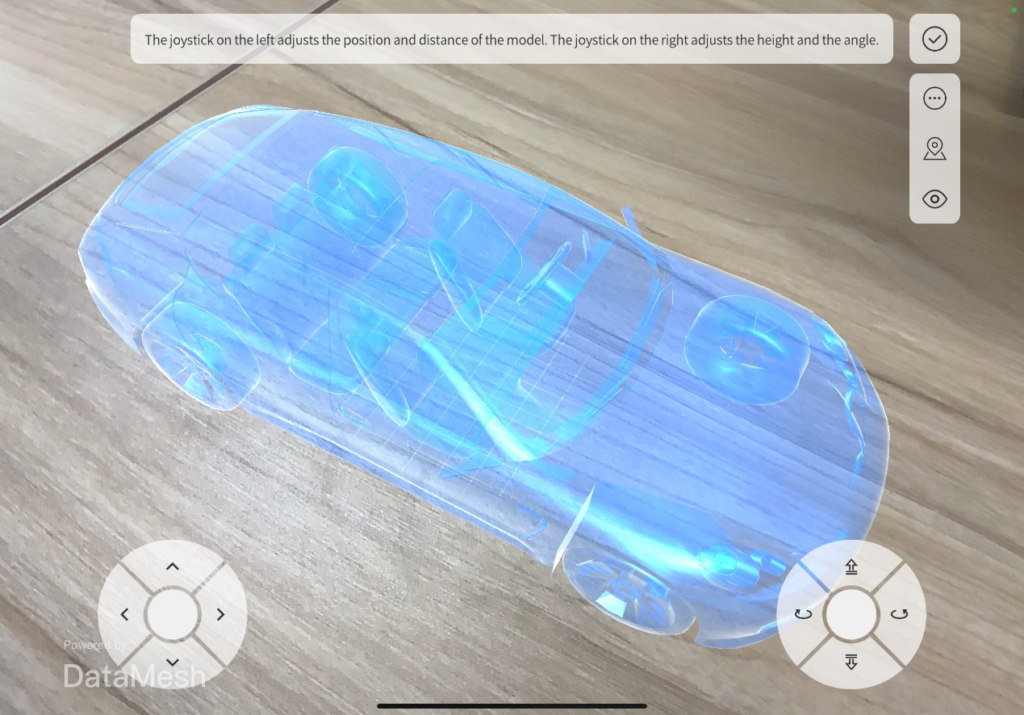
- For more precise movement adjustments, click More> Adjust Function to modify click accuracy.
- After confirming the model's position, click the “√” to exit, and the scenario will begin playing automatically.
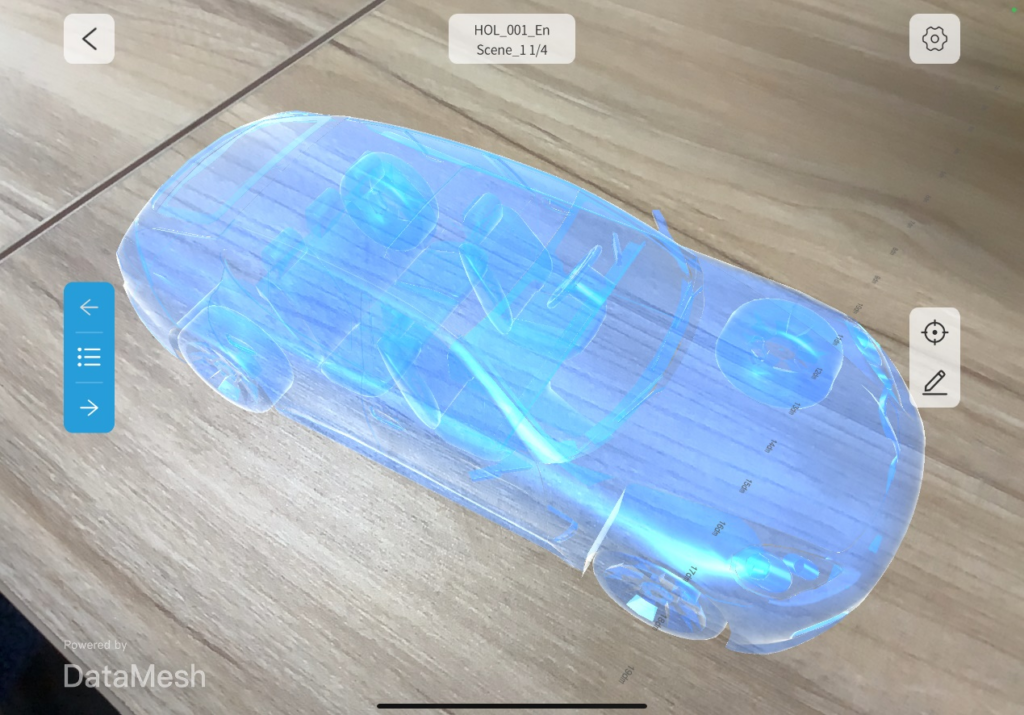
- Congratulations, you have your very first MR scenario now!
