- How to use a sorting conveyor?
- How to use a robot?
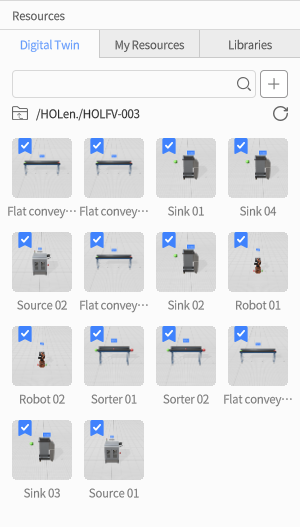
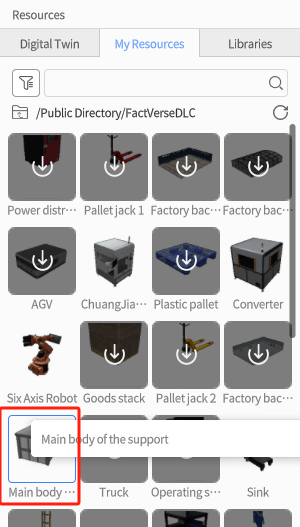
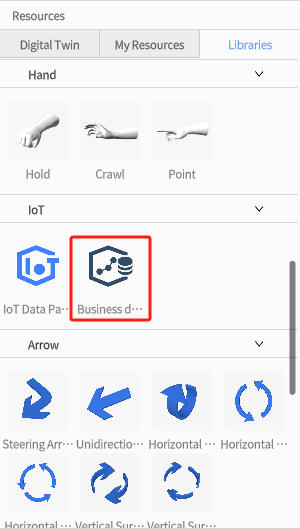
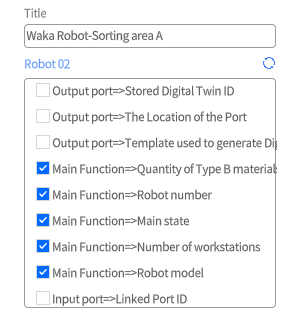
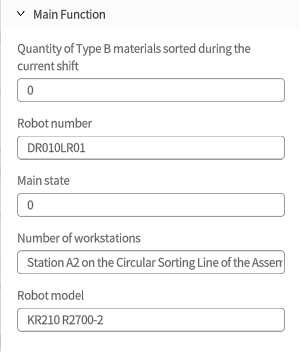
- How to use resources?
Install the latest version of FactVerse Designer | DataMesh.
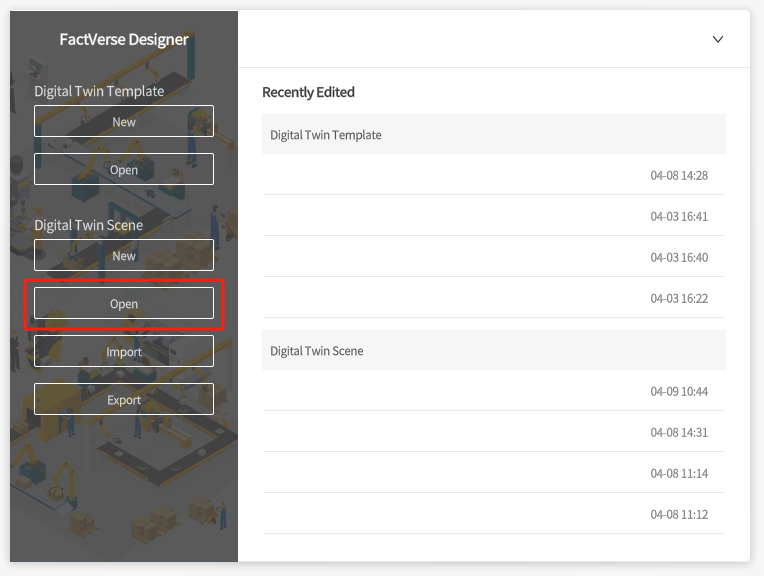
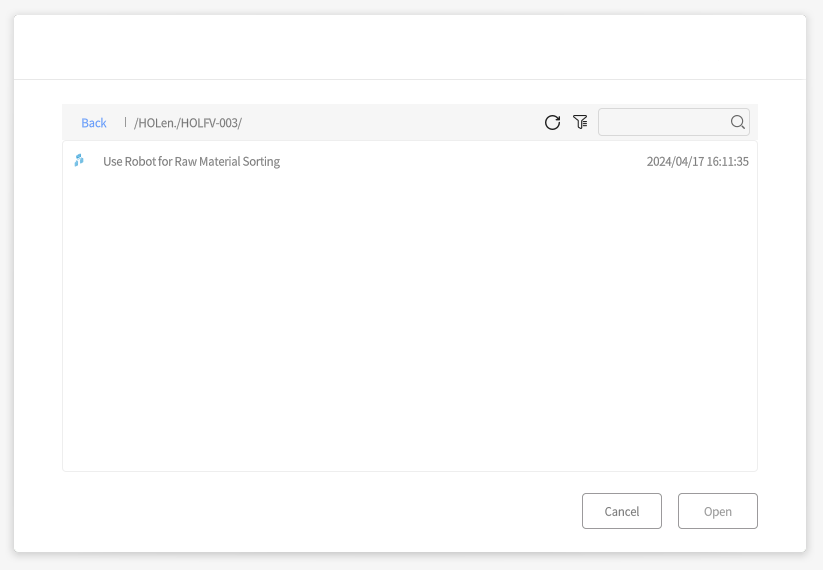
Open FactVerse Designer, log in, then click on Open. Next, navigate to HOLen.-HOLFV-003, find the scene “Use Robot for Raw Material Sorting” and enter FactVerse Hands-On Lab 03.
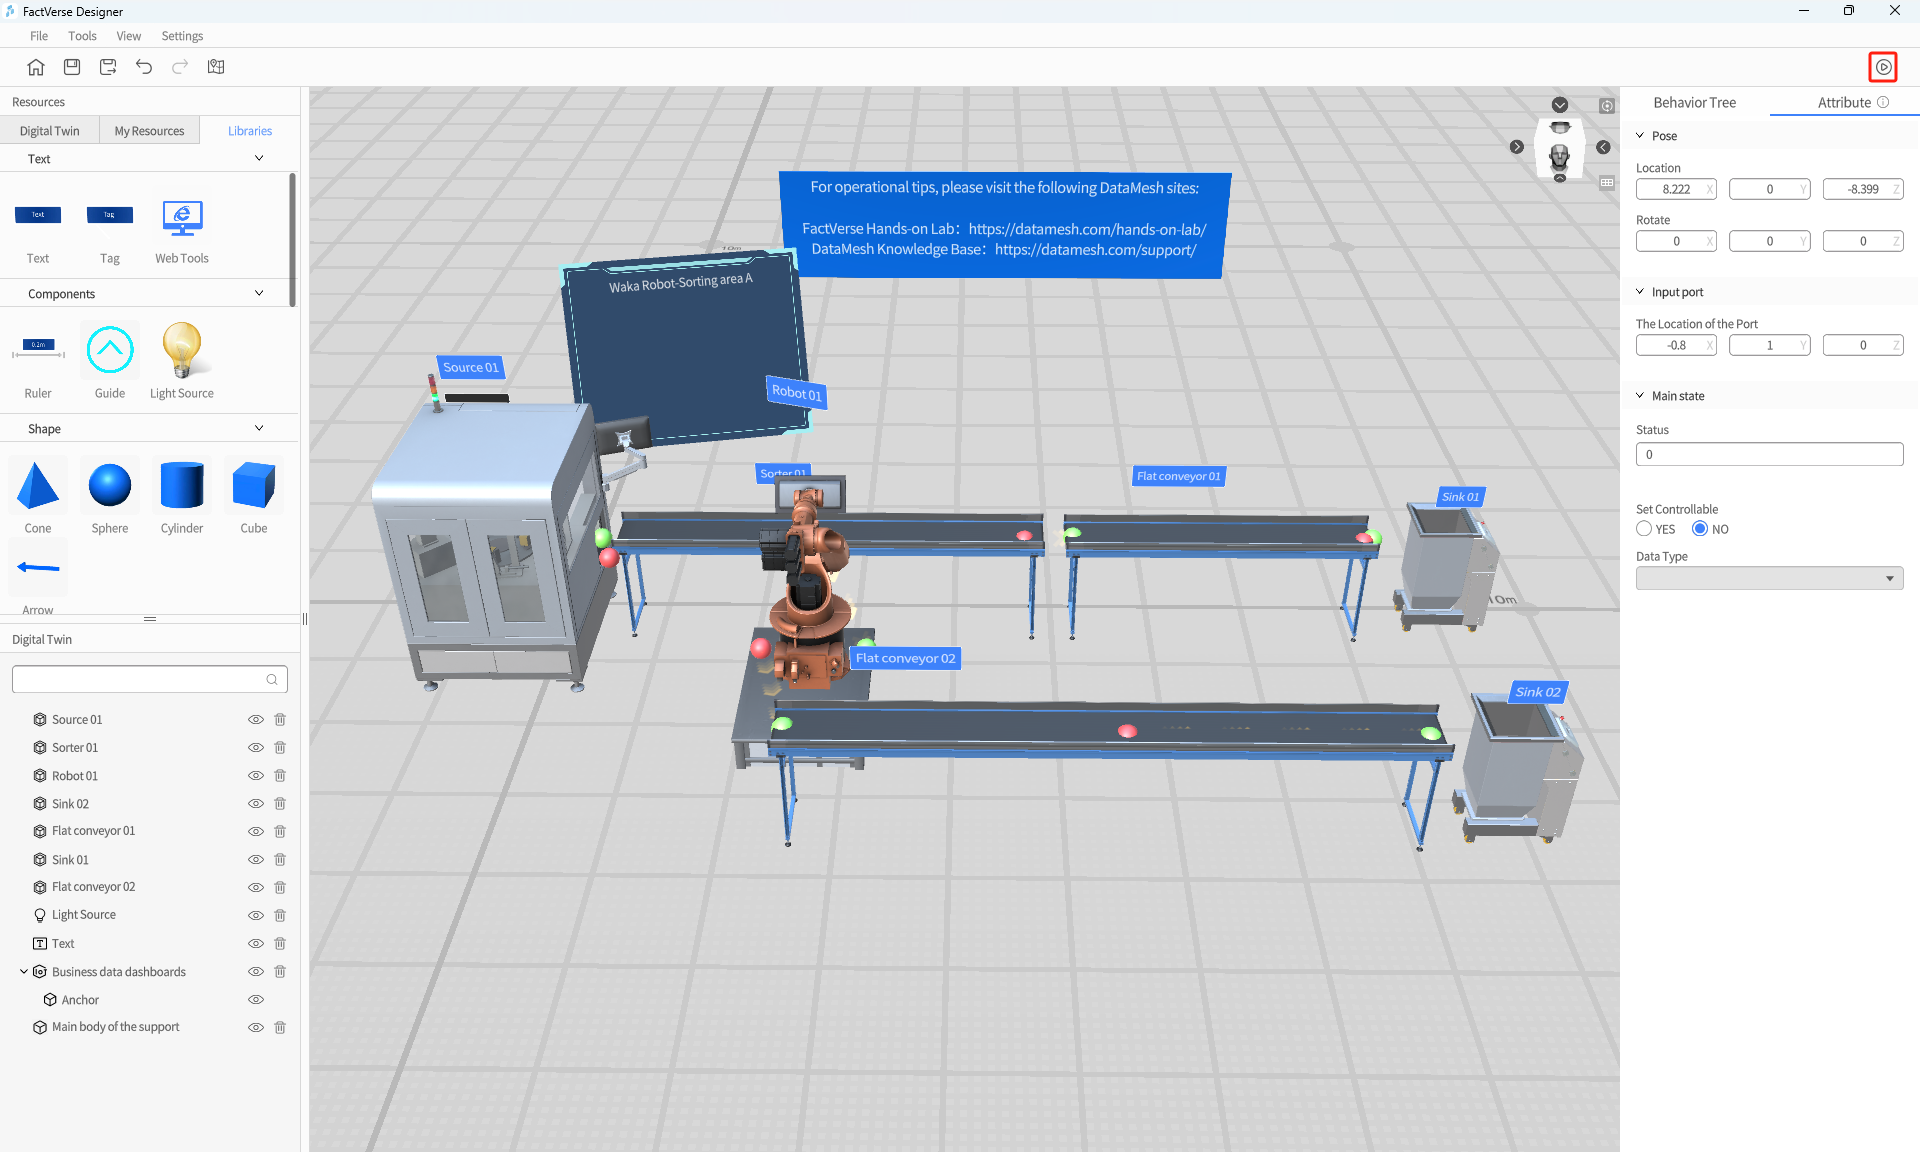
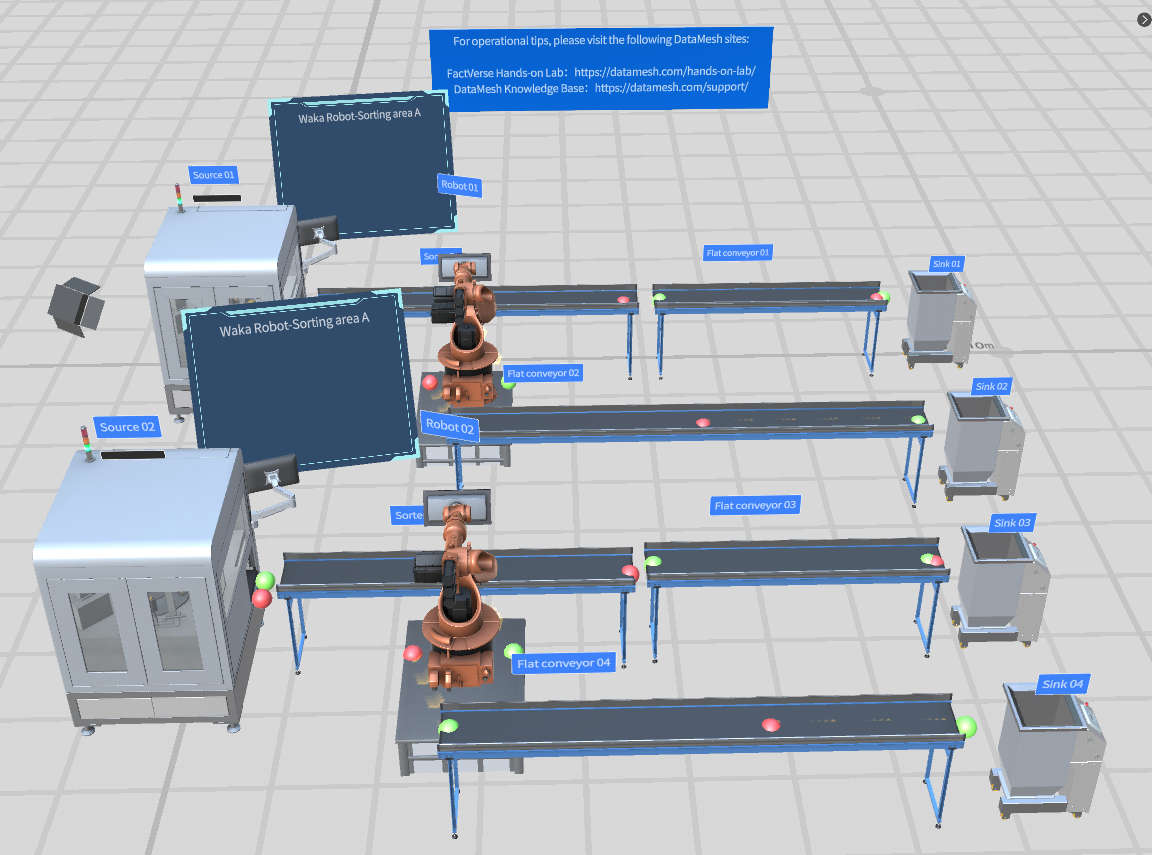
Click the button in the upper right corner of the scene to enter scene preview mode. Here, we can observe the normal operation of the production line.
 -
-
Follow these steps to set up a similar product line:
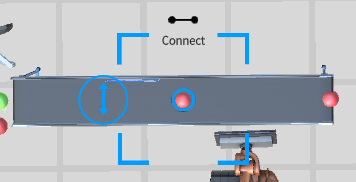 Unlike the typical output logic of a conveyor belt's output port, where an object reaches the end of the conveyor belt and then is outputted, whether objects on the Cross belt sorter are outputted from the middle of the conveyor is determined by the position of the red ball labeled "Exit 1" in the middle. When an object approaches the red ball, it automatically outputs to "Exit 1". Therefore, adjusting its position is necessary to control the output location.
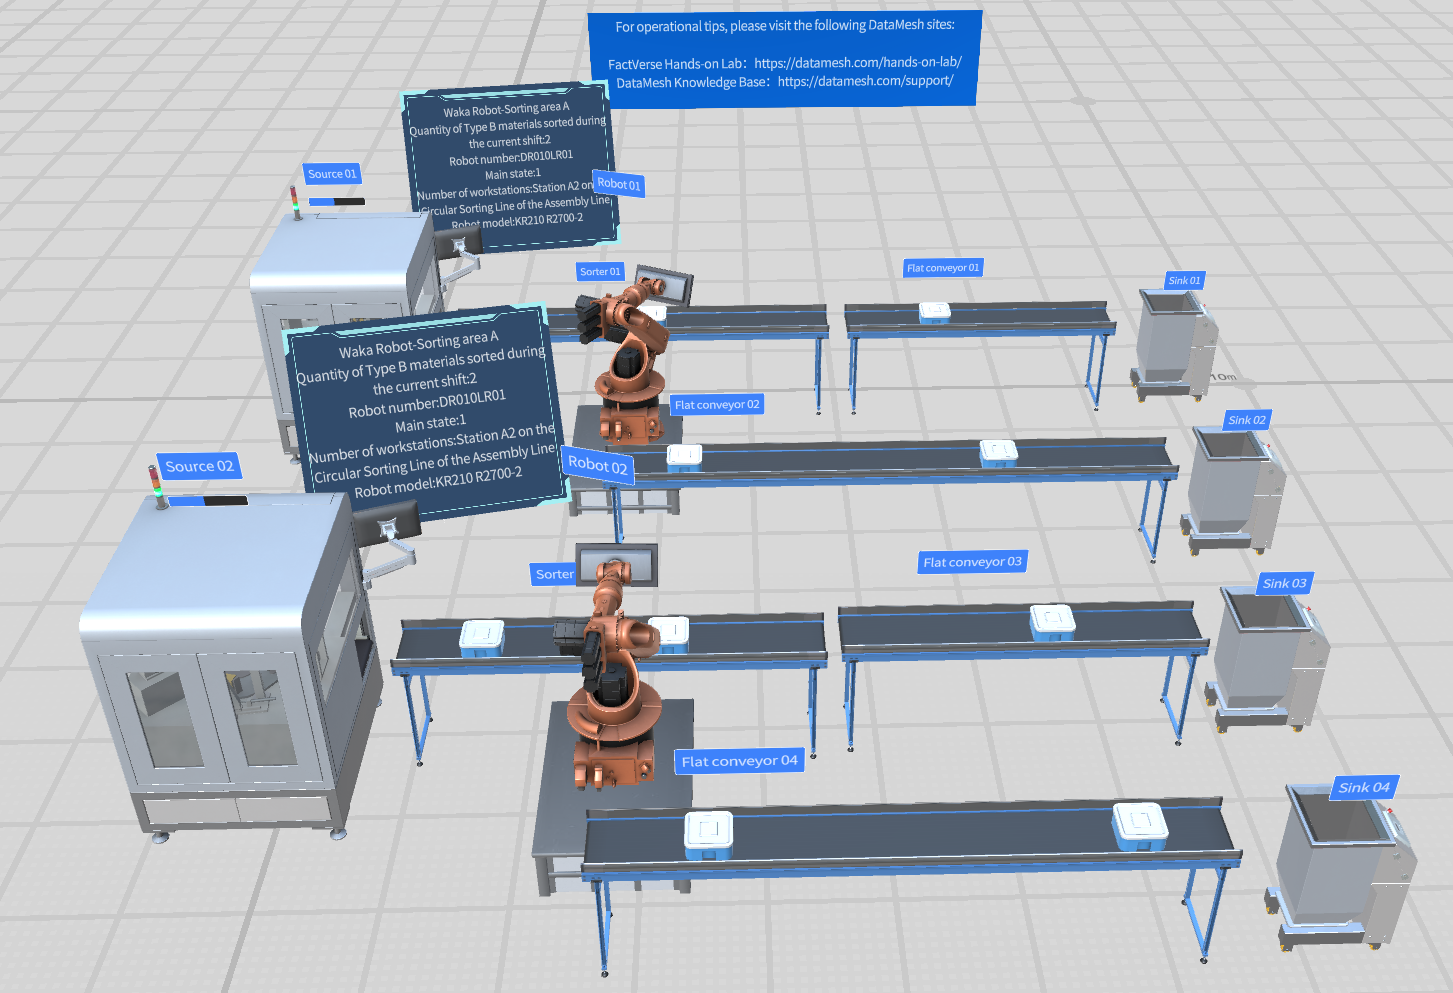
Once all the above steps are completed, click the preview button again in the top right corner to see the newly built product line.
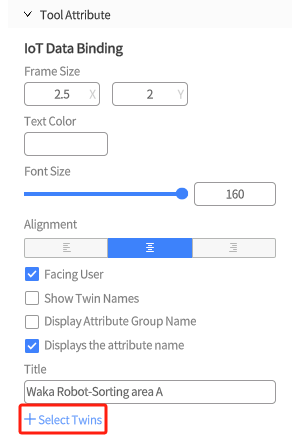
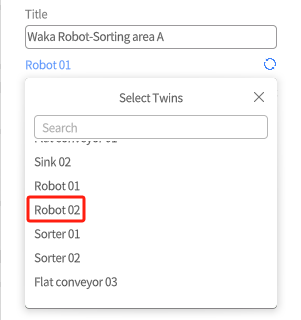
Now, you'll notice that the content of the business data dashboard changes as the scene runs.
So far, we've covered all the content from Designer Hands-on Lab 3 teaching.