- How to use a processor
- How to use a diverting conveyor belt
Install the latest version of FactVerse Designer | DataMesh.
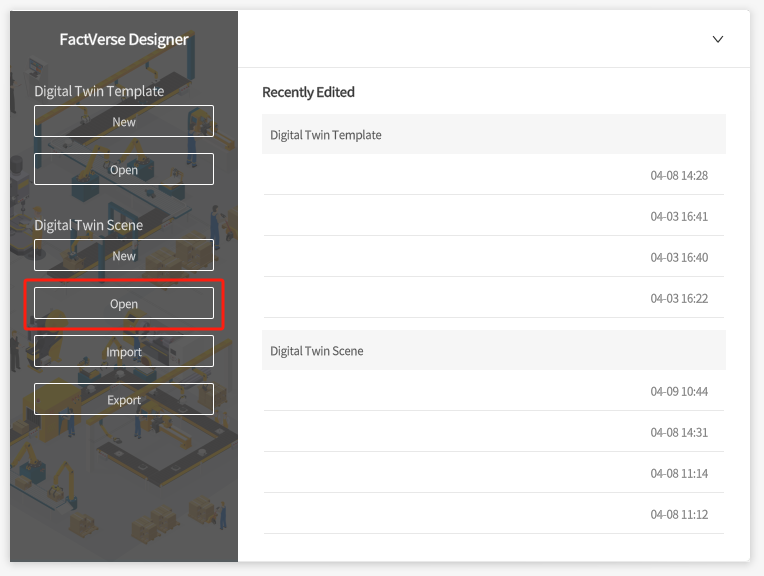
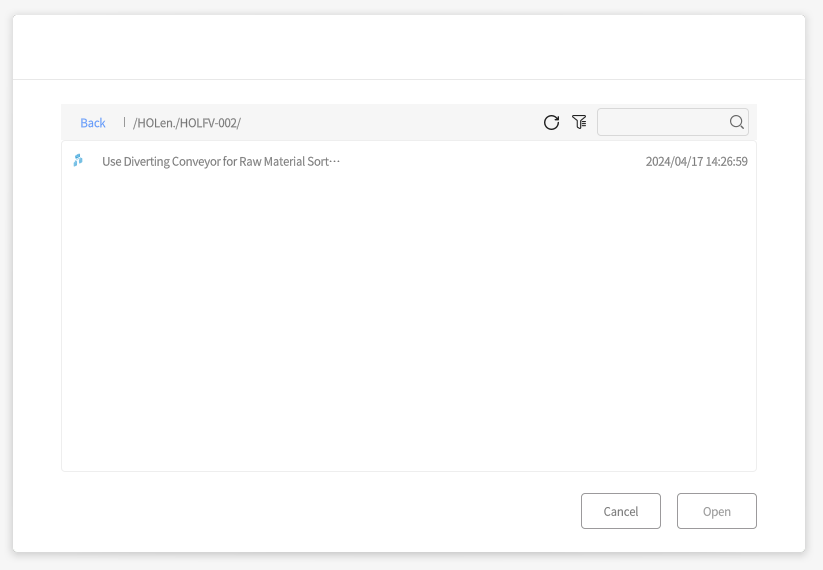
Open FactVerse Designer, log in, then click on Open. Next, navigate to HOLen.-HOLFV-002, find the scene “Use Diverting Conveyor for Raw Material Sorting” and enter FactVerse Hands-On Lab 02.
Click the button in the upper right corner of the scene to enter scene preview mode. Here, we can observe the normal operation of the production line.
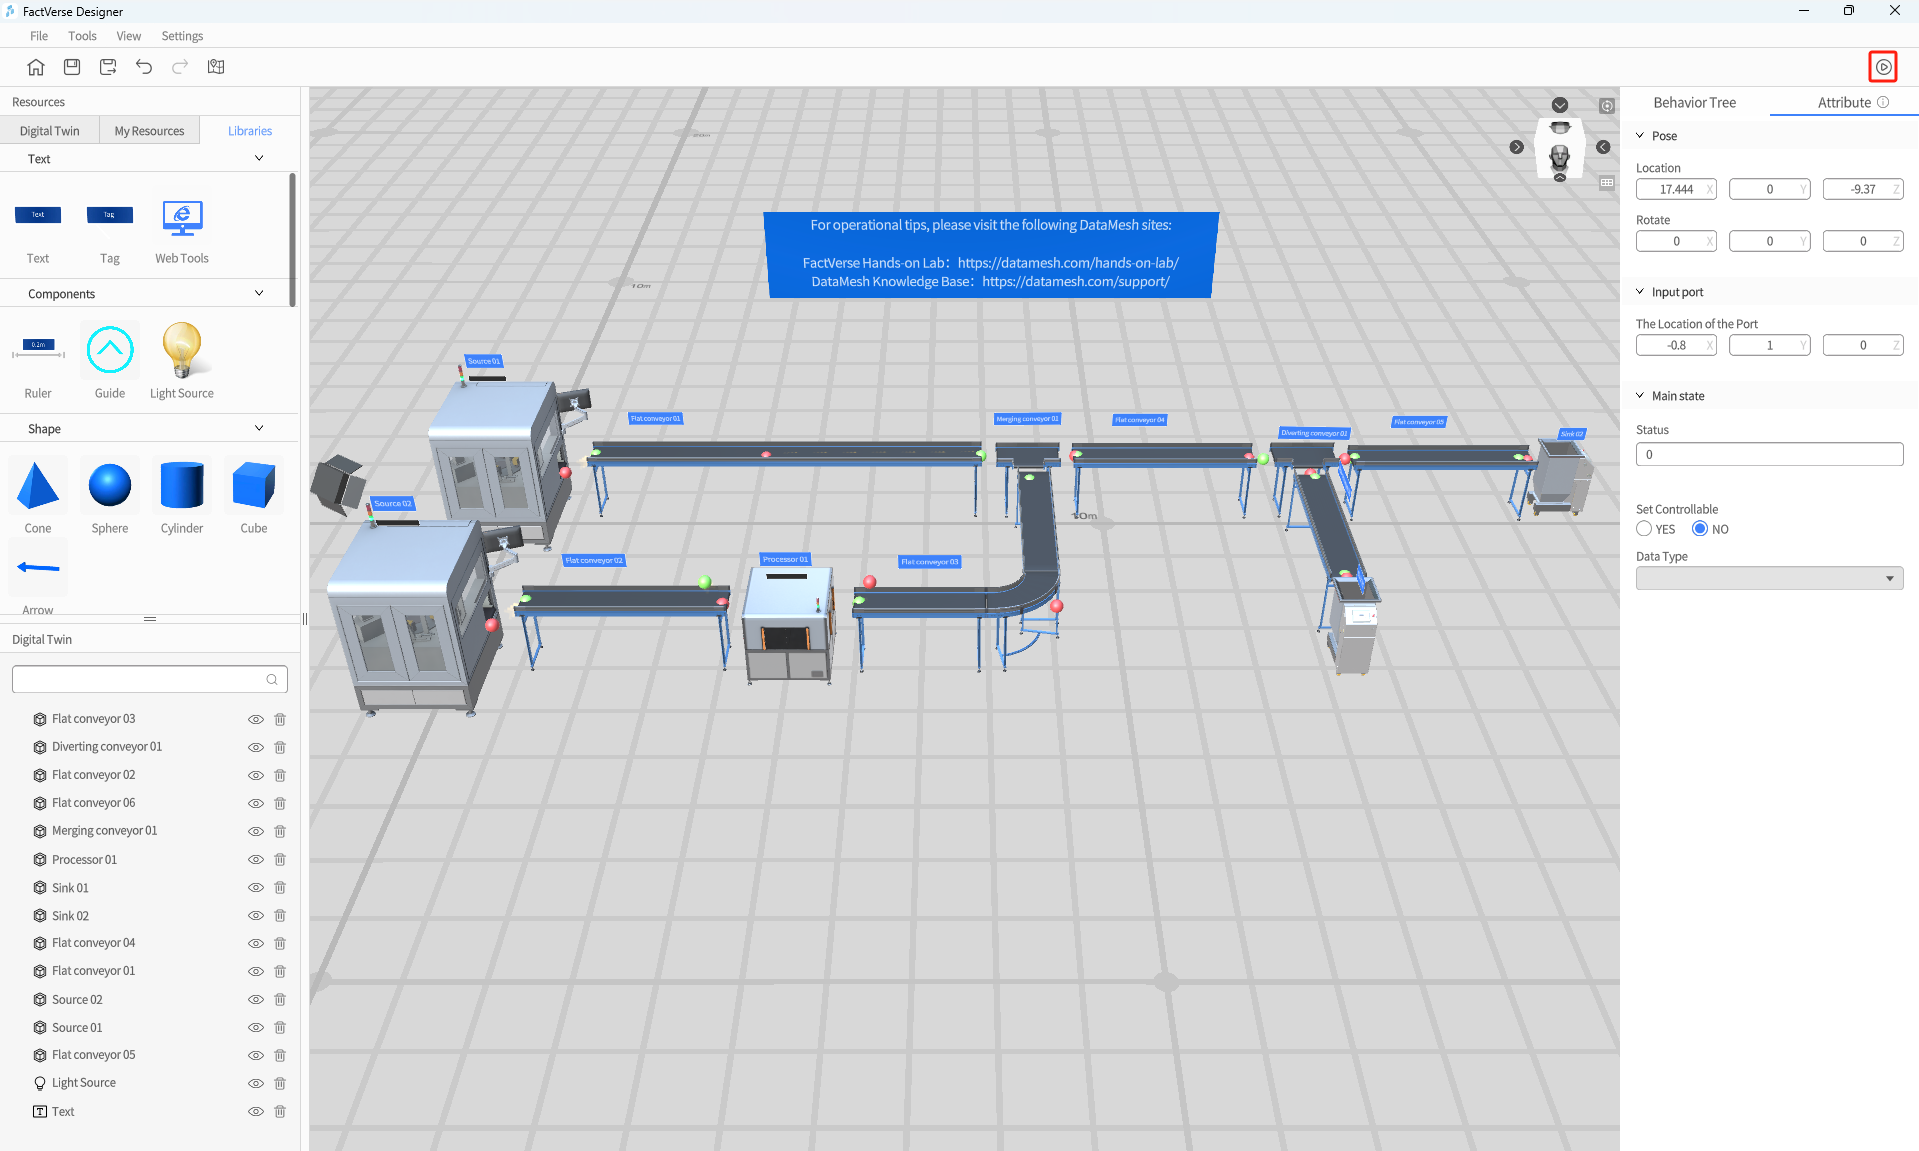
Now, let's learn how to use the digital twin scene. Follow these steps to set up a similar product line:
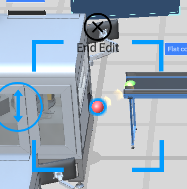
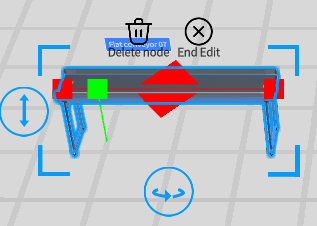 Editing the conveyor belt only changes its appearance, and does not affect the conveyor belt's speed, the function of receiving/sending objects, etc.
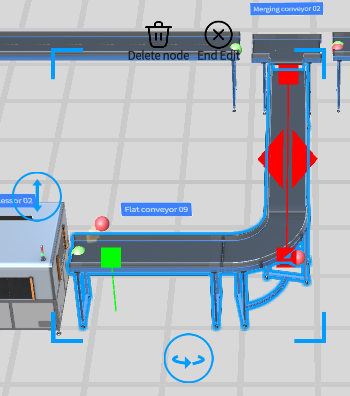
In addition, in edit mode, double-clicking on a blank space can cause the conveyor belt to turn at its current position, generating additional extended sections of the conveyor belt. This operation can be repeated until editing is finished. Deleting nodes will remove the paths and nodes generated through this method.
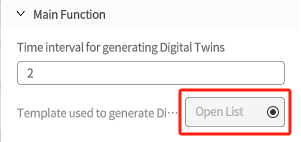 Since the working logic of the processor in the digital twin scene is to delete the previous object and generate a new one, in terms of output, the working logic of the processor is the same as the Source, both controlled by the main function to produce the desired objects.
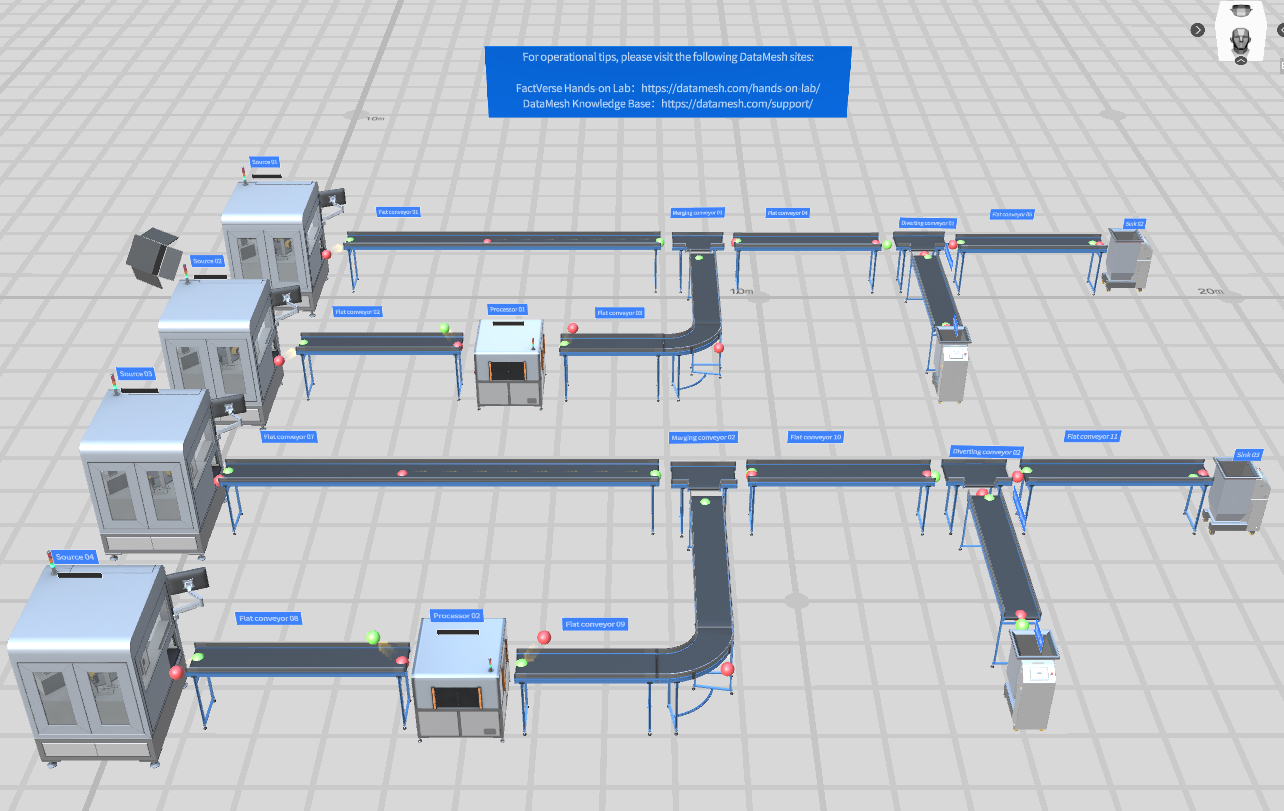
Once all the above steps are completed, click the preview button again in the top right corner to see the newly built product line.
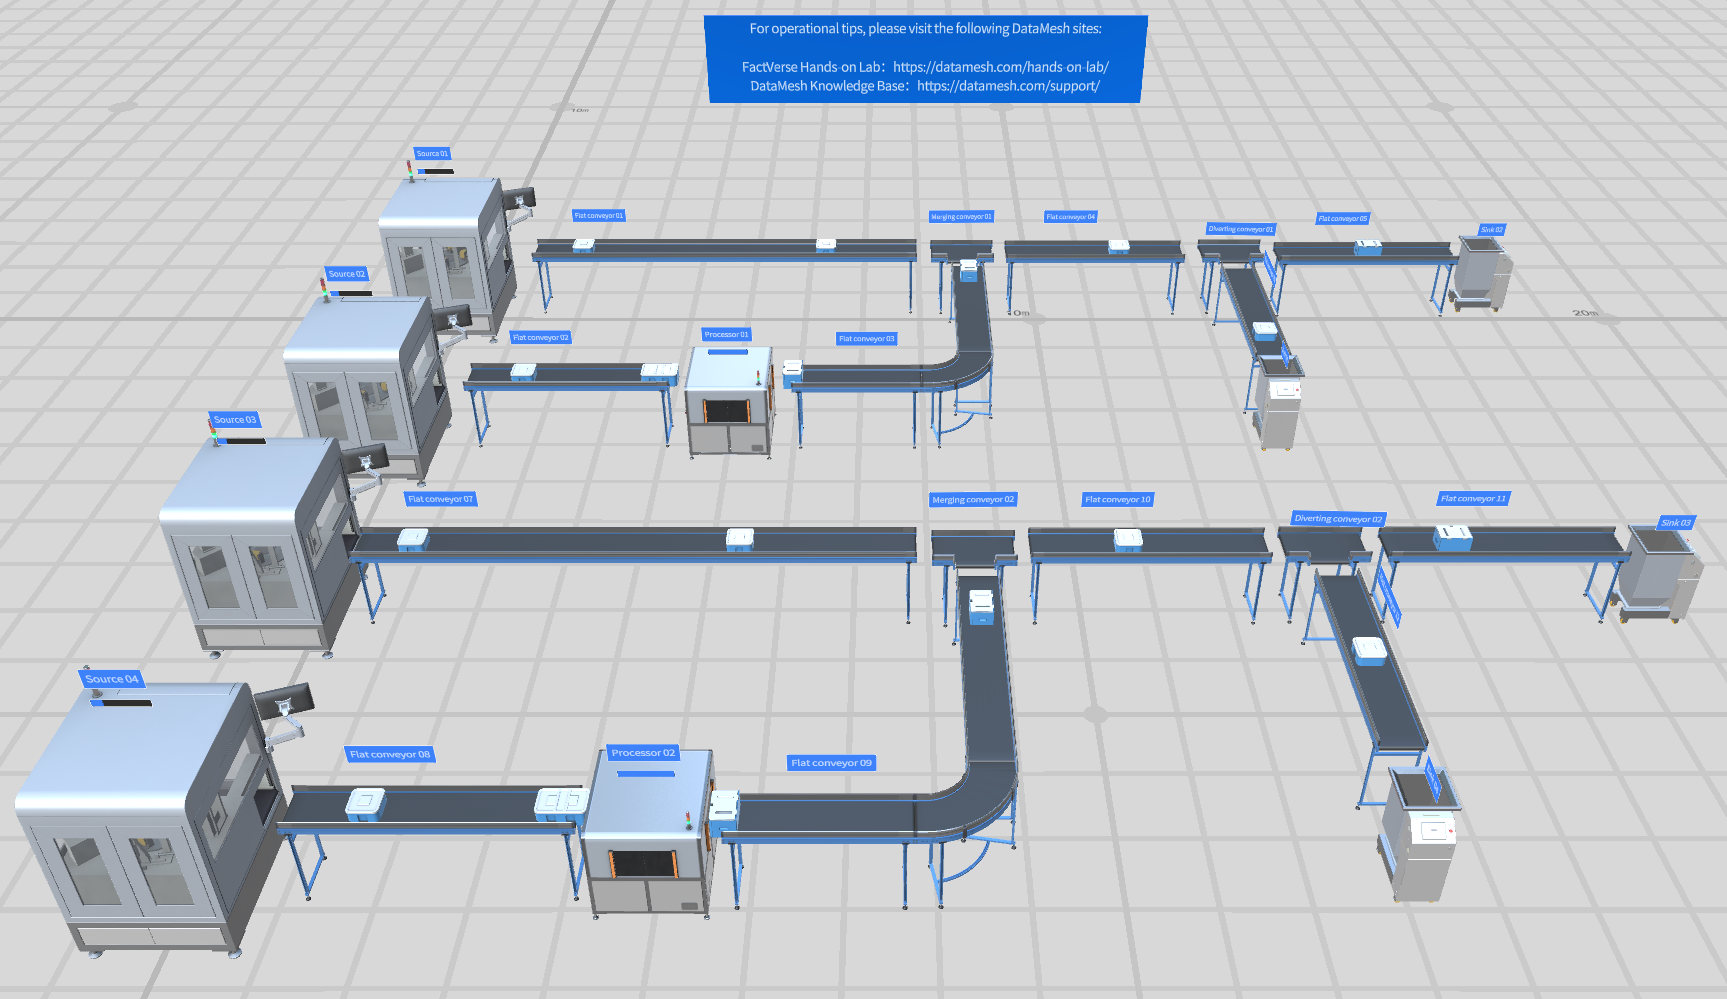
So far, we have completed all the content of Designer Hands-on Lab 2 teaching.