- How to open and play scenes
- How to modify scenes
- How to connect digital twins
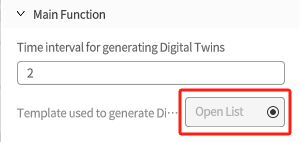
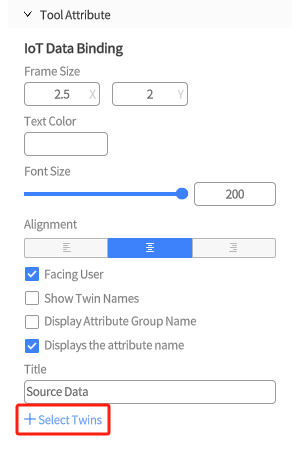
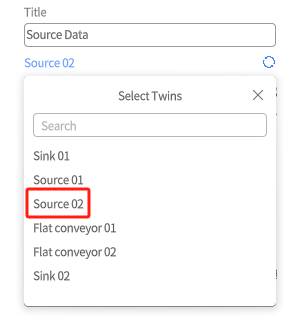
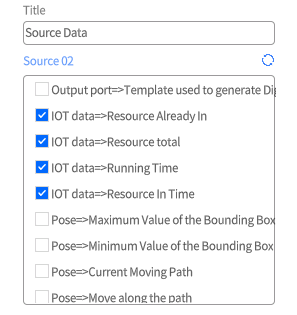
- How to change digital twin attributes and select other digital twins
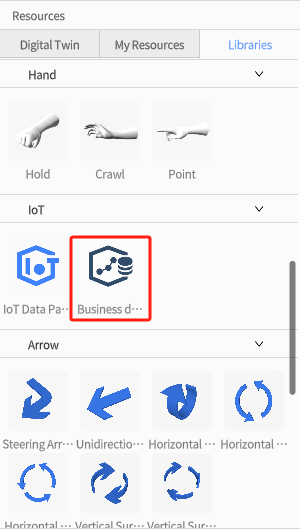
- How to use a Business data dashboard
Install the latest version of FactVerse Designer | DataMesh.
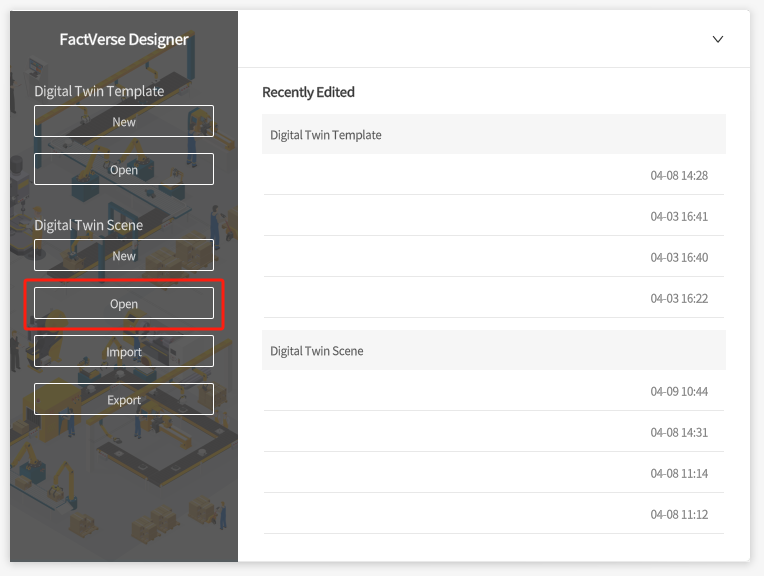
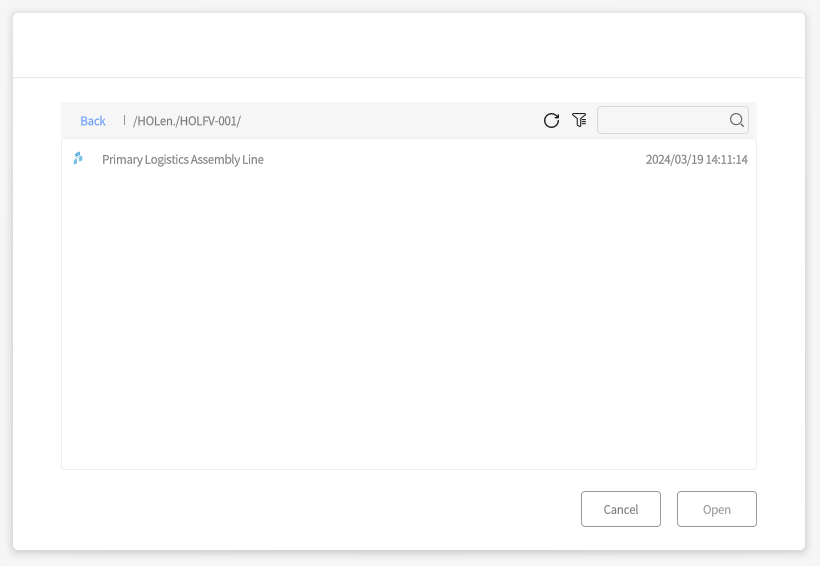
Open FactVerse Designer, log in, then click on Open. Next, navigate to HOLen.-HOLFV-001, find the scene “Primary Logistics Assembly Line” and enter FactVerse Hands-On Lab 01.
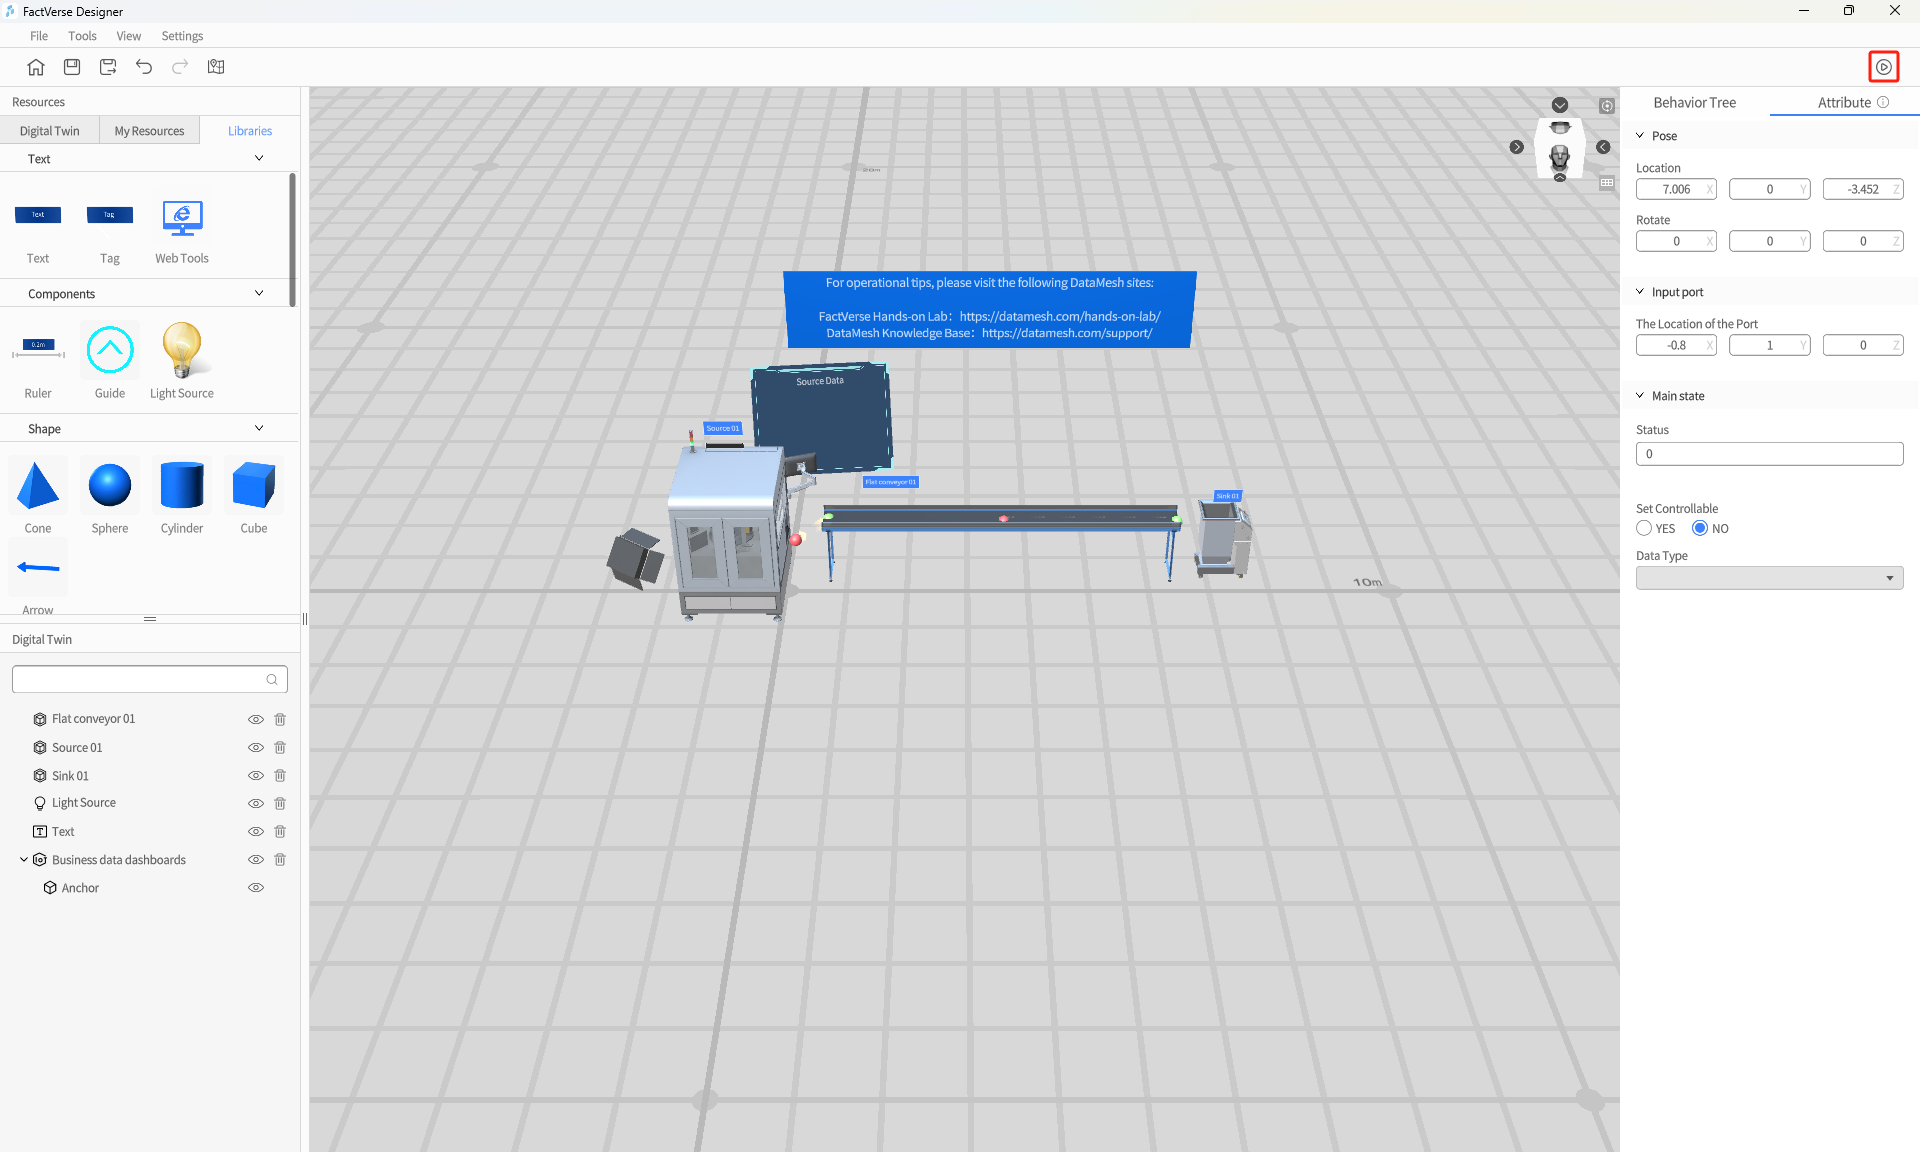
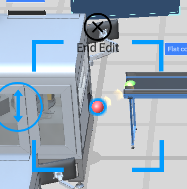
Click the button in the upper right corner of the scene to enter scene preview mode. Here, we can observe the normal operation of the production line.
Now, let's learn how to use the digital twin scene. Follow these steps to set up a similar product line:
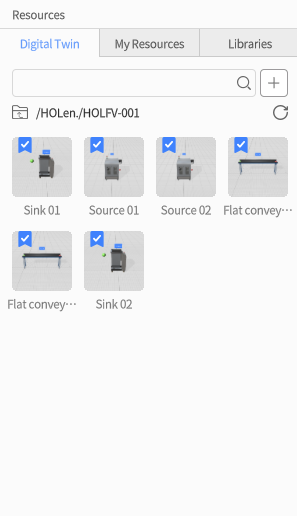
Because each digital twin in the scene is unique, even if they share the same appearance, function, and purpose, they're still considered as distinct entities. Therefore, to distinguish between digital twins with the same function, we'll name them 01 and 02 respectively (for example, Source 01, Source 02). 01 will serve as the control group, while 02 will serve as the experimental group to build two product lines with identical functionality for comparison.
Since each digital twin in the scene is an independent entity, those with input/output have distinct entrances and exits. Only by connecting the input port and output port of the two digital twins with connection lines can these digital twins be logically associated.
 With these steps completed, a new product line has been successfully set up.
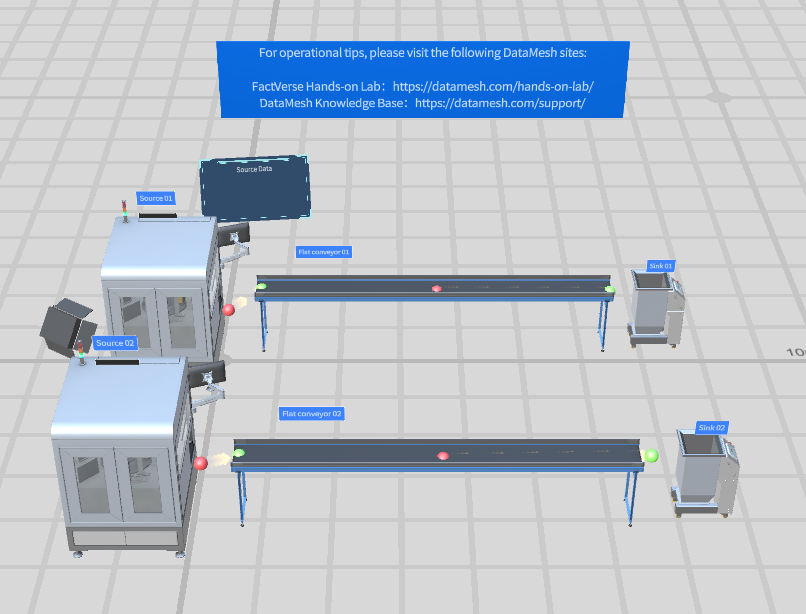
Once all the above steps are completed, click the preview button again in the top right corner to see the newly built product line.
Now, you'll notice that the content of the business data dashboard changes as the scene runs.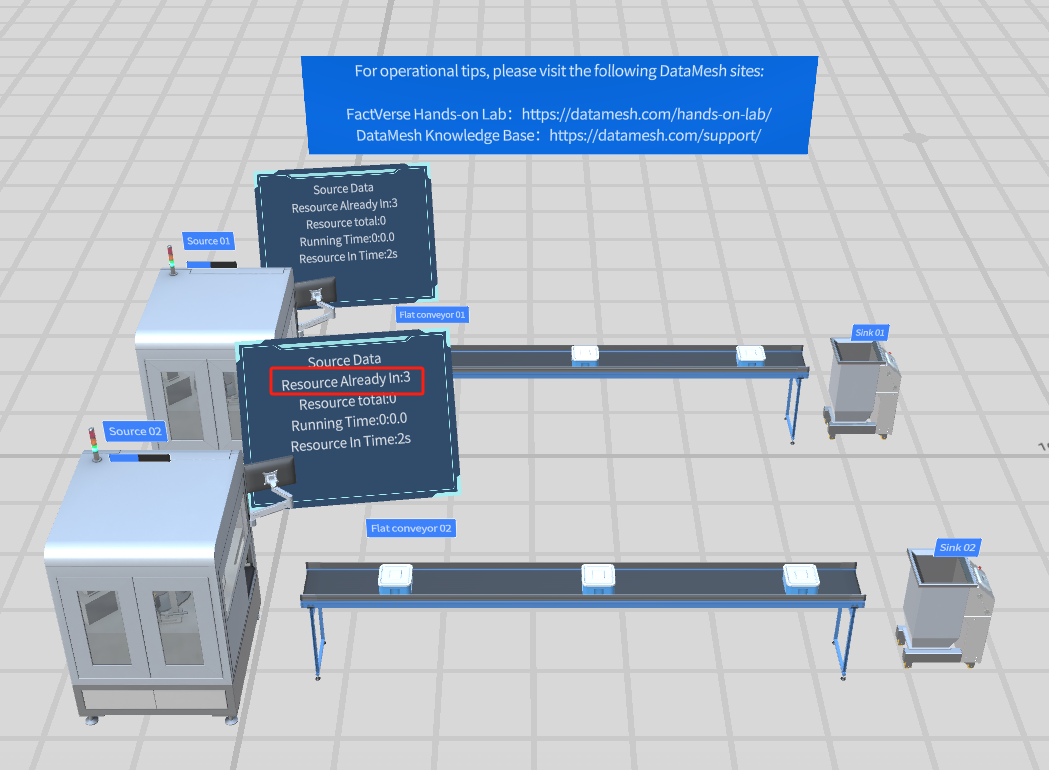
So far, we've covered all the content from Designer Hands-on Lab 1 teaching.