How Can We Help?
Training process
Training preparation
Creating task assessment scenarios
Training instructors use DataMesh Studio to create scenarios with task assessments. The following is the basic process for creating scenarios with task assessments:
1. Upload the required resources for scenario creation (e.g., models, images, PDF files, etc.) to the resource library of the FactVerse Services.
2. Log in to DataMesh Studio.
3. Add the necessary resources, such as models, to the scene.

4. Add linking actions or interactive positions to the roles.

5. Create assessment tasks, set scores for tasks, and bind interactive actions.

6. Set the scenario playback mode to page flipping.

For more information about creating assessment scenarios with task assessments, you can refer to the assessment section in the DataMesh Studio user manual.
Training management
Training instructors need to perform the following training management tasks in the Learning Management module on the DataMesh FactVerse Services platform:
1. Create training groups
-
- In the Learning Management module on the DataMesh FactVerse Services platform, create internal training groups or temporary training groups and add learners to these groups. For more information, please refer to the section on creating internal training groups in the DataMesh FactVerse Services User Manual.
- Members of internal training groups need to be associated with FactVerse accounts, while members of temporary training groups only need to provide their names and phone numbers. For more information, please refer to the section on creating temporary training groups in the DataMesh FactVerse Services User Manual.
2. Create courseware
Training instructors need to create training courseware and bind task assessment scenarios in the Learning Management module on the DataMesh FactVerse Services platform to provide learning resources for training content. For more information, please refer to the section on creating courseware in the DataMesh FactVerse Services User Manual.
3. Create learning tasks
In the Learning Management module on the DataMesh FactVerse Services platform, set up learning tasks for the previously created training groups to guide learners in their learning and training. For more information, please refer to the section on creating tasks in the DataMesh FactVerse Services User Manual.
4. Create exam tasks
In the Learning Management module on the DataMesh FactVerse Services platform, create exam tasks for training groups to assess and evaluate learners. For more information, please refer to the section on creating tasks in the DataMesh FactVerse Services User Manual.
Complete learning tasks
Trainees in the training group complete learning tasks on DataMesh Learn. These tasks must be completed within the task’s validity period. The specific steps for completing a learning task are as follows:
1. Log in to DataMesh Learn.
2. Click on My Tasks, select the learning task you want to complete, and enter the details page for that task.
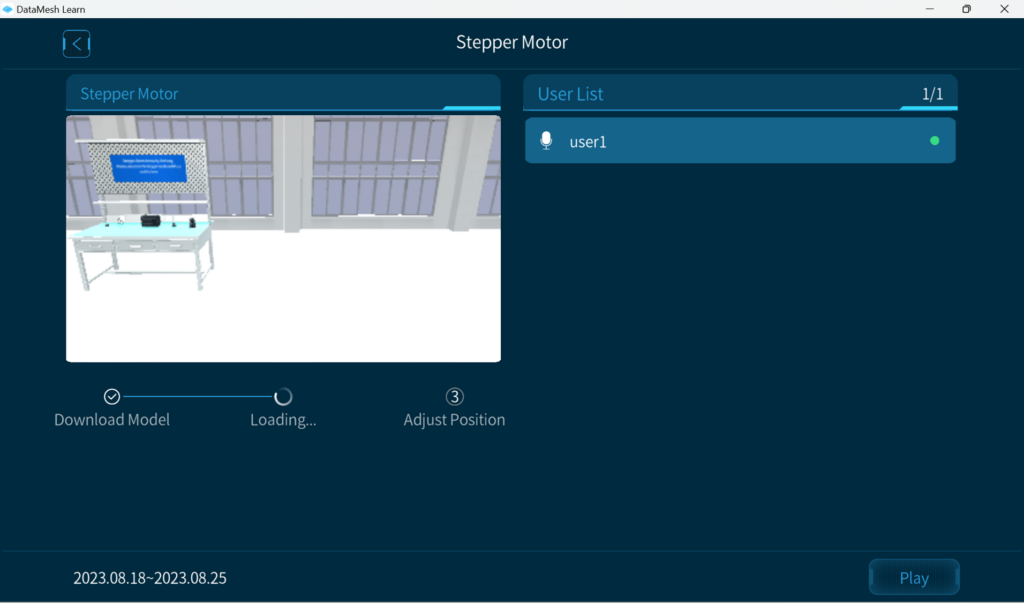
3. Once you are on the task details page, you will see the model in the courseware, waiting for its position to be adjusted. Click the Play button to enter the gaze mode.
4. Move your mobile device’s camera to recognize the surrounding environment.
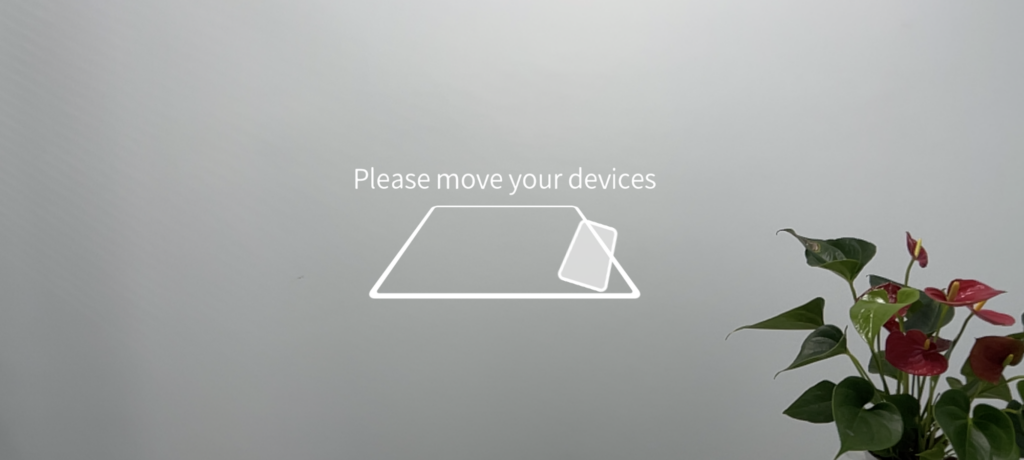
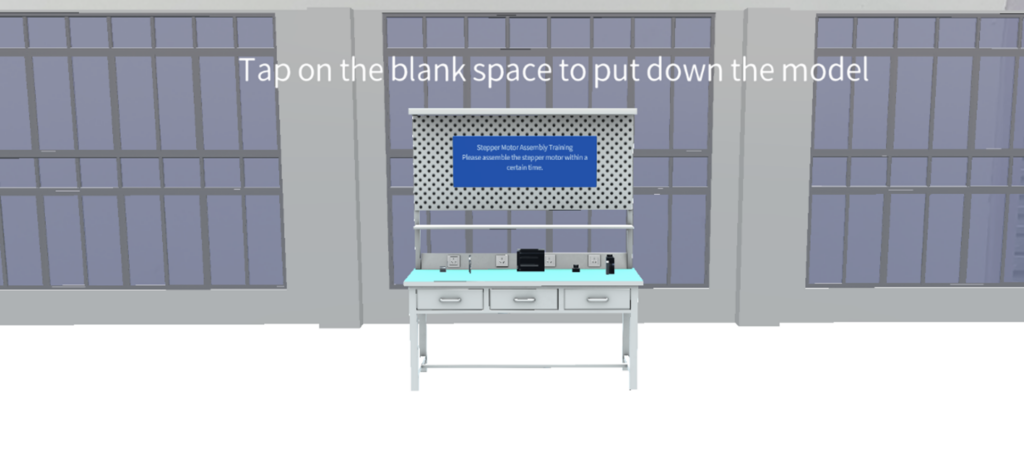
5. After recognizing a flat surface, tap on an empty area on the screen to quickly place the model on the recognized surface.
6. Position Adjustment: After placing the model, enter the position adjustment mode. You can adjust the model’s position using the joystick, QR code positioning, or by reselecting the gaze mode. The joystick adjustment, QR code positioning, and gaze mode functions in DataMesh Learn are the same as those in DataMesh One. For more information, please refer to the DataMesh One 6.0 User Manual.
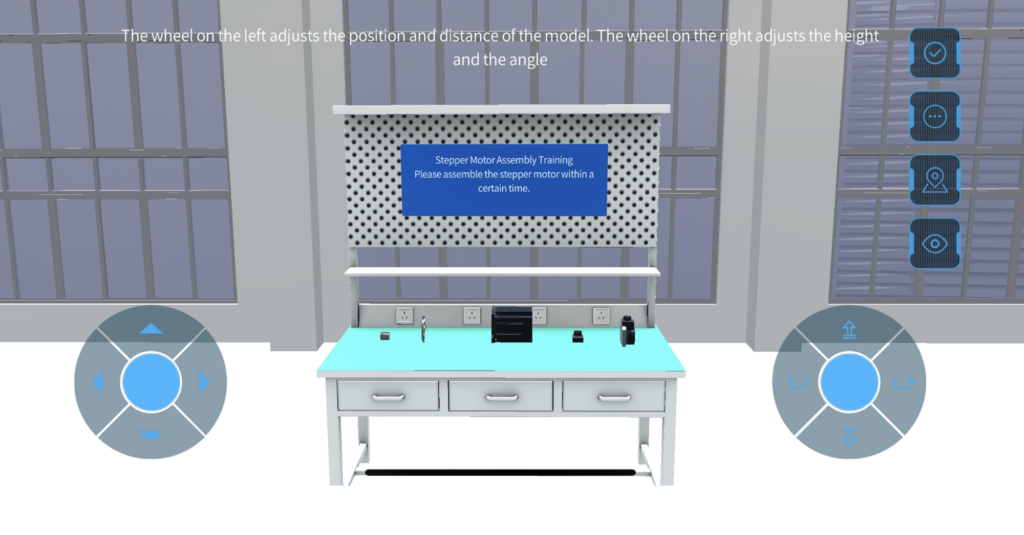
7. Adjust Translation and Rotation Accuracy (Optional): If you need to fine-tune the translation and rotation accuracy, you can open the additional options panel by clicking the button ![]() on the side of the position adjustment interface. Then, click the adjustment function button
on the side of the position adjustment interface. Then, click the adjustment function button ![]() to enter the Set click accuracy window for corresponding adjustments.
to enter the Set click accuracy window for corresponding adjustments.

8. After completing the position adjustment, click the Complete button ![]() to start playing the scene.
to start playing the scene.
9. You can play the next scene by using the switch scene arrows.
10. When there are interactive tasks within the scene, after all roles in the scene have finished playing, the Show and Skip buttons will appear at the bottom of the page.

11. Click the Show button to observe the correct interaction of the model.
12. Click on the model you want to interact with in the scene; the selected model will be surrounded by a blue highlighted outline.

13. According to the task requirements, move the model to the designated area or rotate the model. If the model is within the automatic adsorption range and rotation angle error, it will automatically move to the correct position and rotate to the correct angle. Note: The interactive behavior in this scene does not affect the roles in the next scene.
14. Click Confirm after completing an action. Note: If there are multiple interactive actions in the scene, you need to click Confirm after completing each action for the scoring to take effect.
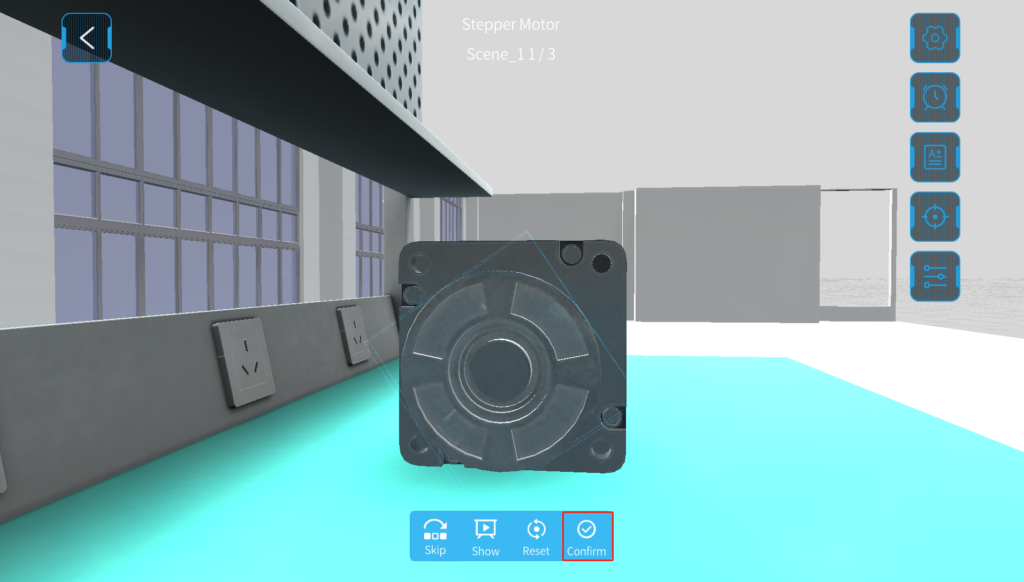
15. After completing all interactive actions in the current scene, click the switch scene arrow to continue playing the next scene.

16. After all scenes have been played, the message “The Task is over” will be displayed.
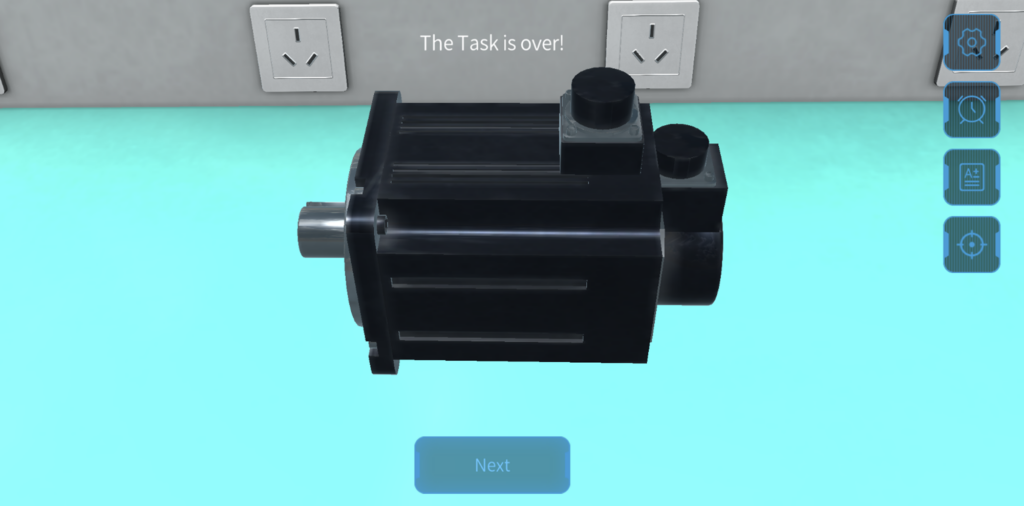
17. Click the Next button to display the score results.

18. Click the Next button to exit the learning task.
19. Click Career Tracking to view learning records.

Complete exam tasks
Trainees in the training group complete exam tasks on DataMesh Learn. These tasks must be completed within the task’s validity period. The specific steps for completing an exam task are as follows:
1. Log in to DataMesh Learn.
2. Click on the exam task you want to complete in My Task and enter the details page for that exam task.

3. Once you are on the exam task details page, you will see the model in the courseware, waiting for its position to be adjusted. Click the Play button to enter the gaze mode.
4. Move your mobile device’s camera to recognize the surrounding environment.

5. After recognizing a flat surface, tap on an empty area on the screen to quickly place the model on the recognized surface.

6. Adjust Position: After placing the model, enter the position adjustment mode. You can adjust the model’s position using the joystick, QR code positioning, or by reselecting the gaze mode. The joystick adjustment, QR code positioning, and gaze mode functions in DataMesh Learn are the same as those in DataMesh One. For more information, please refer to the DataMesh One 6.0 User Manual.
7. Adjust Translation and Rotation Accuracy (Optional): If you need to fine-tune the translation and rotation accuracy, you can open the additional options panel by clicking the button ![]() on the side of the position adjustment interface. Then, click the adjustment function button
on the side of the position adjustment interface. Then, click the adjustment function button ![]() to enter the Set click accuracy window for corresponding adjustments.
to enter the Set click accuracy window for corresponding adjustments.

8. After completing the position adjustment, click the Complete button ![]() to start playing the scene.
to start playing the scene.
9. You can play the next scene by using the switch scene arrows.
10. When there are interactive tasks within the scene, after all roles in the scene have finished playing, enter the interactive mode.

11. Click on the model you want to interact with in the scene; the selected model will be surrounded by a blue highlighted outline.

12. According to the task requirements, move the model to the designated area or rotate the model. If the model is within the automatic adsorption range and rotation angle error, it will automatically move to the correct position and rotate to the correct angle. Note: The interactive behavior in this scene does not affect the roles in the next scene.

13. Click Confirm after completing an action. Note: If there are multiple interactive actions in the scene, you need to click Confirm after completing each action.
14. After completing all interactive actions in the current scene, click the switch scene arrow to continue playing the next scene.

15. After all scenes have been played, the message “The Task is over” will be displayed.

16. Click the Next button to display the exam score results.

17. Click the Next button to display whether the exam has been passed.

18. Click the Exit button to finish the exam task.
19. Click Career Tracking to view exam records.
