- How to use markers
- The MR immersive experience
Sandbox/Exhibition
How to Position MR Scenario
With DataMesh One, you can play completed scenarios in mixed-reality (MR) mode, immersing yourself in an exceptional experience.
Director
Beginner
Steps
1
Prerequisites
Before starting this experiment, ensure you understand:
- How to create a scenario
- How to play a scenario
Recommended Lab: " Quickly Create Your First 3D Demo Scenario"
2
Add and adjust markers
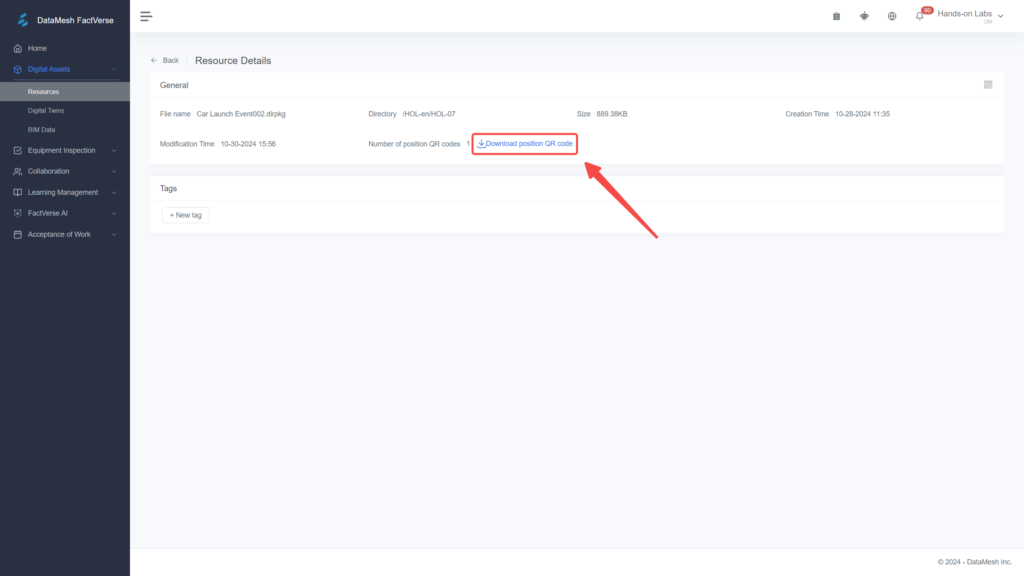
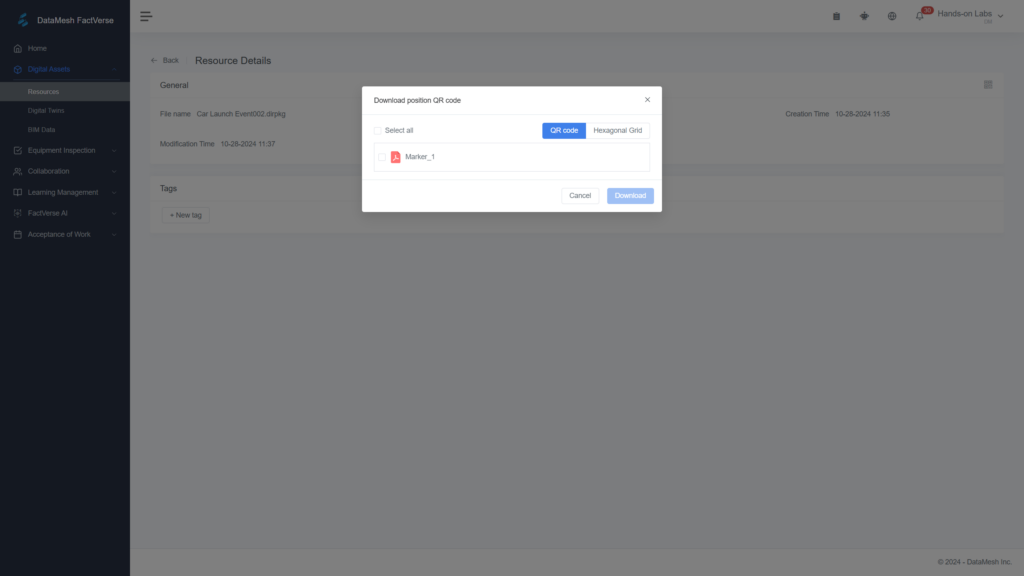
When playing a scenario in DataMesh One, it will combine with real space for positioning. In addition to manually placing and adjusting models, you can scan markers within the scenario.
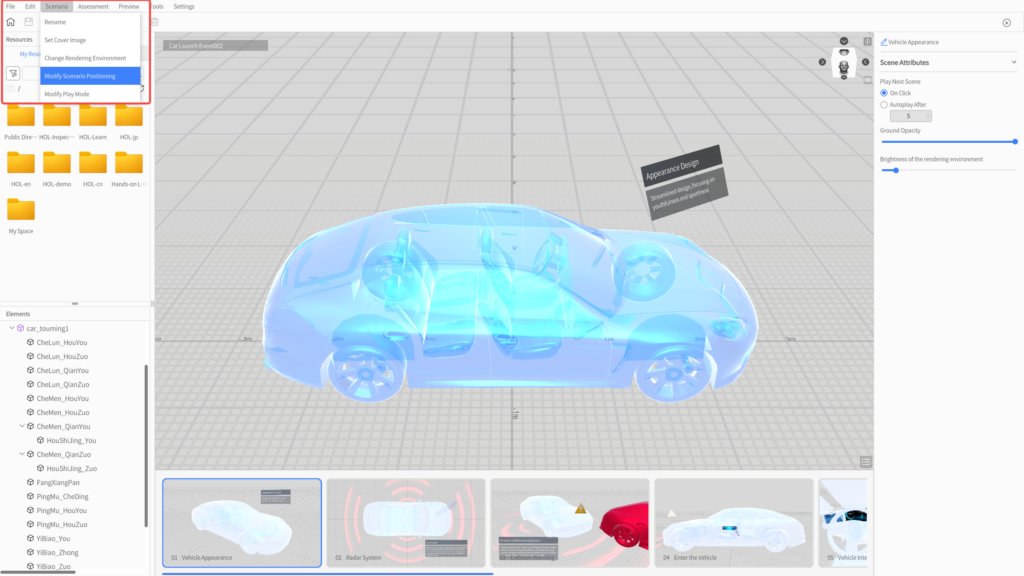
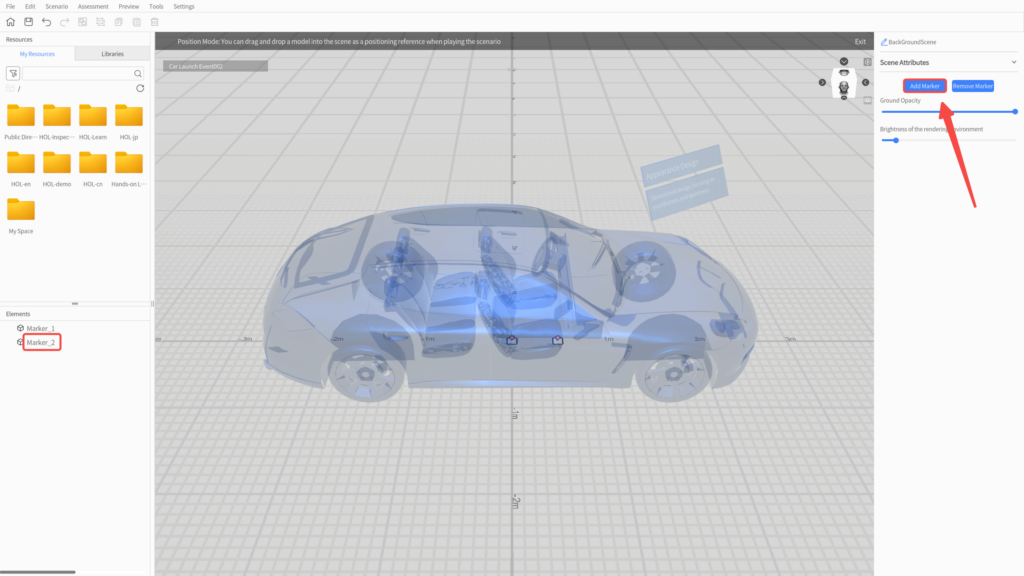
- Log in to DataMesh Studio and open your scenario. Click on the Scenario menu and select Modify Scenario Positioning. The scene will contain a default positioning code Marker_1 at (0,0,0).
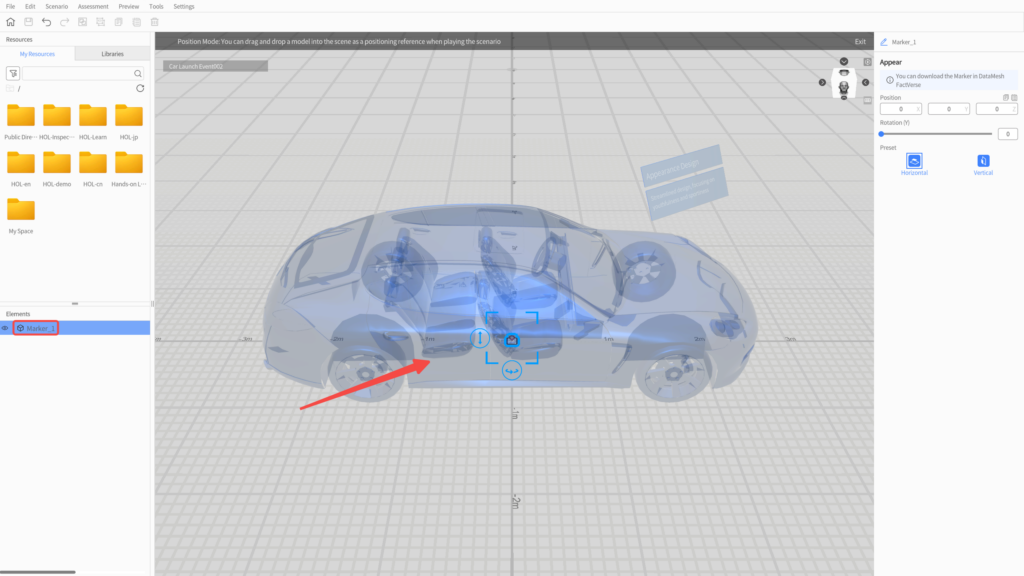
- Select Marker_1 from the element list and drag it to your desired location. You can also quickly adjust its direction and angle in the attribute panel.
- To add more markers, click Add Marker. Ensure there’s at least one marker in the scene.
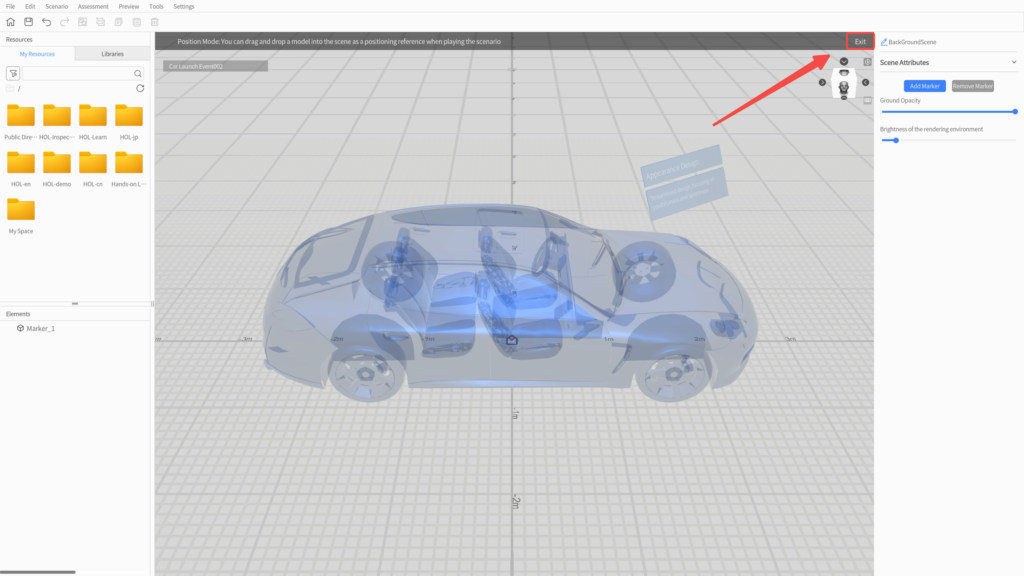
- Click Exit to leave positioning mode and continue editing your scenario. Remember to click Save when you’re done.
- If you don't need to add more markers or adjust the marker’s position, you can skip the previous steps and proceed.
3
4
Play the scenario in MR mode
-
- Place the printed marker in a suitable location.
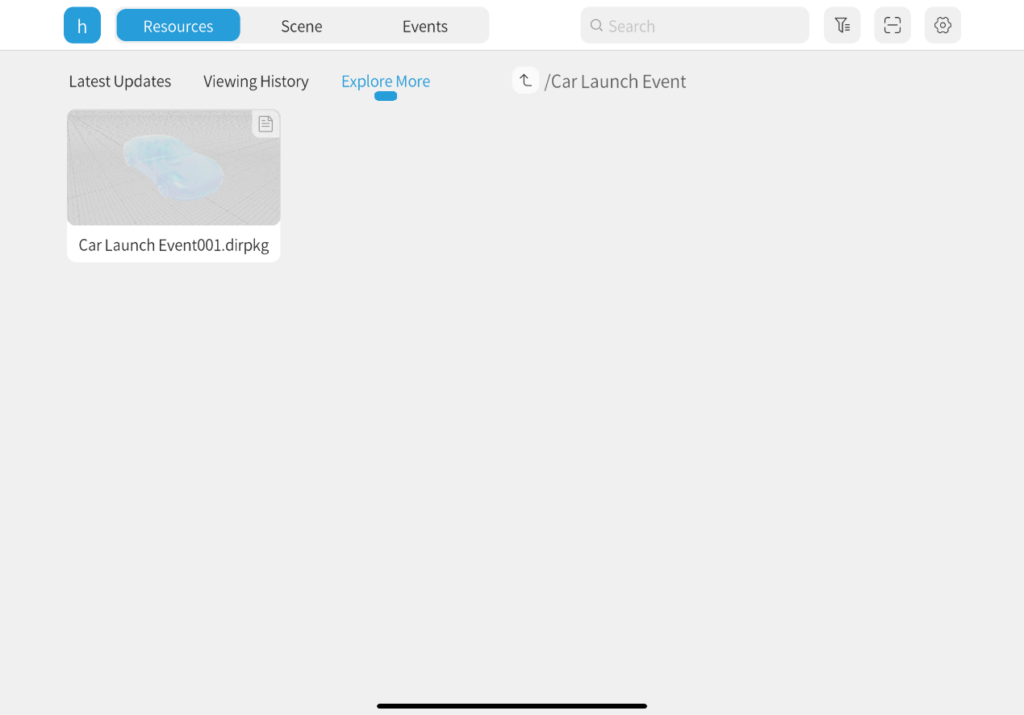
- Log in to DataMesh One, select standard mode, and open your scenario.
- Click the Scan button and align the scan frame with the marker.
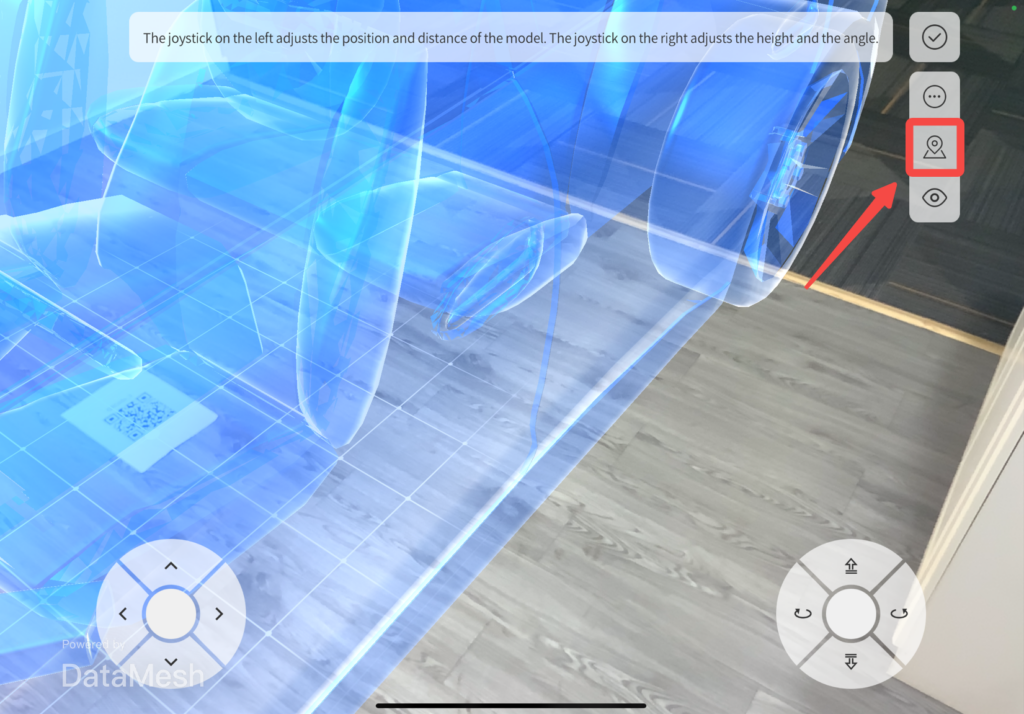
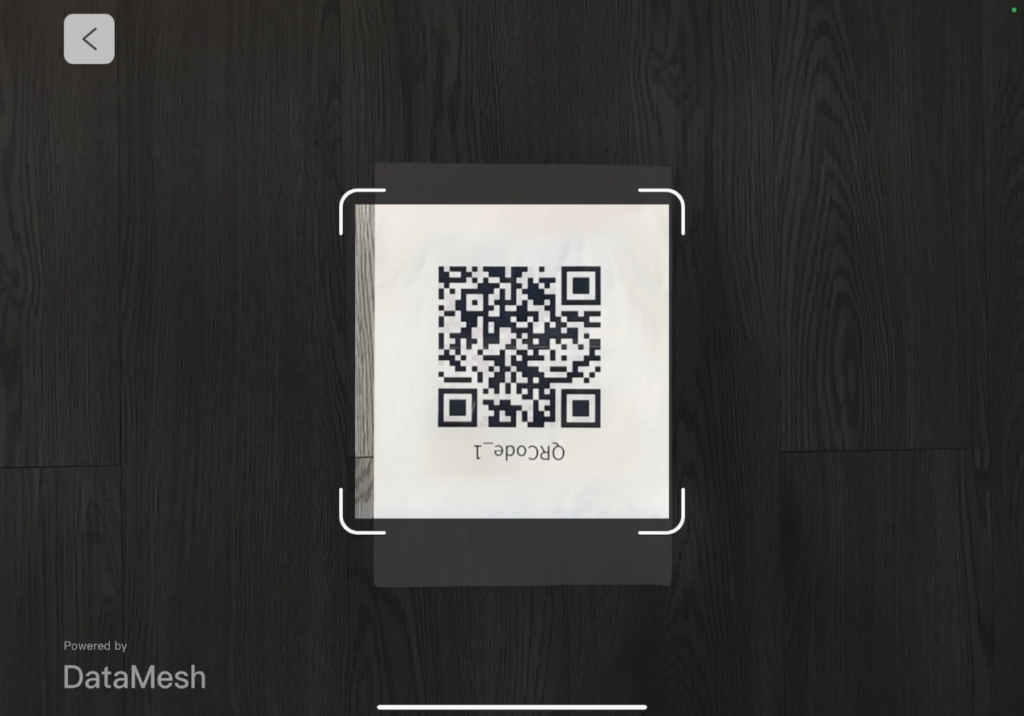
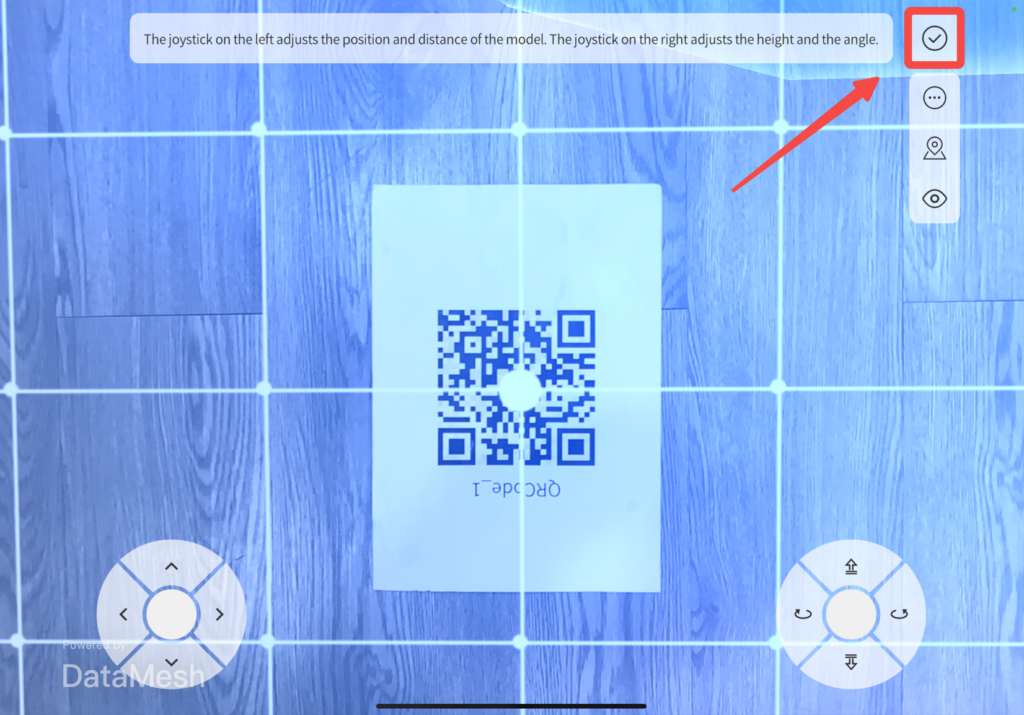
- After a successful scan, click the Confirm button to enter the scenario playback interface.
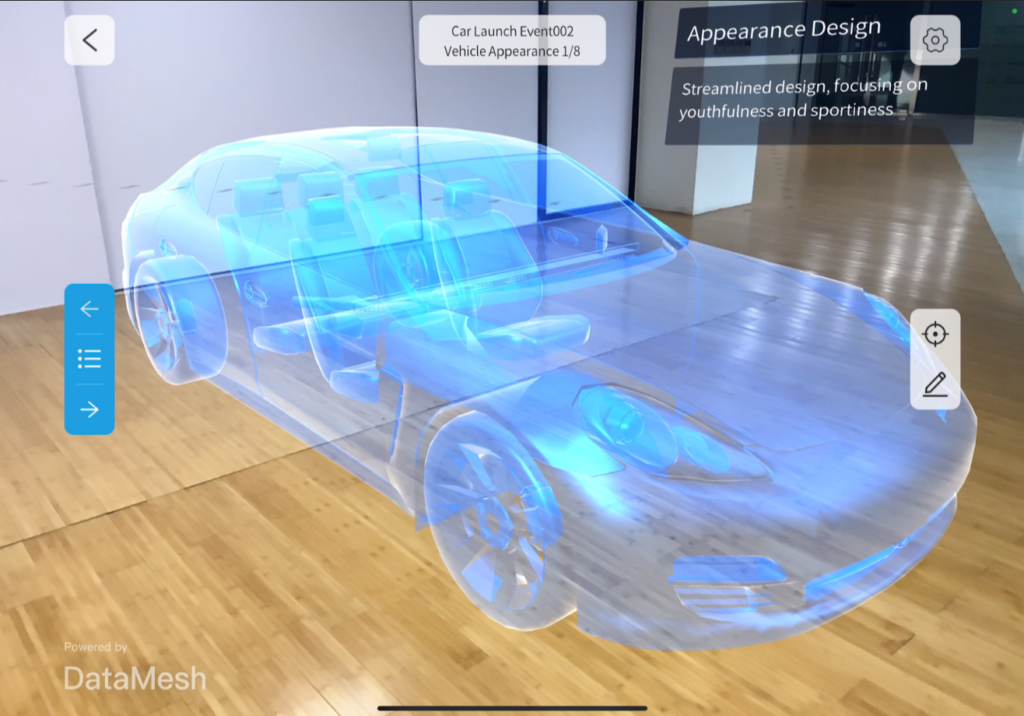
- Click the scene list button on the left, select a scene, and navigate to the scene.
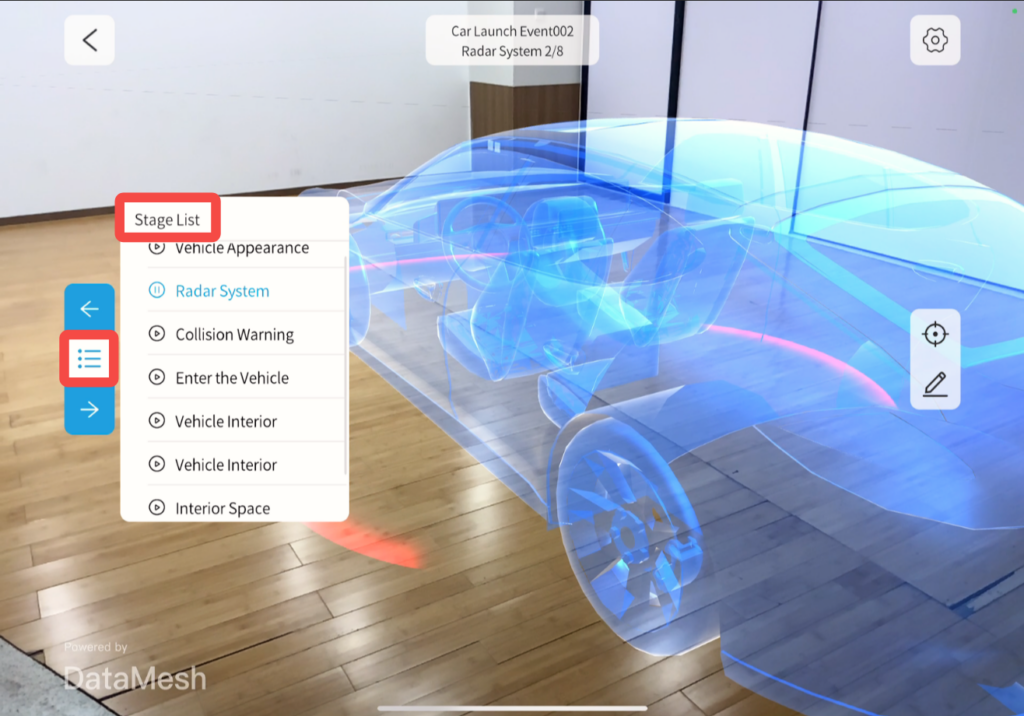
- Use the page-turning button to quickly switch between scenes.
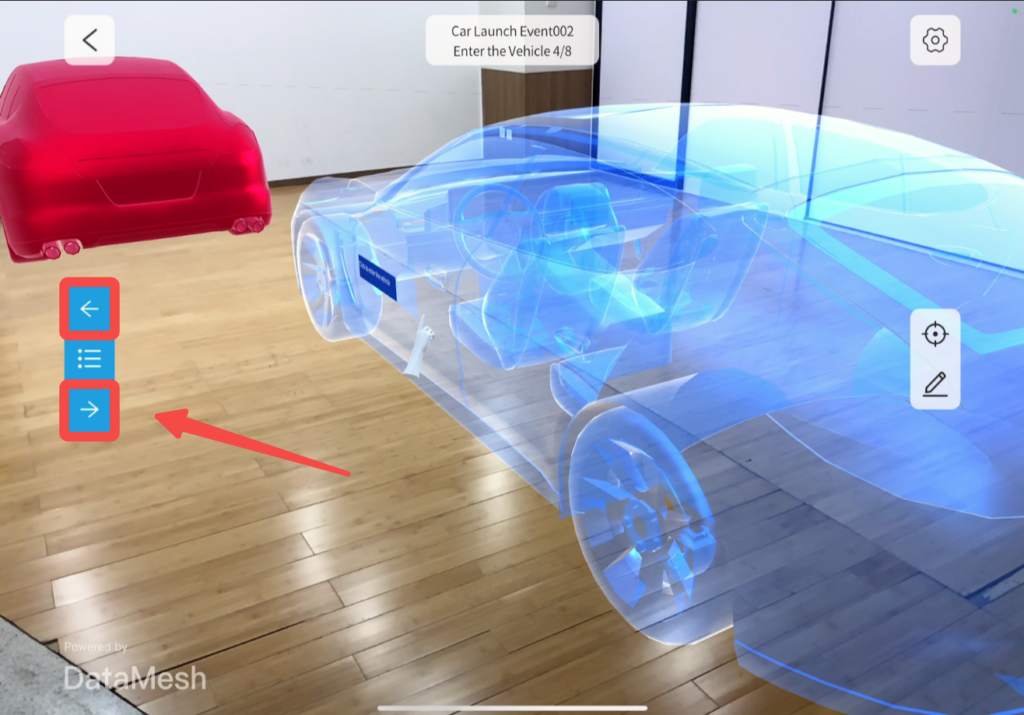
Now you can fully appreciate the wonderful integration of virtual scenes and reality in the MR mode, gaining a more immersive experience.
