DataMesh Director

Digital twin content creation and collaboration platform

Import 3D CAD and BIM resources affordably with our platform! Easily edit and automate digital twin content using intuitive 3D PPT-style operations. Connect with industrial IoT sensor data in just one click, generating virtual content mapped to industrial entities. Our platform supports multi-user online collaboration, integrates seamlessly with industrial IoT clouds, and is compatible with various devices and AR glasses. Quickly apply it to scenarios like remote monitoring, operational guidance, training, education, maintenance inspections, and product after-sales services. Elevate your experience with hassle-free 3D solutions!

Watch the video to learn how to use DataMesh Director

Download

DataMesh Importer

DataMesh Studio

Manage resources and accounts

1. Login using your account and password to access DataMesh FactVerse.
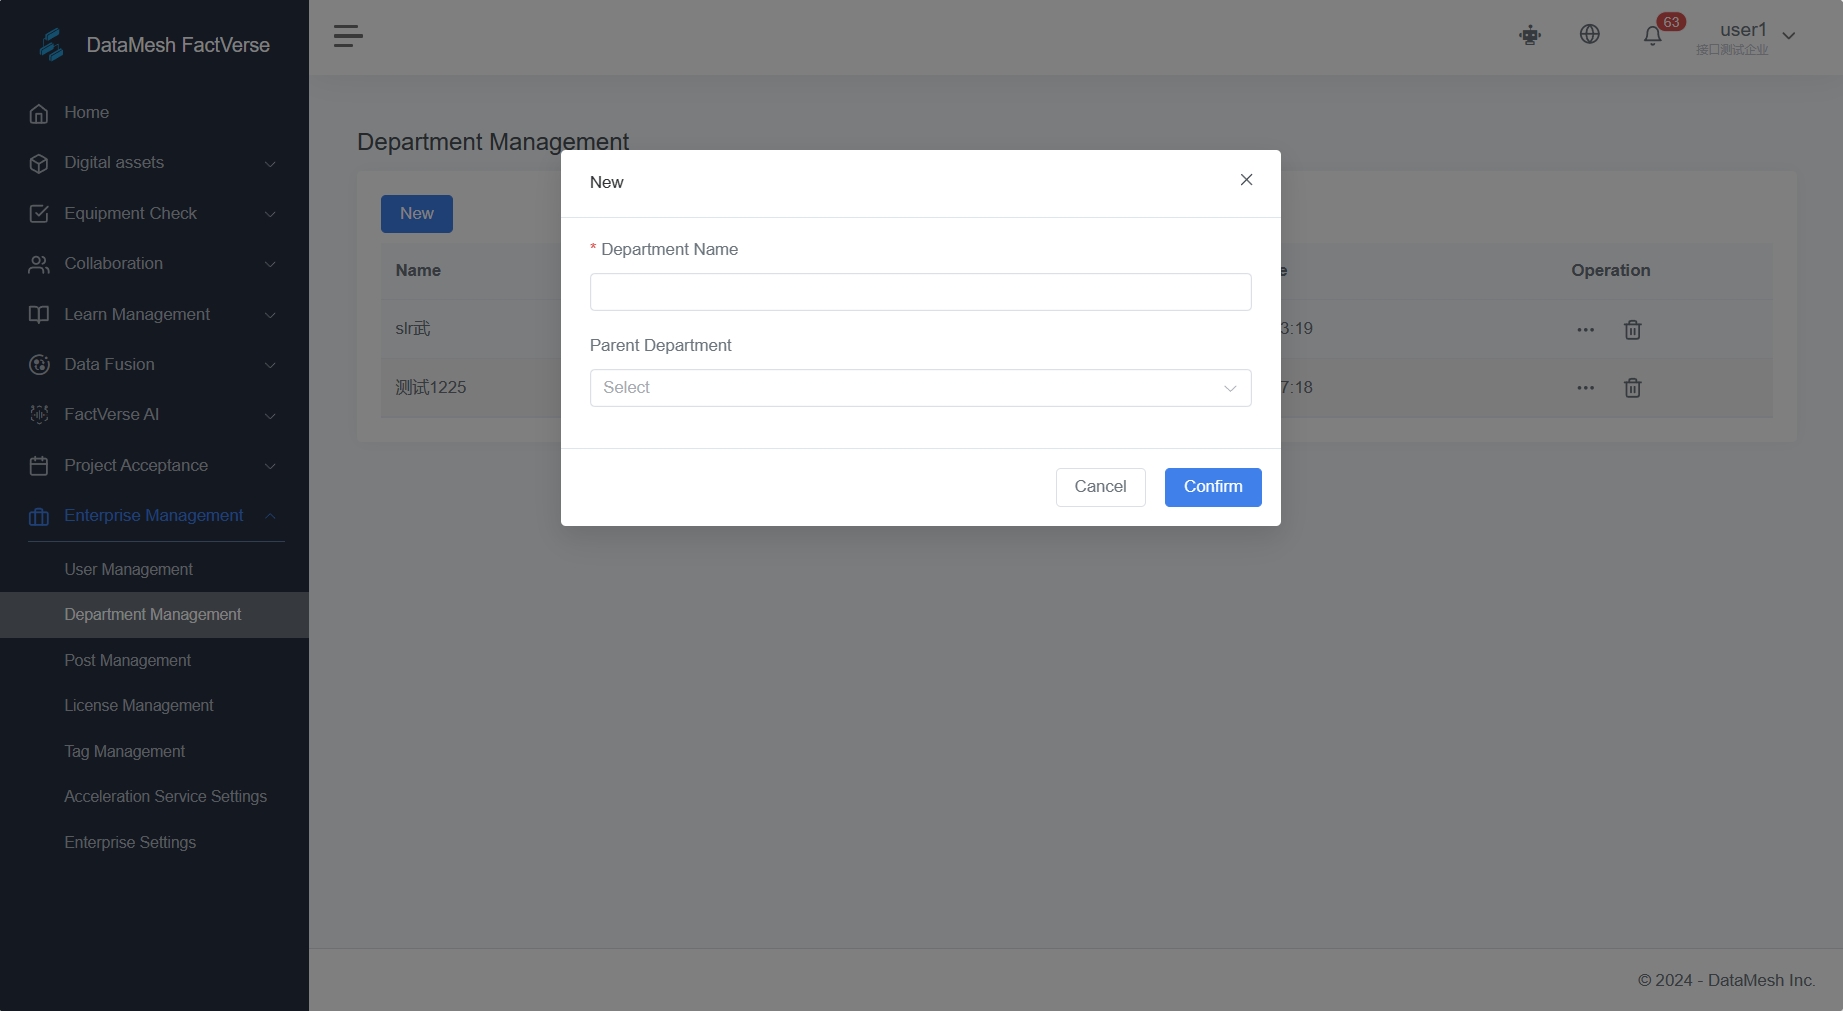
2. Create departments, positions, and permissions.
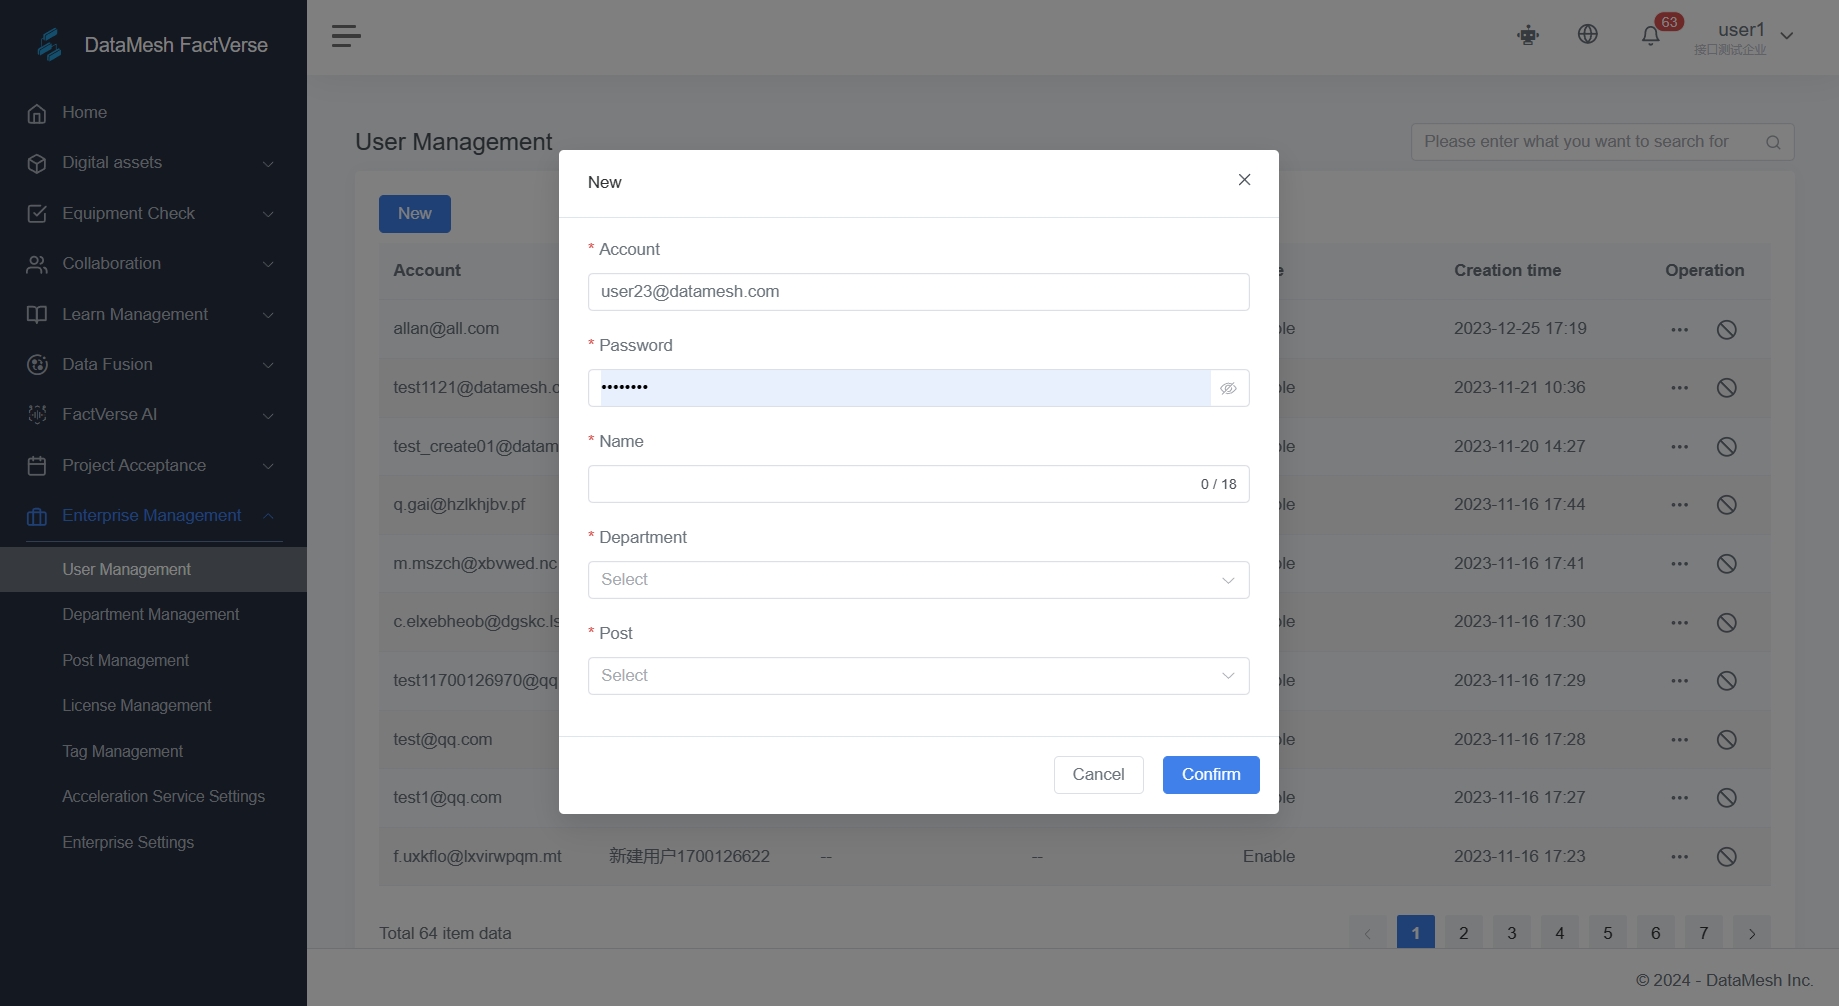
3. Add users and assign departments and positions.
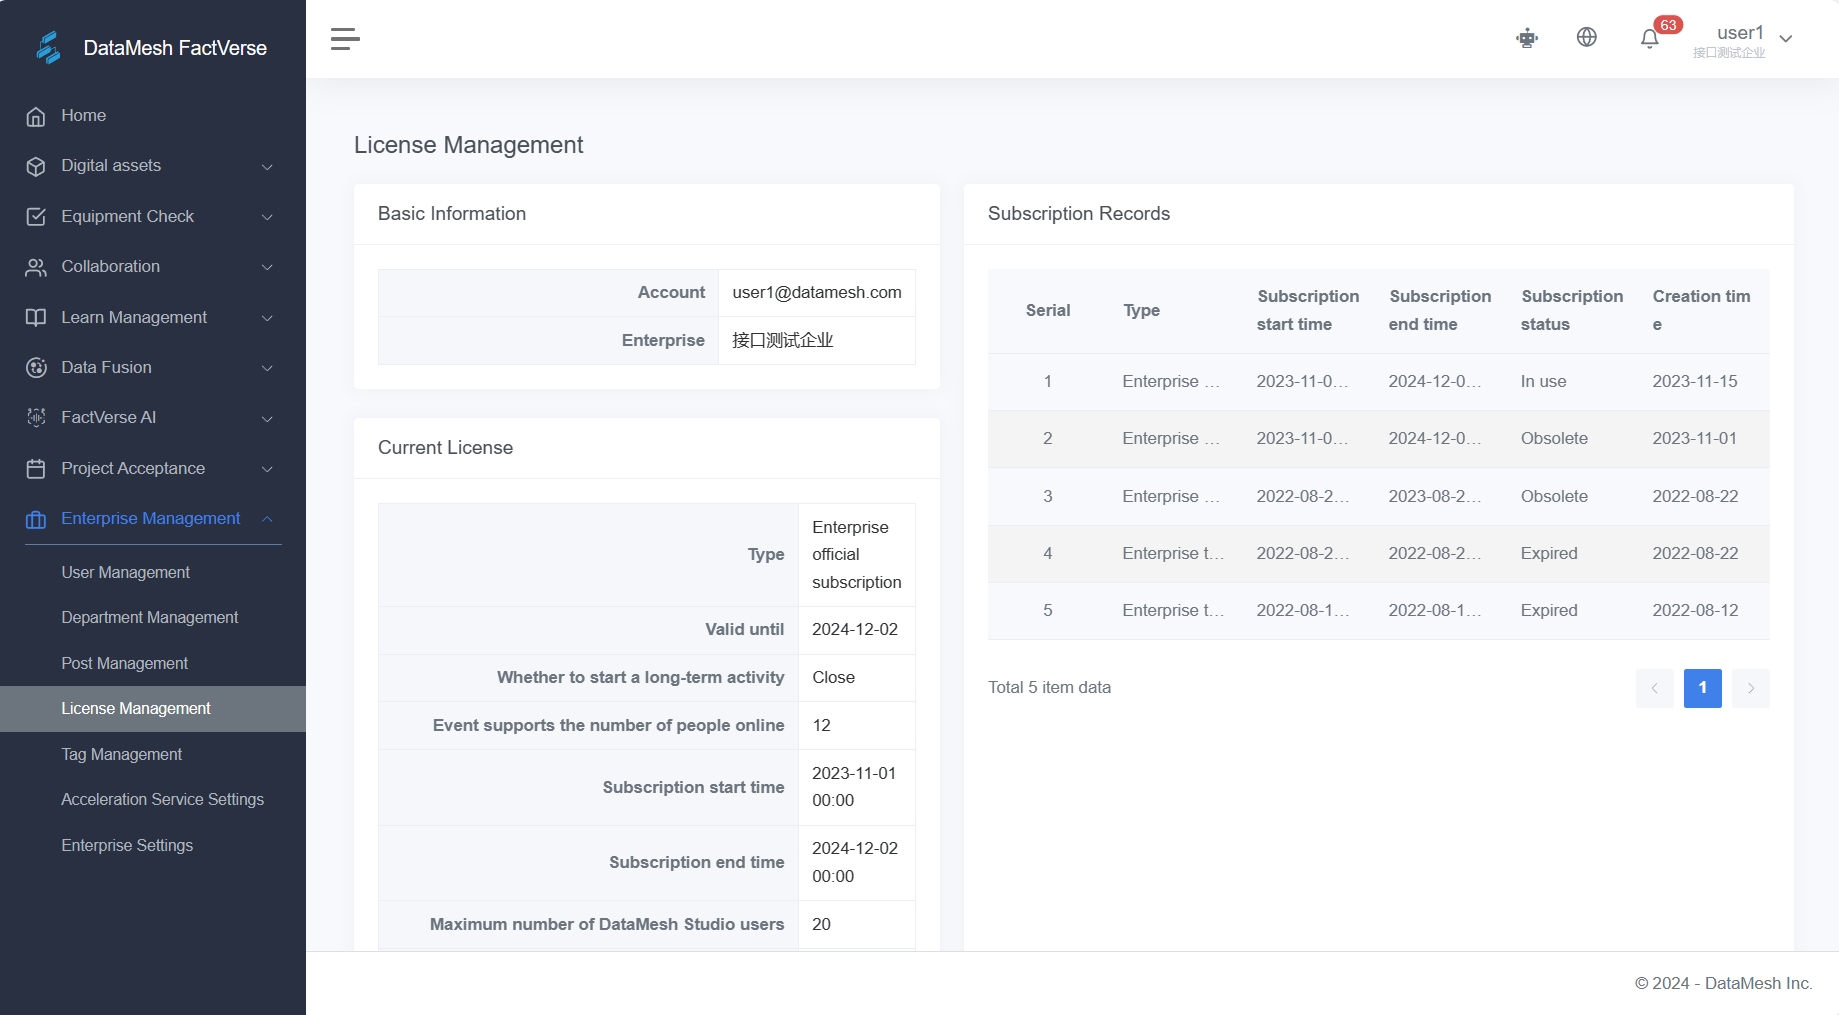
4. Assign client product permissions to users.
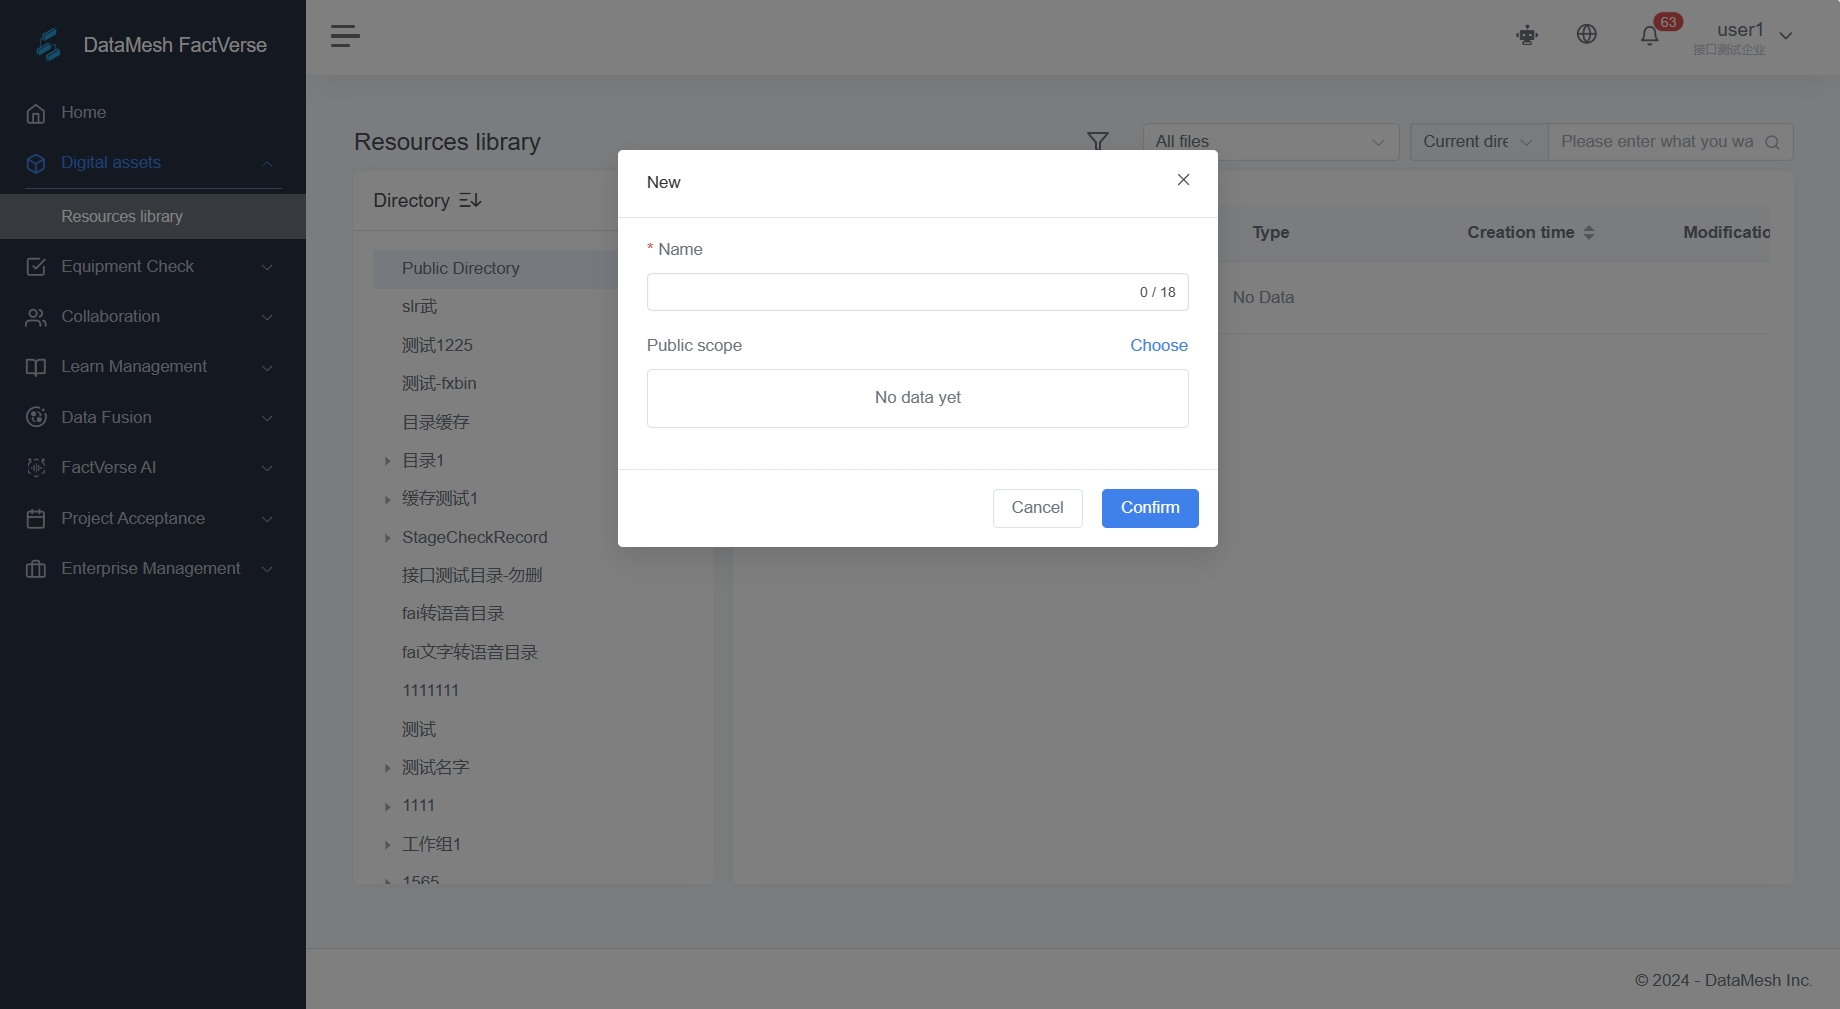
5. Create different directories for different project groups to categorize and manage resource materials.
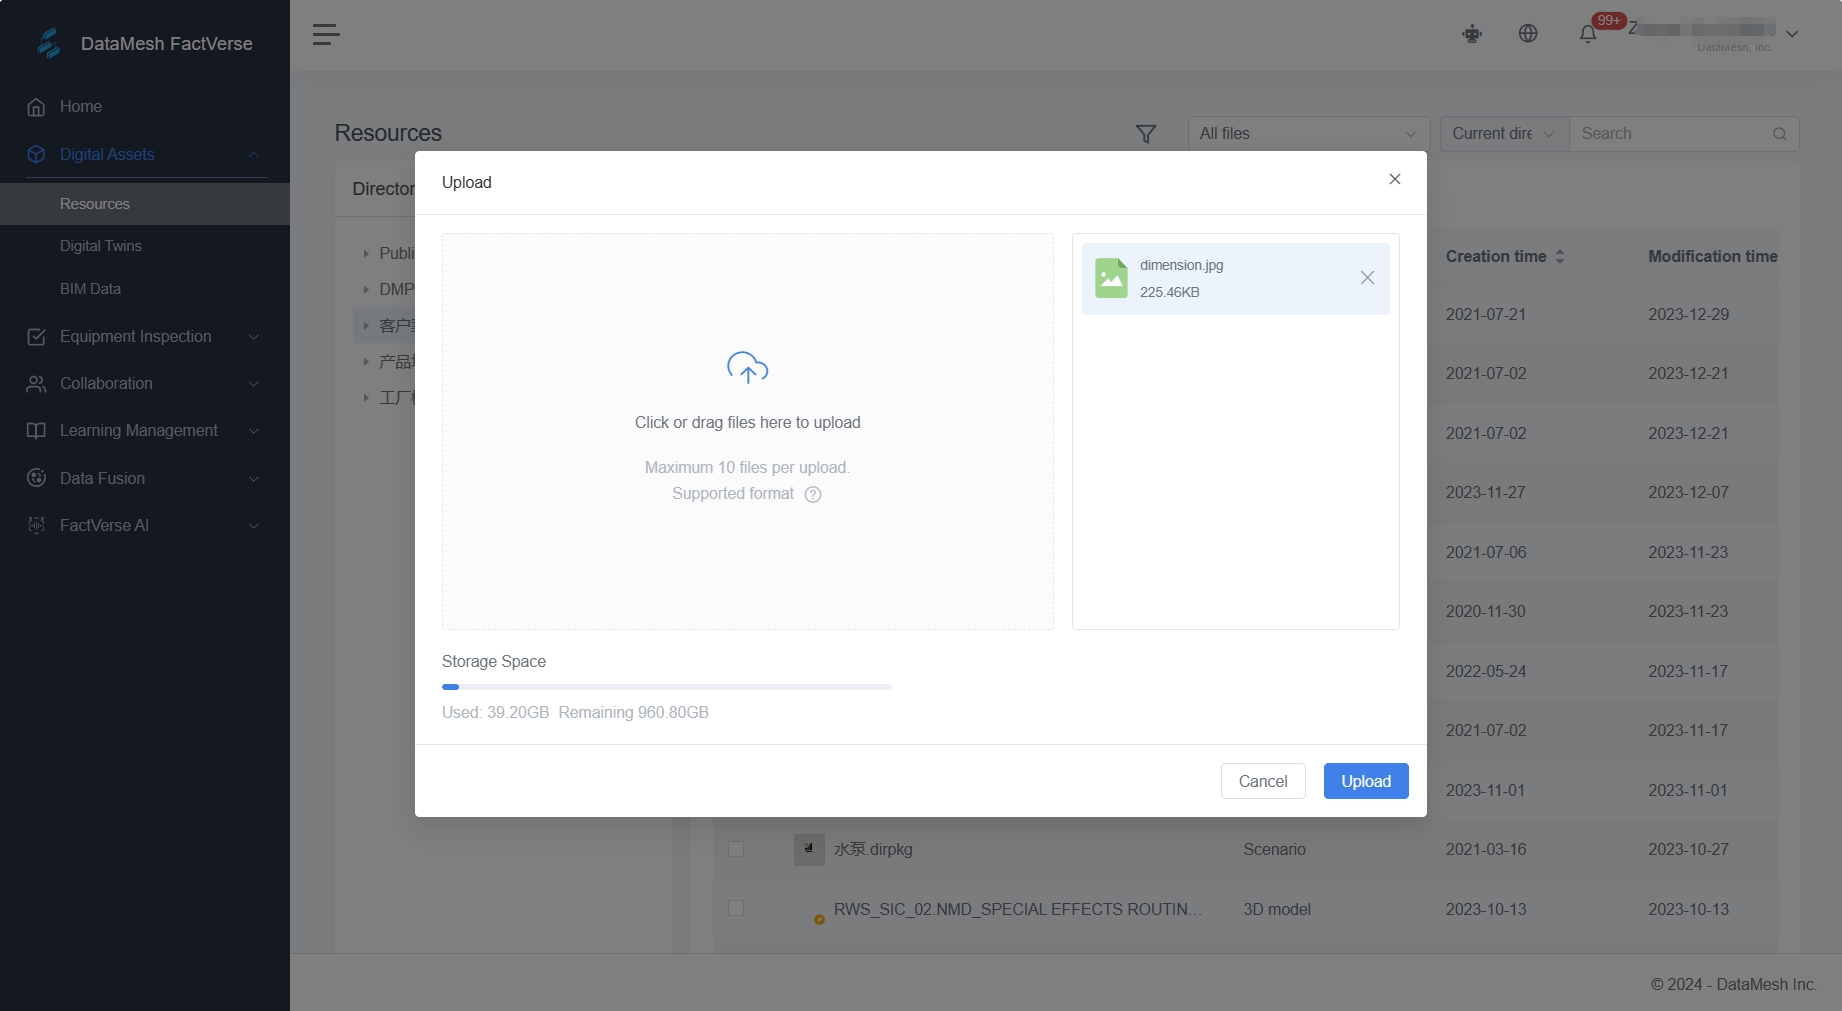
6. In Resources page, click "Upload" to upload images, audio, models, and other types of files. After successful upload, you can load and use resource files from FactVerse Services in the client (resources can also be uploaded using DataMesh Importer).

Upload resources

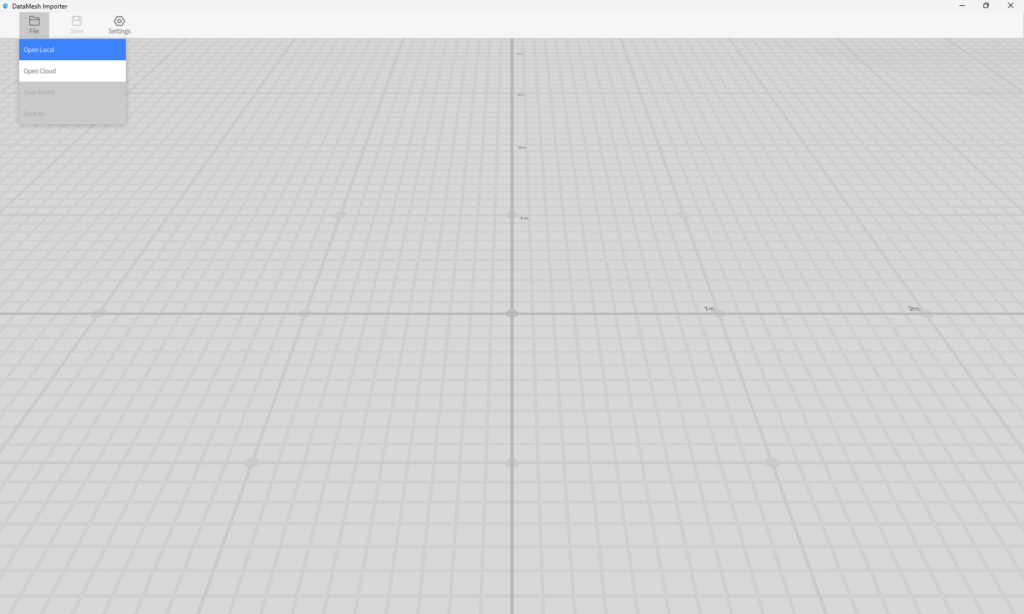
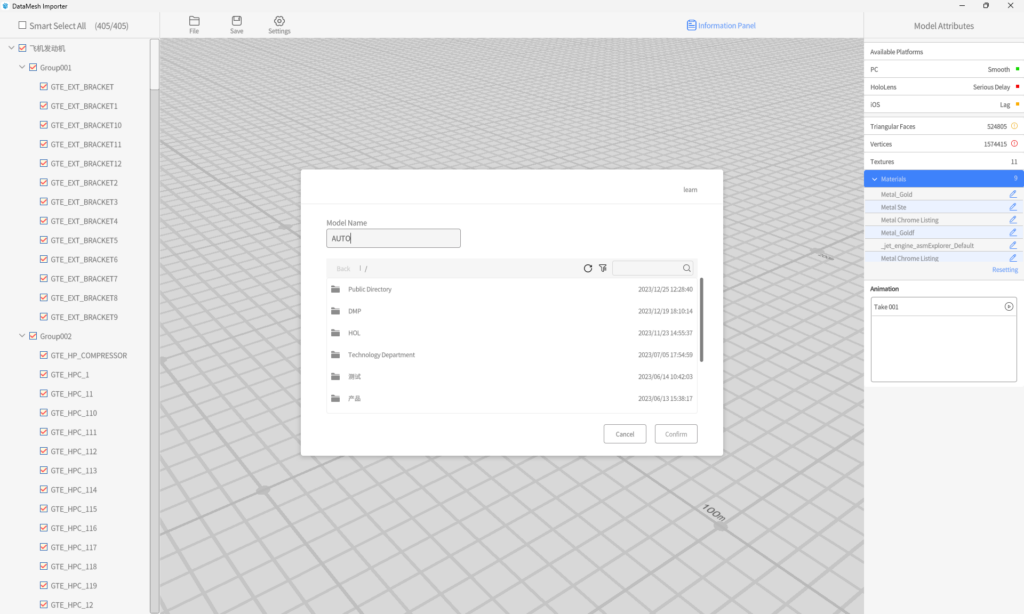
1. Login: Use your account and password to log in to DataMesh Importer.
2. Import Resources: DataMesh Importer supports importing 3D model resources in various formats from local and cloud, including FBX, GLTF, OBJ, PLY, 3MF, and STL formats
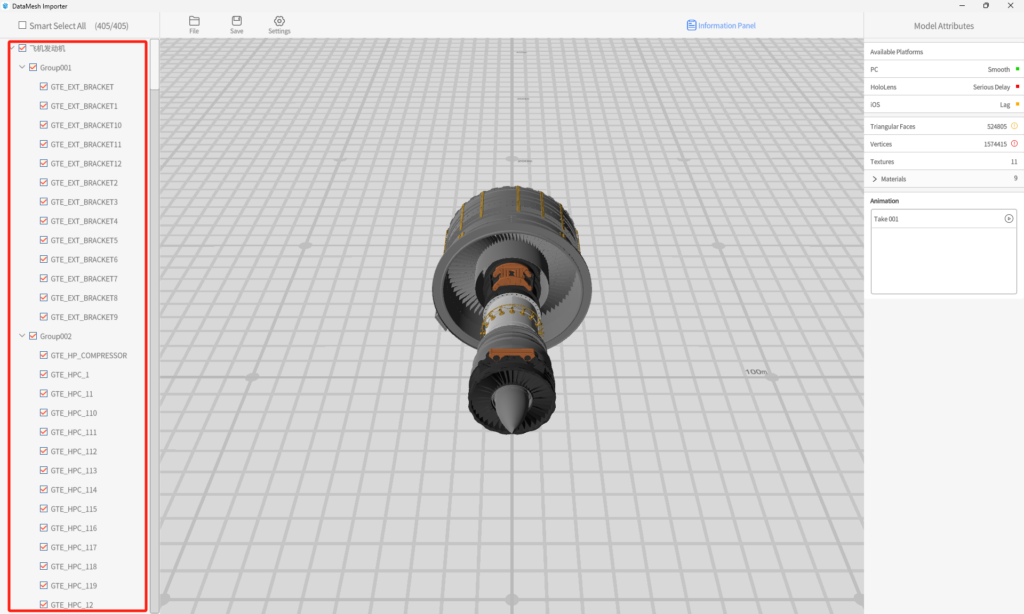
3. Hierarchy Adjustment: The node structure directory displays the hierarchy structure and node relationships of the imported 3D model. Users can select, deselect, and merge nodes as needed, flexibly adjusting the model's hierarchy for subsequent model editing and scene production work.
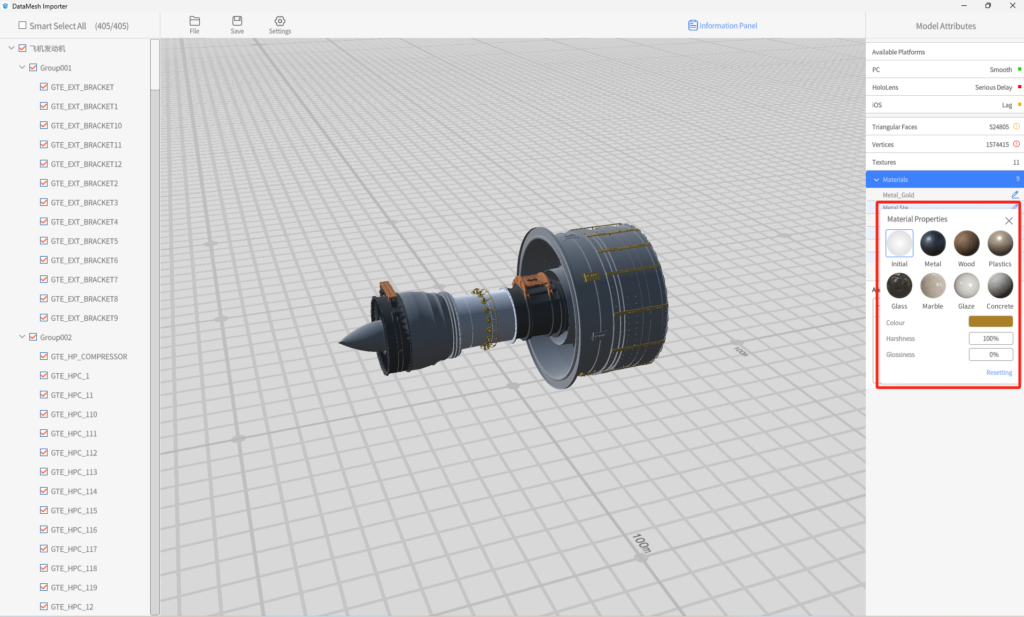
4. Material Selection: DataMesh Importer provides several commonly used material spheres. Users can use these material spheres to replace the original materials of the model.
5. Export: After completing the model modifications, click save model and select the target storage path. The model will be stored in the FactVerse cloud.

Create a scenario

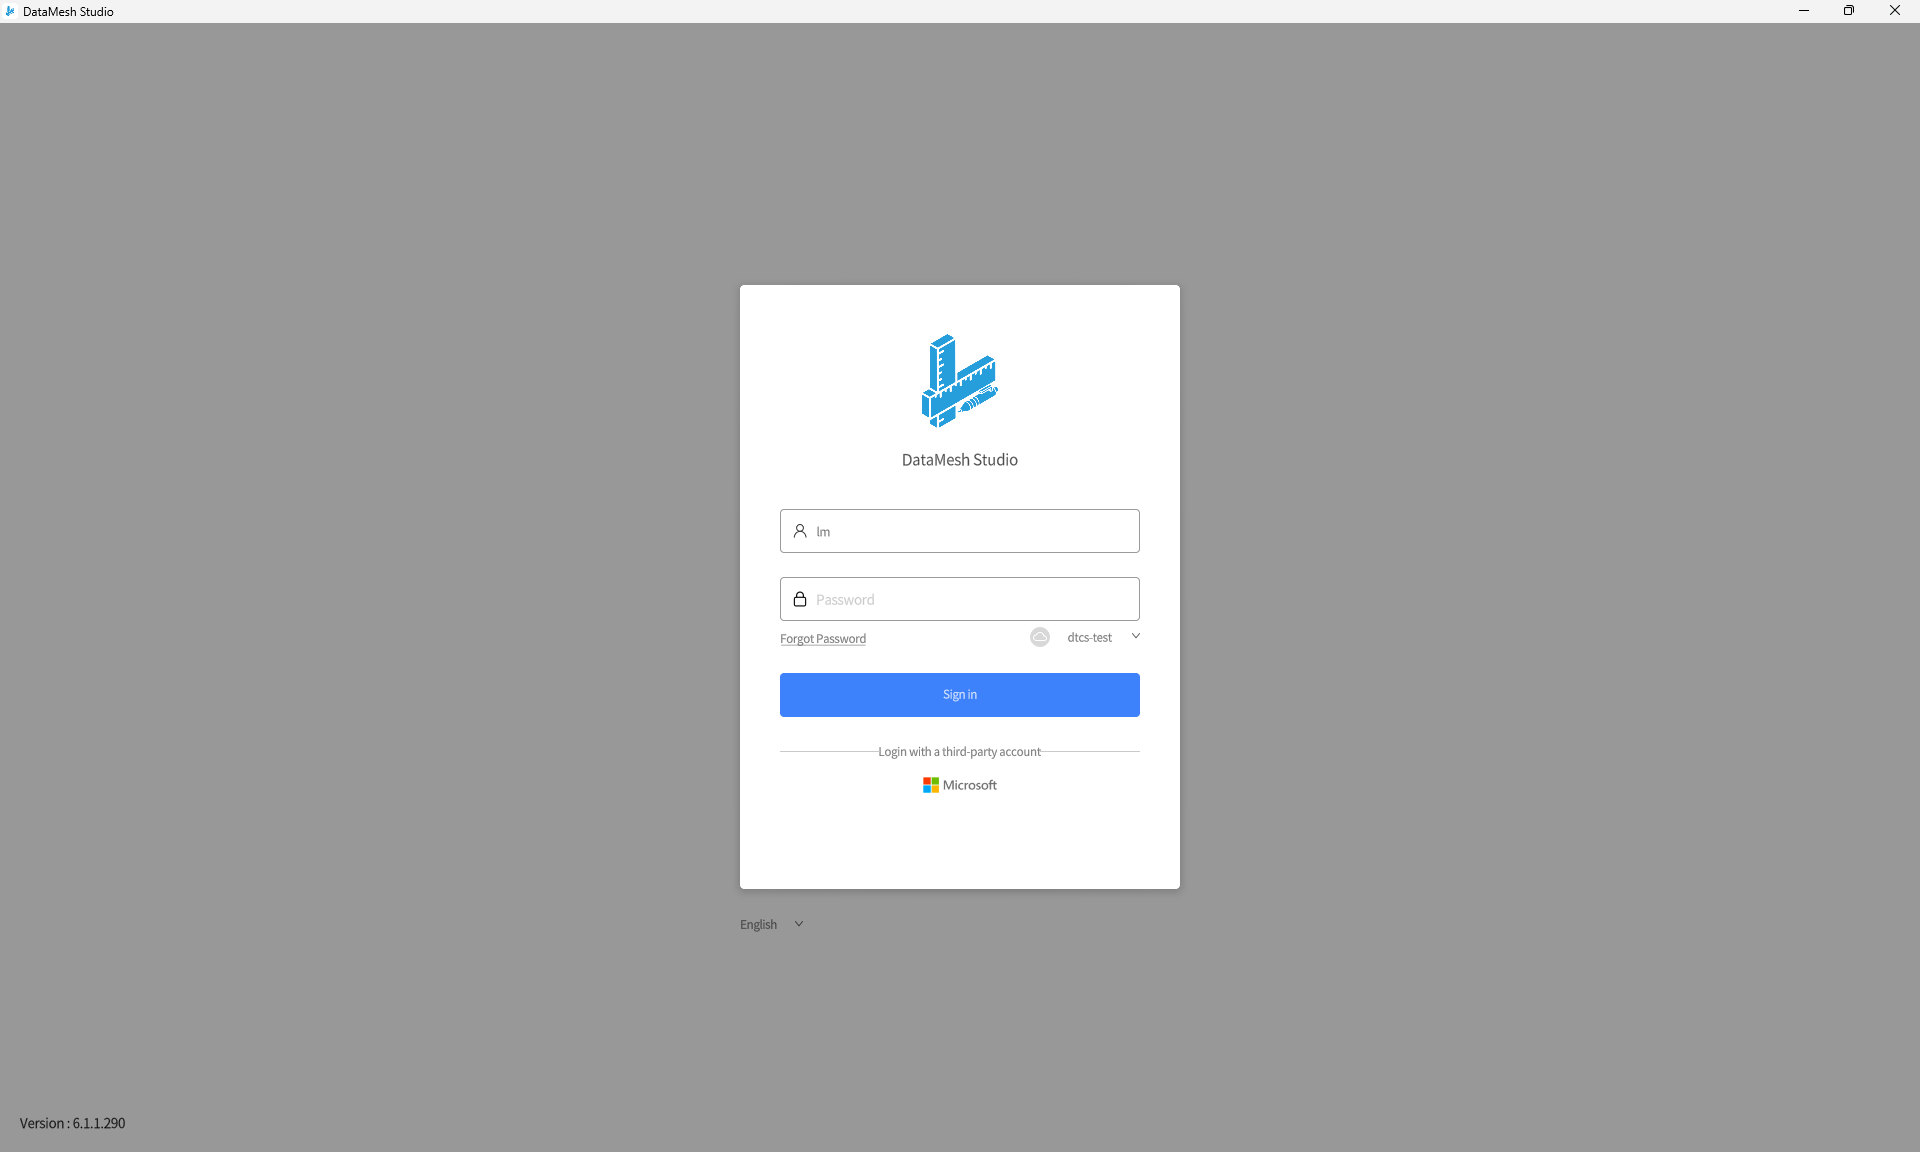
1. Login: Use your account and password to log in to DataMesh Studio.
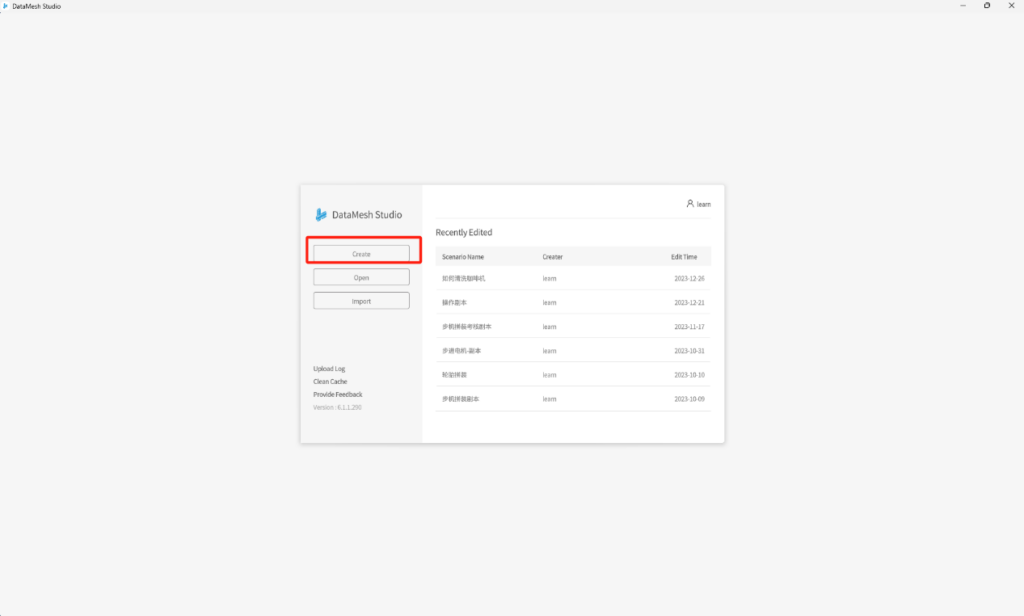
2. Create Scenario: Click on the Create button, Open - Open the resource or scenario stored in FactVerse Services, Import - Import the scenario from local.
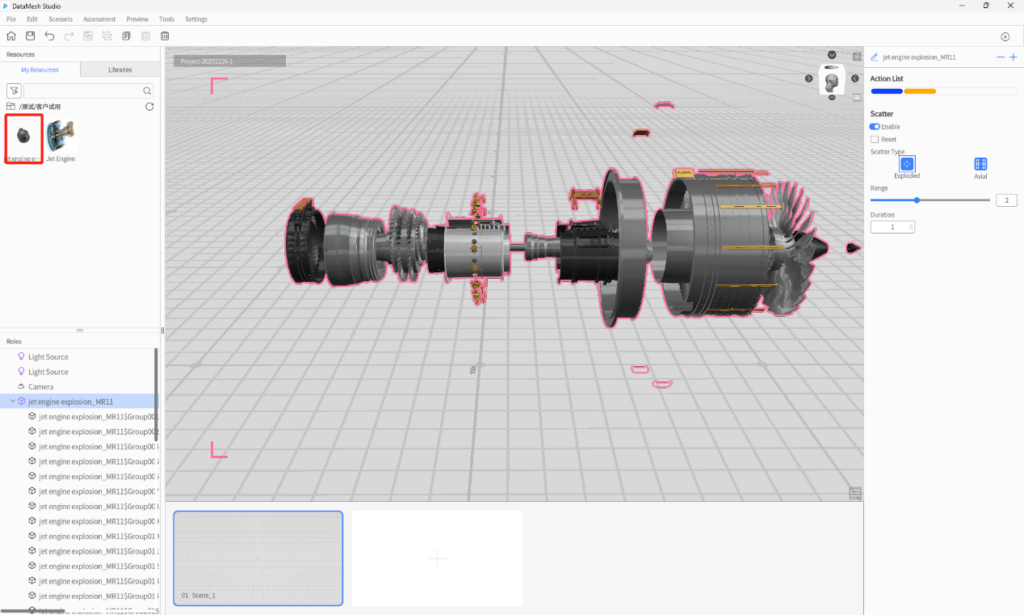
3. In the resource library, select the target model and drag it directly into the scene. Similar to editing PPT, users can create new content by adding new scenes in the Studio. In the workspace, select the model and add new actions to the model.
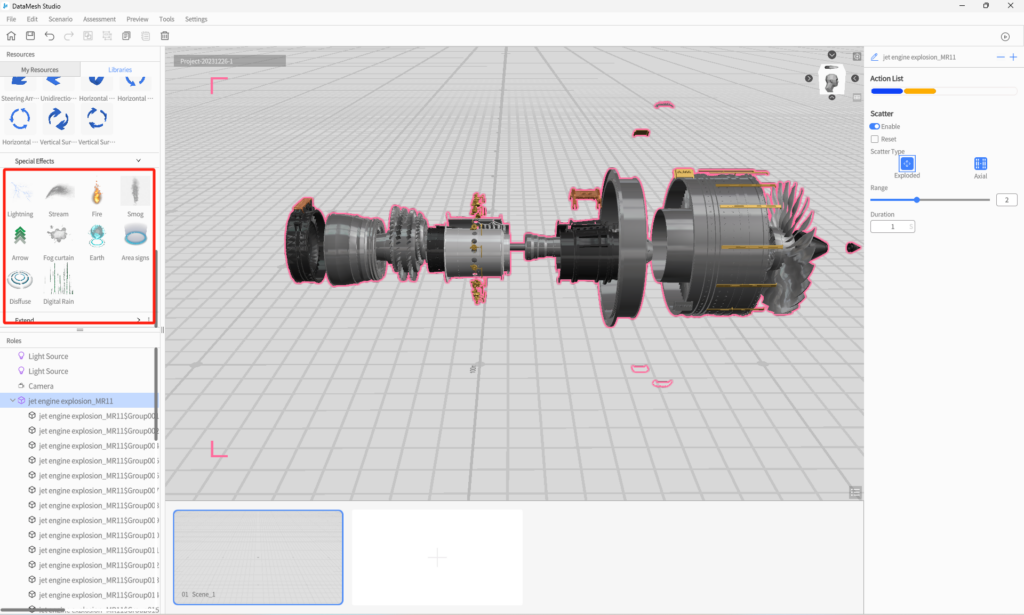
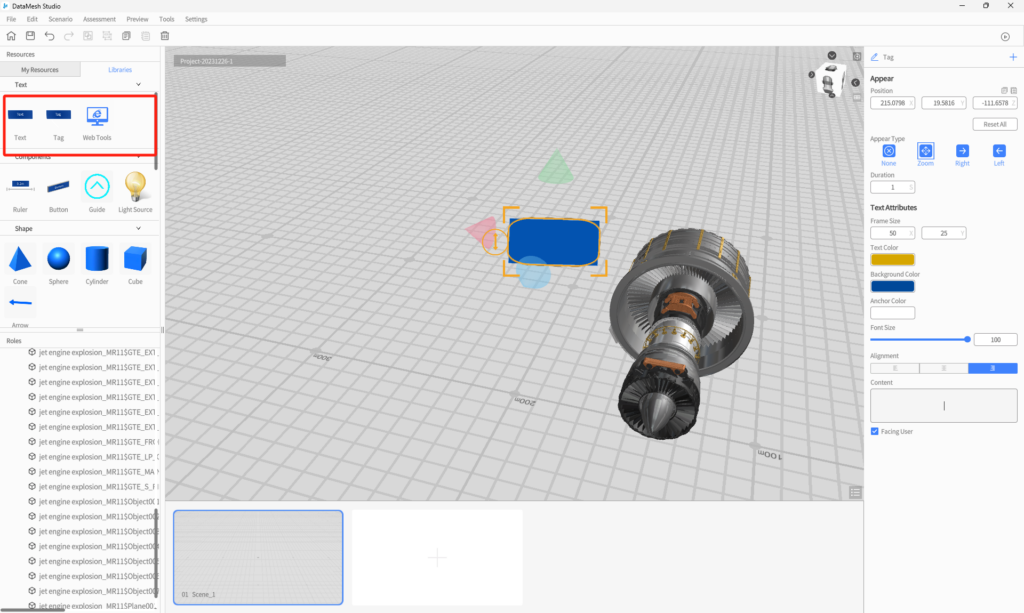
4. Libraries: In the libraries, there are commonly used tools such as text, components, shapes, labels, hands, arrows, special effects, etc. You can use text tool to create content, use the guide "sign or gesture" to add guidance, add basic 3D graphics such as cones, cubes, etc., add special effects such as electricity, water, fire, smoke, etc., and edit effects, etc."
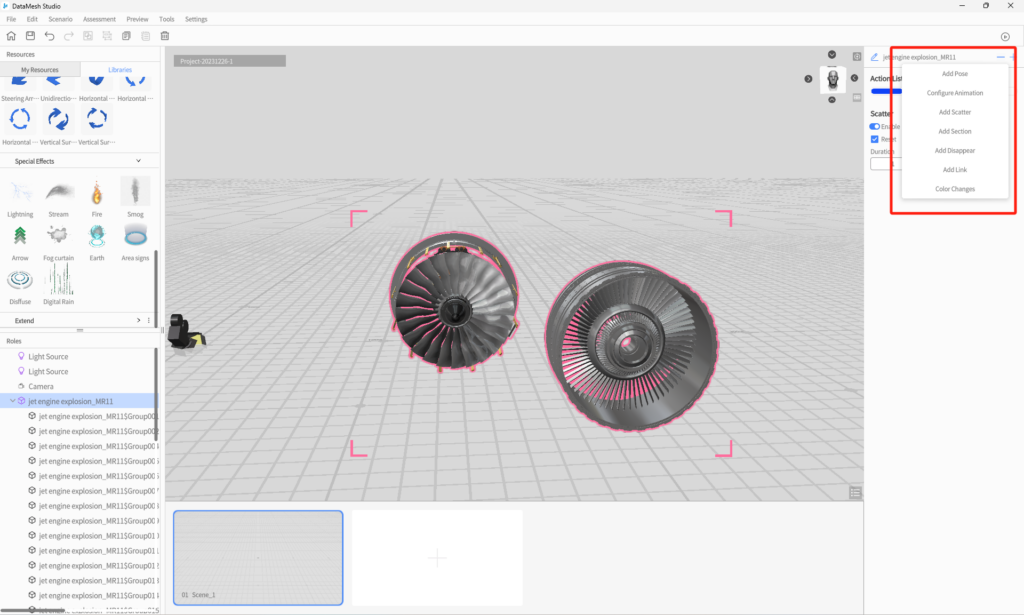
5. Add 3D Animation: Depending on the application scenario requirements, add 3D animation effects such as pose adjustments, animation configurations, scatter, and section.
6. Add 2D Resources: Add 2D resources such as images, text, labels, and links to enrich your creation.

Demonstrate and collaborate

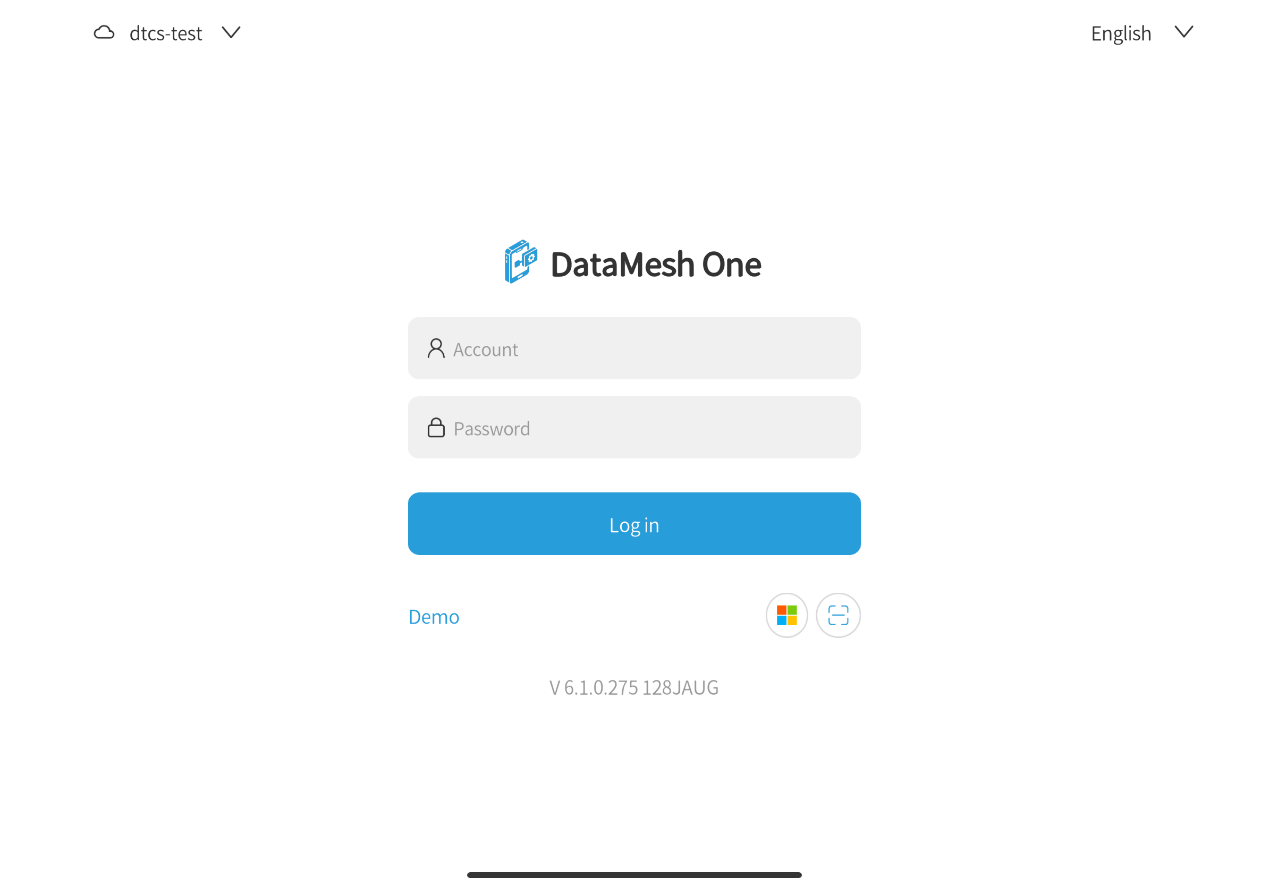
1. Login: Use your account and password to log in to DataMesh One.
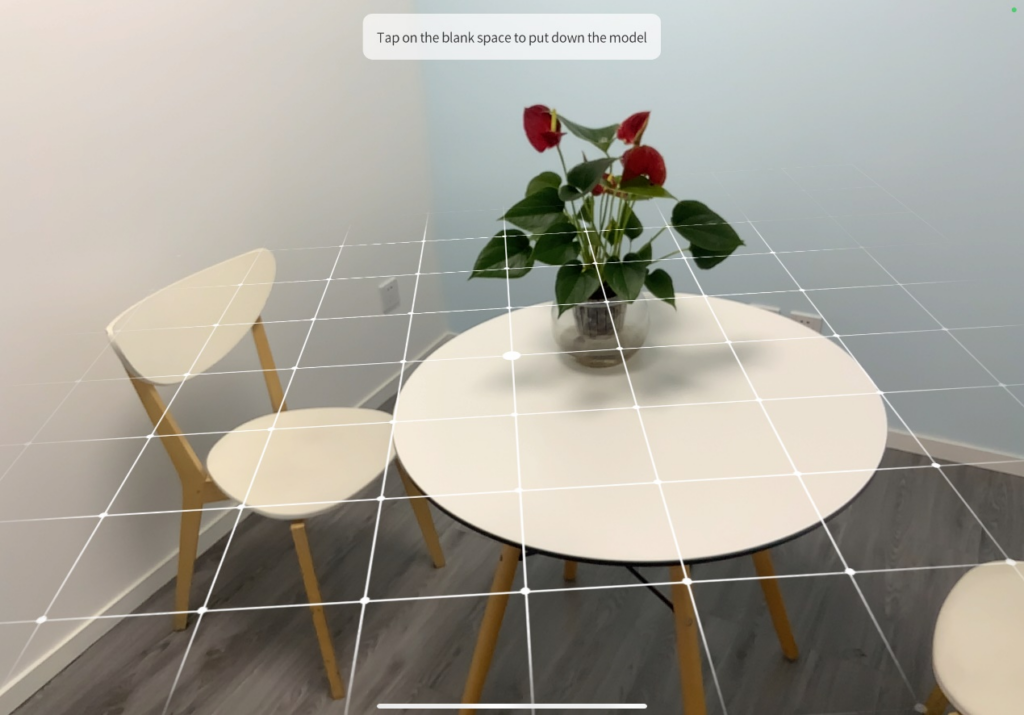
2. Positioning: Use joystick, gaze mode, or position QR codes to locate and adjust position.
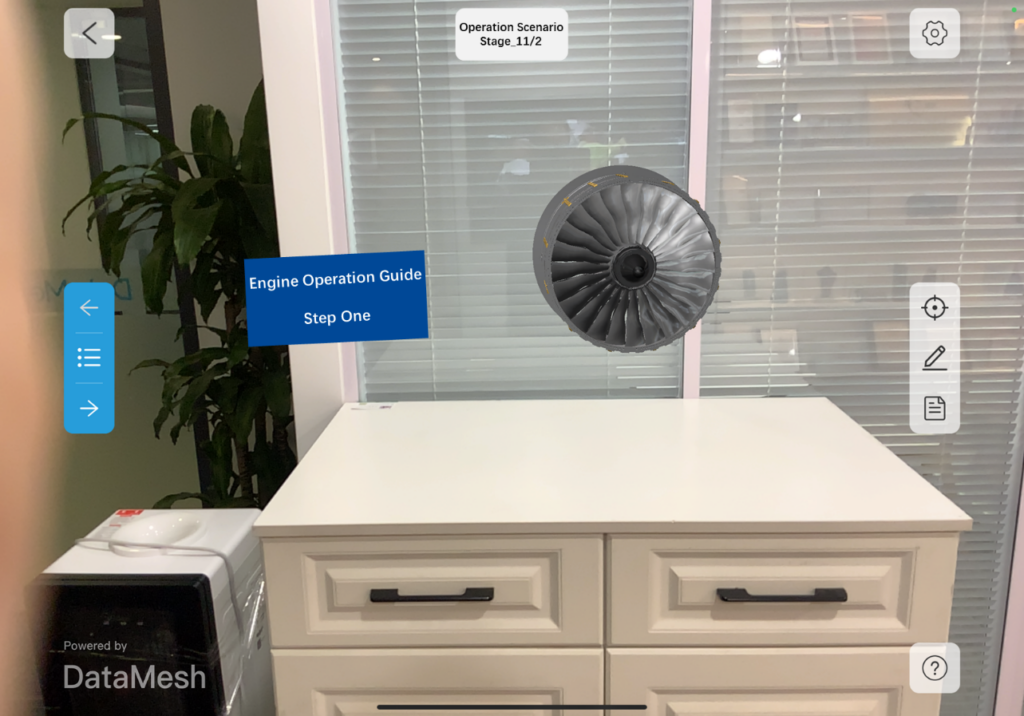
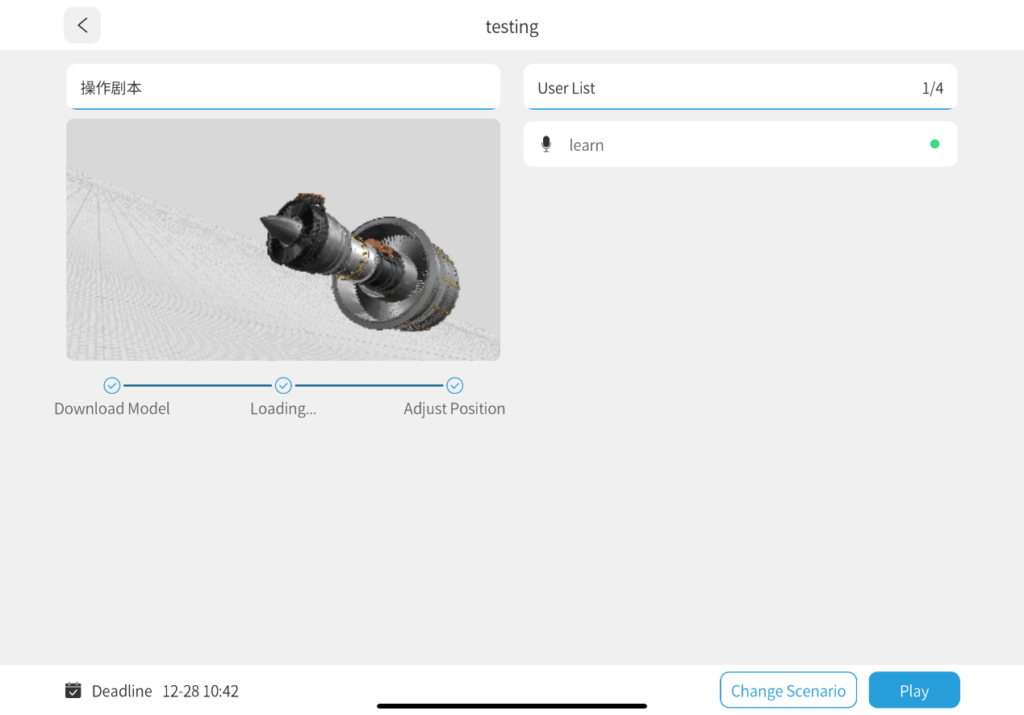
3. Playback: Select the scenario and model created in Studio, and wait for the scenario and model to load before playback.
4. Events: Choose the event and enter the collaborative event, waiting for the host to start the event.
5. Events: After initiating the event, enter the scenario playback page to participate in the event.
  • If you are interested in learning more about scene design and production, please visit Hands-on Lab.
  • For more product features or technical specifications, please visit the Knowledge Base.
  • If you have any other questions or suggestions during the product trial, feel free to contact service@datamesh.com. We are happy to assist you!