How Can We Help?
Instructions for use
Open local model
The steps to open a local model are as follows:
1. Log in DataMesh Importer.
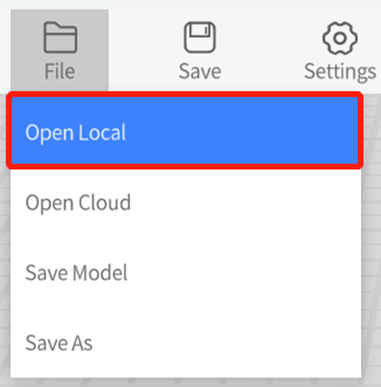
2. Click the File menu and select Open Local.
3. Select a local model and click Open in the local resources folder.
Open cloud model
Steps to open a cloud model are as follows:
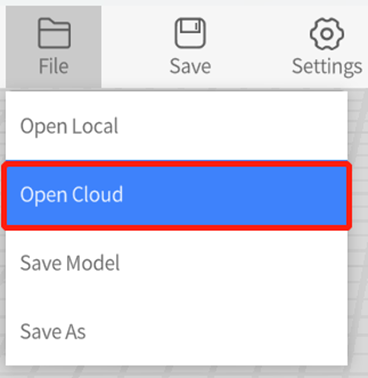
1. Click File menu and select Open Cloud.
The following figure is the Open Cloud File window:
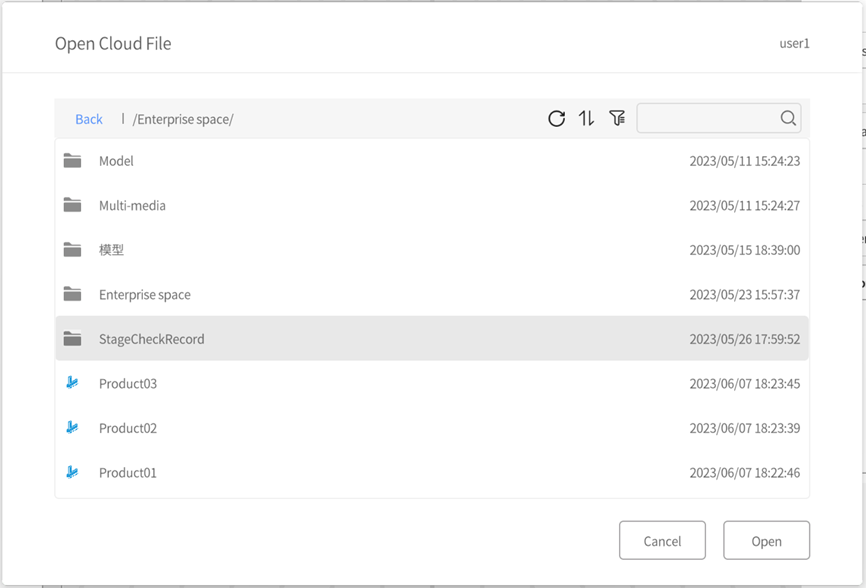
2. After selecting a model, click Open to open and display the model in DataMesh Importer.
Adjust model material
The material of a model refers to the attributes used to describe the surface characteristics of an object, such as color, reflection, transparency, etc. It determines the appearance and visual effects of the model.
In DataMesh Importer, you can easily modify the material attributes of a model.
1. Open the model and go to the material list in the attributes pane.
2. Click on the edit button of the material you want to modify.
3. You will open the material properties window, where we provide several commonly used material spheres, including metal, wood, plastics, glass, marble, glaze, and concrete. You can use these material spheres to replace the original material of the model.

In addition, you can use various adjustable properties, including color, transparency, metallicity, and smoothness. These properties can be adjusted separately or in combination, making it easy for you to achieve the desired effect.
Note: When saving the model, the model with modified material will be saved in GLB format to the cloud.
Save model
The steps to save a model are as follows:
1. After opening the model, select the nodes that need to be saved in the left structure directory.
2. In the model attributes area on the right, view the model’s name, platform availability, basic parameters, animation list, and other information. Adjust the model material according to your needs.
3. If the model has not been modified, the Save option in the file menu will be grayed out.
4. If the model has been modified, click File > Save Model or the Save button in the Menus to upload the modified model to the cloud. Note: The original model file in the cloud will be overwritten by the new file.
5. In the Save Model window, enter the model file name, select the target path, and click Confirm.

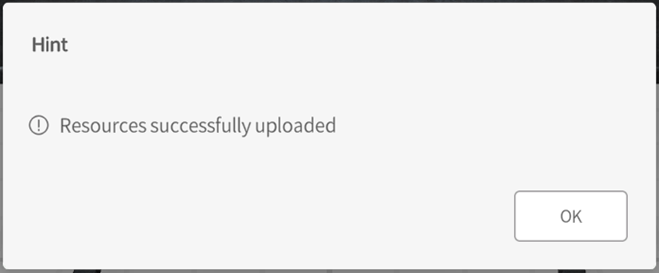
6. Wait for the model to finish uploading, and the page will prompt that “Resources successfully uploaded”.
Save as
In DataMesh Importer, you can save the imported model as a new file by following these steps:
1. Click the File menu and select the Save As option.
2. In the pop-up Save As window, choose the path and file name for saving the model.
Note: You should avoid using the same file name as the model file in the cloud. It is recommended to choose a different file name or select a different folder in the same path when saving the model.
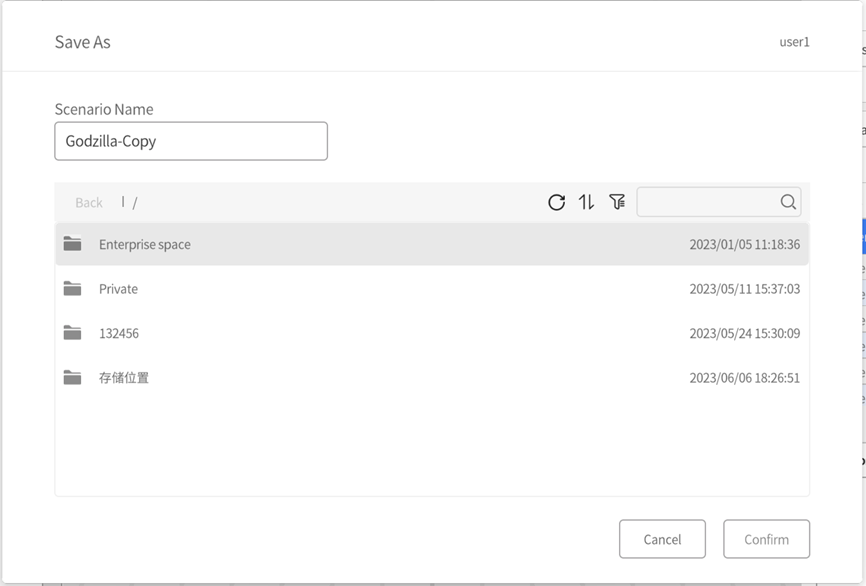
3. Click Confirm to save as a new file.
Change rendering environment
The rendering environment of a scene refers to the lighting effects set in the virtual scene, simulating the propagation, reflection, and refraction of light in the scene. It can affect the appearance, lighting, and shadow effects of objects, enhancing the realism and authenticity of the scene.
In DataMesh Importer, you can choose either the built-in rendering environment or customize the rendering environment for creation, making the virtual scene realistic and immersive.
To change the rendering environment, you can follow these steps:
1. Click on the Settings menu and select Change rendering environment from the dropdown menu. You can open the Change rendering environment window.

2. In the Change rendering environment window, you can choose one of the following system-built rendering environments:
-
- None: No specific environment rendering effects
- Default
- Cloudy outdoors
- Empty hall
- Streets in the city
- Abandoned warehouse
- Spacious and bright warehouse
- Old and cluttered factory
- Cozy and neat kitchen
You can also create a custom rendering environment to suit the background and sky effects for different scene requirements and creative purposes.
Steps for custom reflection environment:
1. Prepare six images: These images should correspond to the front, back, left, right, top, and bottom directions of the rendering environment. The images should be in PNG format and follow English naming conventions (Front, Back, Left, Right, Top, Bottom).
2. Compress these images into a zip file and change its extension to .dmcm.
3. Upload this .dmcm file to the resource library on the DataMesh FactVerse platform.
4. In DataMesh Importer, click on the Settings menu and select Change rendering environment from the dropdown menu to open the Change rendering environment window.
5. In the Change rendering environment window, select the Custom tab and click Select rendering environment.

6. In the window for Select rendering environment, find the uploaded .dmcm file.
7. After selecting the file, click the Confirm button to complete the customization of the rendering environment.