Training

Six-axis robot

Using DataMesh Studio, a zero-code content creation tool, you can easily dive into crafting content for digital twin scenarios with simple drag-and-drop operations.
Director
Beginner

Through this example, you will know:

  • Learn to add Movement action
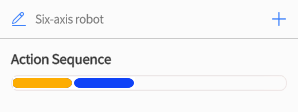
  • Get to know the action list
  • Learn to add continuous model actions.

Steps

1

Preparation

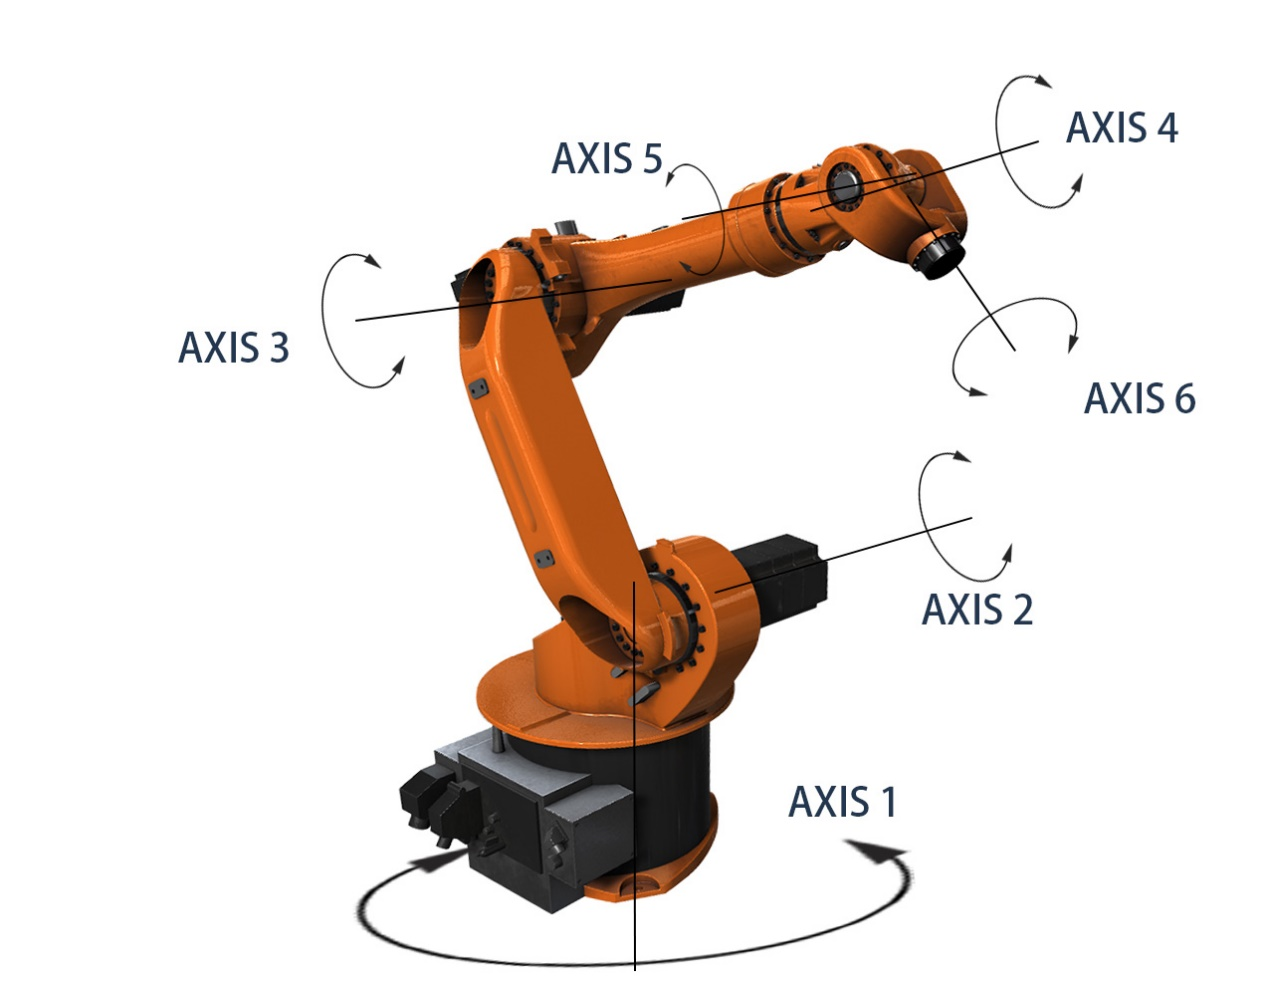
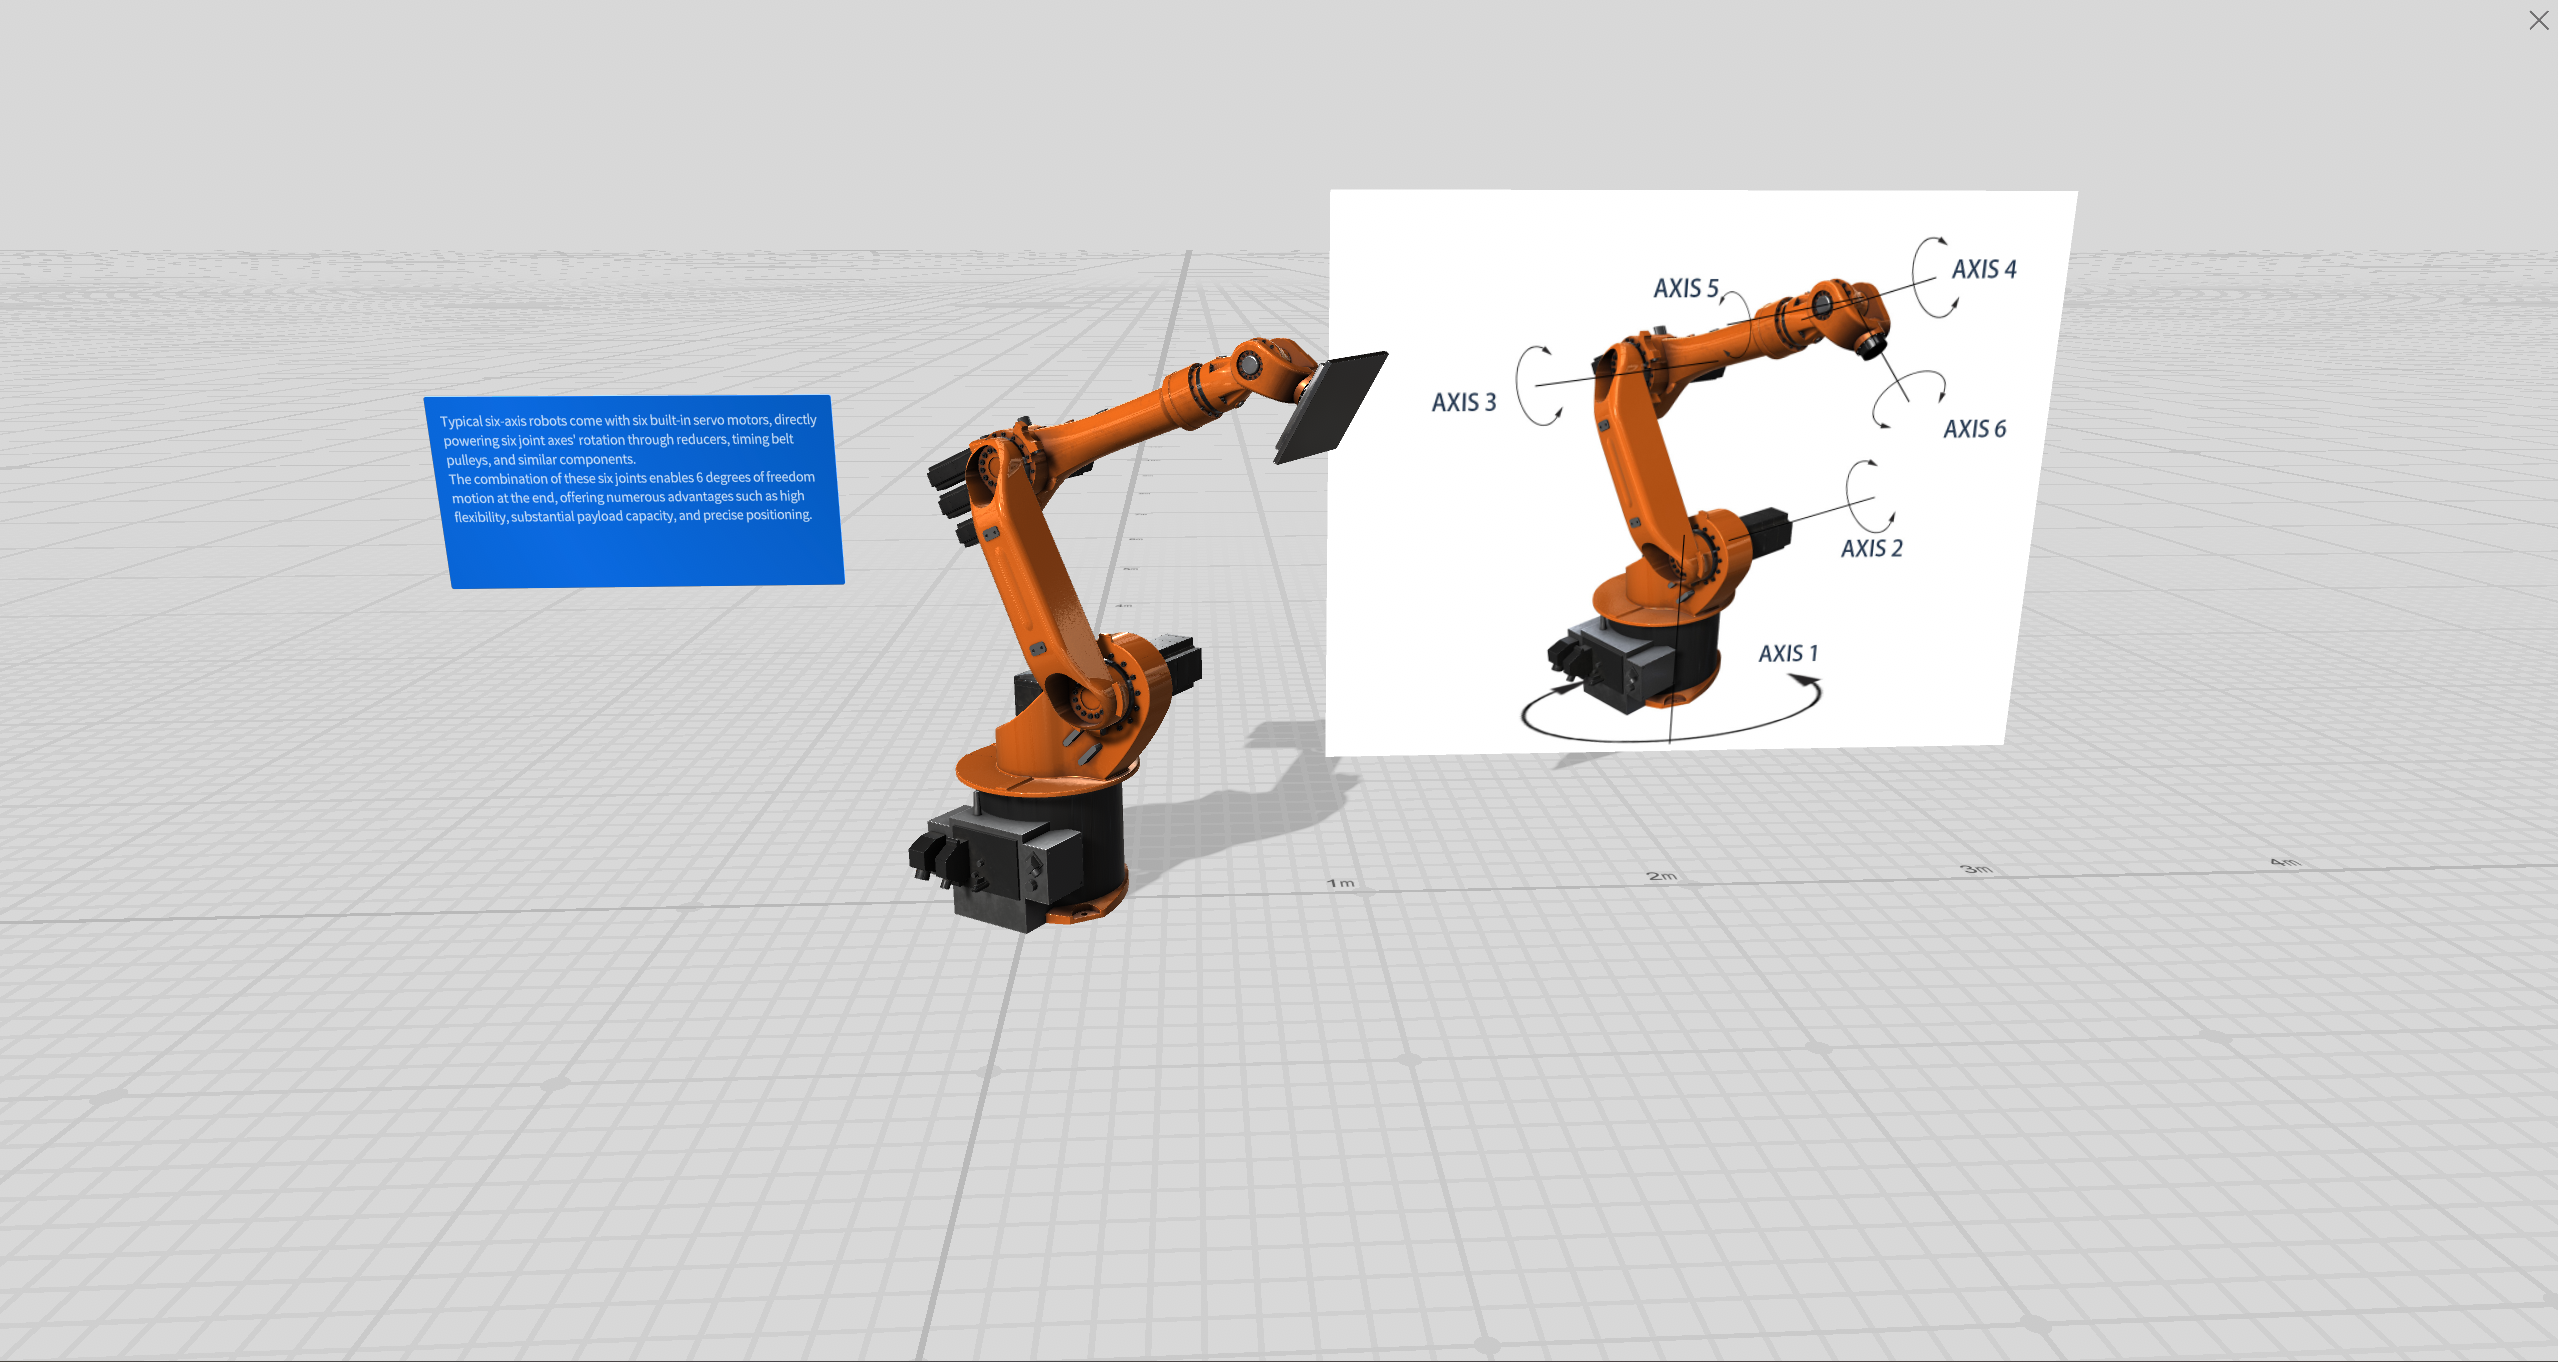
Upload the 3D model "6-Axis Articulated Robot.glb" and its corresponding image file downloaded from the example to DataMesh FactVerse

2

Set up a new 3D scene

  1. Open DataMesh Studio, log in and click "New".
  2. Find the model "6-Axis Articulated Robot.glb" from "My Resources" and drag it into the workspace.
  3. Set the element attributes and adjust the model position coordinates to (0,0,0).
  4. Find the 6-Axis Robot image from "My Resources", drag it into the workspace, and place it in a suitable position to the right of the 6-Axis Robot model.
  5. Make sure to reserve enough space for the model's movements to prevent the model and image from intersecting.

3

Adjust the model’s pose

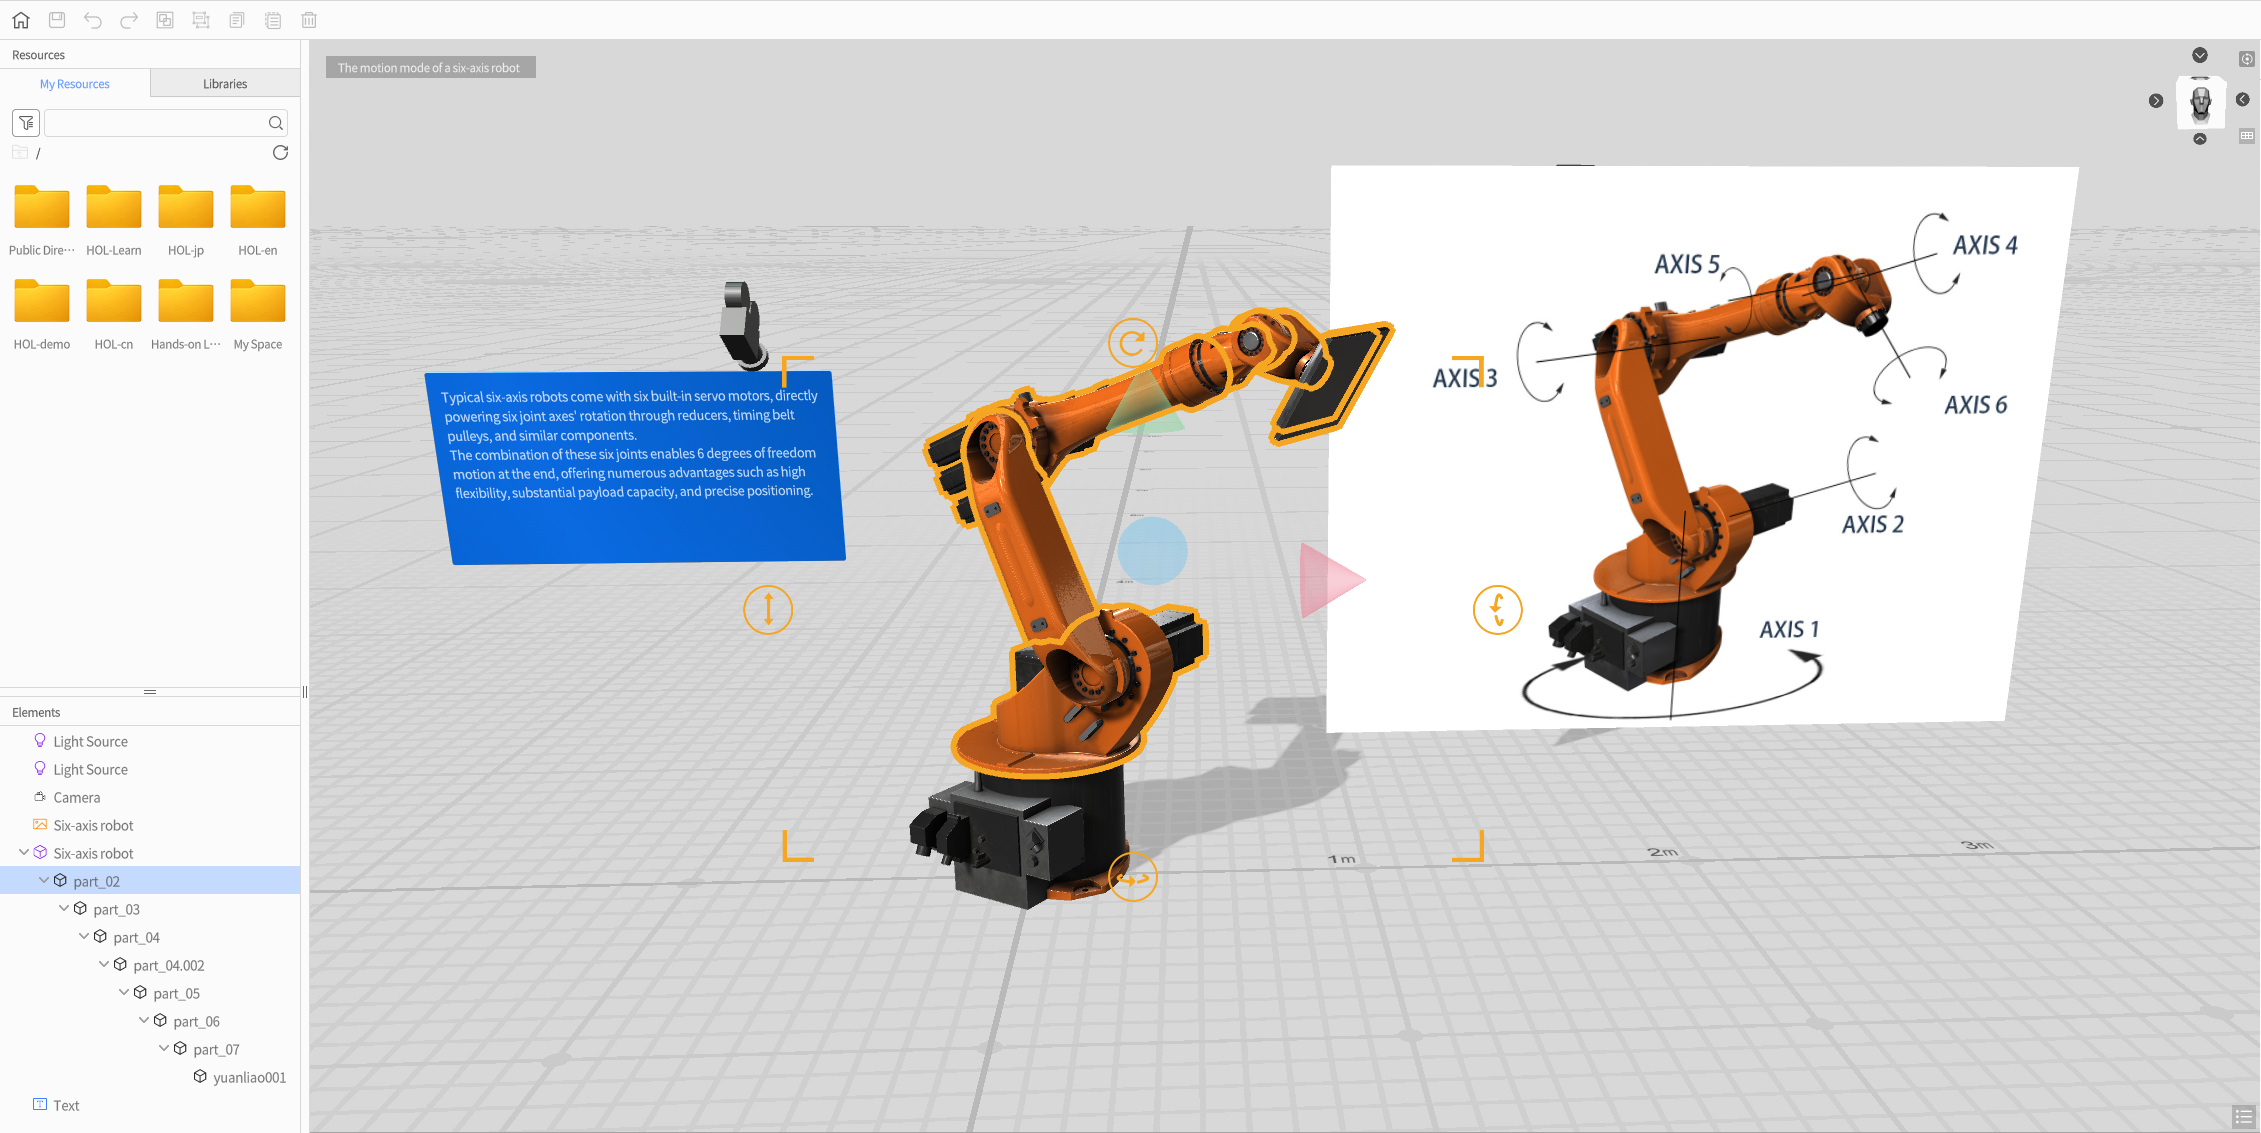
Model sub-level selection
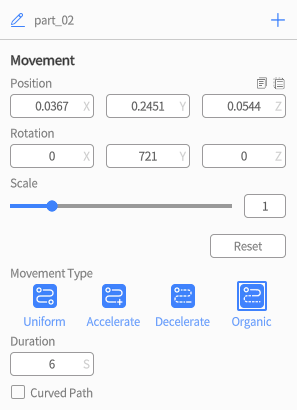
  • Select the model, navigate to the element list, and expand the tree structure of the 6-axis robot model. Choose the "part_02" sub-model. At this point, the model in the workspace will be highlighted as selected.

4

Add movement action

  1. Select the "part_02" section of the model. On the right side of the attribute area, click  and then select “Movement”.

  2. Now, select the "part_02" section again and rotate it along the y-axis by a certain angle.
5

Action list

  1. After adding an action, two lines appear in the action list, each line represents an action;
  2. The first blue line represents the model's appearance, and the second orange line represents the rotation action of "part_02", with orange representing the selected state.

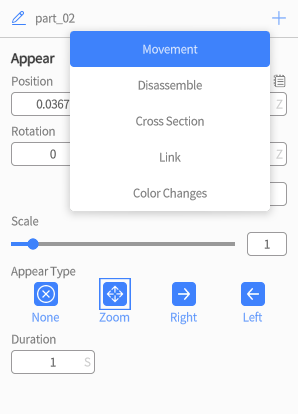
Setting the duration of the model's action

  1. In the element attributes, the duration of each action is 1s by default;
  2. Click the preview button to play the action. If the action is too fast, you can adjust the duration of the model’s action.
  3. The length of the line in the action list can intuitively display the duration.

6

Creating continuous actions

  • Previously we added an action adjustment for the second sub-level, continue to select the 6-axis robot model as a whole, add a movement action, and then the third line appears in the action list, which is the third action.

Select the model's sub-level "part_03", rotate about 40 degrees along the z-axis, then select the sub-level "part_04", and rotate it along the z-axis by a certain angle.

Click the Preview button in the upper right corner to play the model action just set and observe whether the duration of the action is appropriate.

  • Add a text box in scene 01, with the content: "Typical six-axis robots come with six built-in servo motors, directly powering six joint axes' rotation through reducers, timing belt pulleys, and similar components. The combination of these six joints enables 6 degrees of freedom motion at the end, offering numerous advantages such as high flexibility, substantial payload capacity, and precise positioning." Place it in the appropriate position.
7

Building a complete digital twin scene

  1. Create a new Scene 02 to simulate the rotation (S-axis) movement of the 6-axis robot J1 rotation:
  2. Select the 6-axis robot model, add movement action, duration is 1s, no action;
  3. Continue to add movement action, select "part_02", in the right attribute panel, edit the rotation angle of the Y-axis to 721°, and set the duration to 6s.

  4. At this time, select the 6-axis robot as a whole, the attribute panel as shown in the figure, preview the actions on this page, and observe whether the J1 axis movement speed is appropriate, if not, you can modify the movement duration.


8

Repeat the above operation process

  1. Create a new Scene 03, select the sub-level "part_03", to simulate the movement of the 6-axis robot J2 lower arm (L-axis);
  2. Create a new Scene 04, select the sub-level "part_04", to simulate the movement of the 6-axis robot J3 lower arm (U-axis);
  3. Create a new Scene 05, select the sub-level "part_04.002", to simulate the movement of the 6-axis robot J4 lower arm (R-axis);
  4. Create a new Scene 06, select the sub-level "part_06", to simulate the movement of the 6-axis robot J5 lower arm (B-axis);
  5. Create a new Scene 07, select the sub-level "part_07", to simulate the movement of the 6-axis robot J6 lower arm (T-axis).